A single 405 Wc balcony solar kit can be amortized in just 4 to 6 years through direct energy savings. But while the promise of clean power is tempting, many residents struggle with the weight limits of their railings or the strict rules of their HOA. We know that a falling 25kg panel is a risk you simply cannot afford to take.
We are here to help you navigate the technical requirements and legal hurdles. This guide shows you exactly how to install balcony solar panels safely so you can generate your own green electricity with total peace of mind.
- How to Install Balcony Solar Panels Safely: Legal and Structural Prep
- 3 Hardware Components for Your Balcony Setup
- A Practical Guide to Mounting and Wiring Your System
- Maximizing Performance and Long-Term System Health
How to Install Balcony Solar Panels Safely: Legal and Structural Prep
Balcony solar setups require checking a weight capacity of at least 20kg per panel and securing landlord approval. Success depends on south-facing exposure and shading analysis to ensure consistent energy yields.
The first step involves a physical audit of the structure to confirm it can handle the hardware weight.
Verifying Balcony Weight Limits and Space
Structural load is our first priority. A balcony must support the static weight of panels and brackets. Wind loads add extra pressure during storms.
Measure the railing length carefully. Ensure panels don’t overhang or block emergency exits or neighboring views.
Heavy glass-glass modules weigh more than flexible ones. Check your building’s technical documentation for specific load limits.
Space is tight. Every centimeter counts when planning the layout.
Handling Local Permits and Apartment Rules
Legal compliance is non-negotiable for renters. Most HOA agreements require aesthetic approval before mounting anything visible. Check local building codes regarding electrical feed-in limits. Some regions cap balcony systems at 600W or 800W to avoid circuit overloads.
Get everything in writing from your landlord. Verbal agreements offer zero protection if a dispute arises later. Insist on a signed installation permit for your records.
Written landlord approval is mandatory; verbal agreements offer no protection. Always check HOA/copropriété rules for aesthetic changes.
Are you wondering why buy a solar panel plug and play system? These amovible kits simplify the administrative process significantly.
Analyzing Sunlight Exposure and Shading Issues
Shading is the silent killer of solar efficiency. A single tree branch can drop energy production by half. Watch for shadows from nearby buildings.
Use a solar pathfinder app to track the sun. These tools show exactly where shadows fall throughout the year. Winter sun sits much lower in the sky.
Even partial shading on one cell can significantly bottleneck the entire panel’s output, wasting potential electricity savings.
3 Hardware Components for Your Balcony Setup
Once the legal hurdles are cleared, you need to pick the right gear to actually catch those rays. Choosing the wrong hardware isn’t just a waste of money; it’s a safety risk you can’t afford.
Comparing Rigid, Flexible, and Foldable Panels
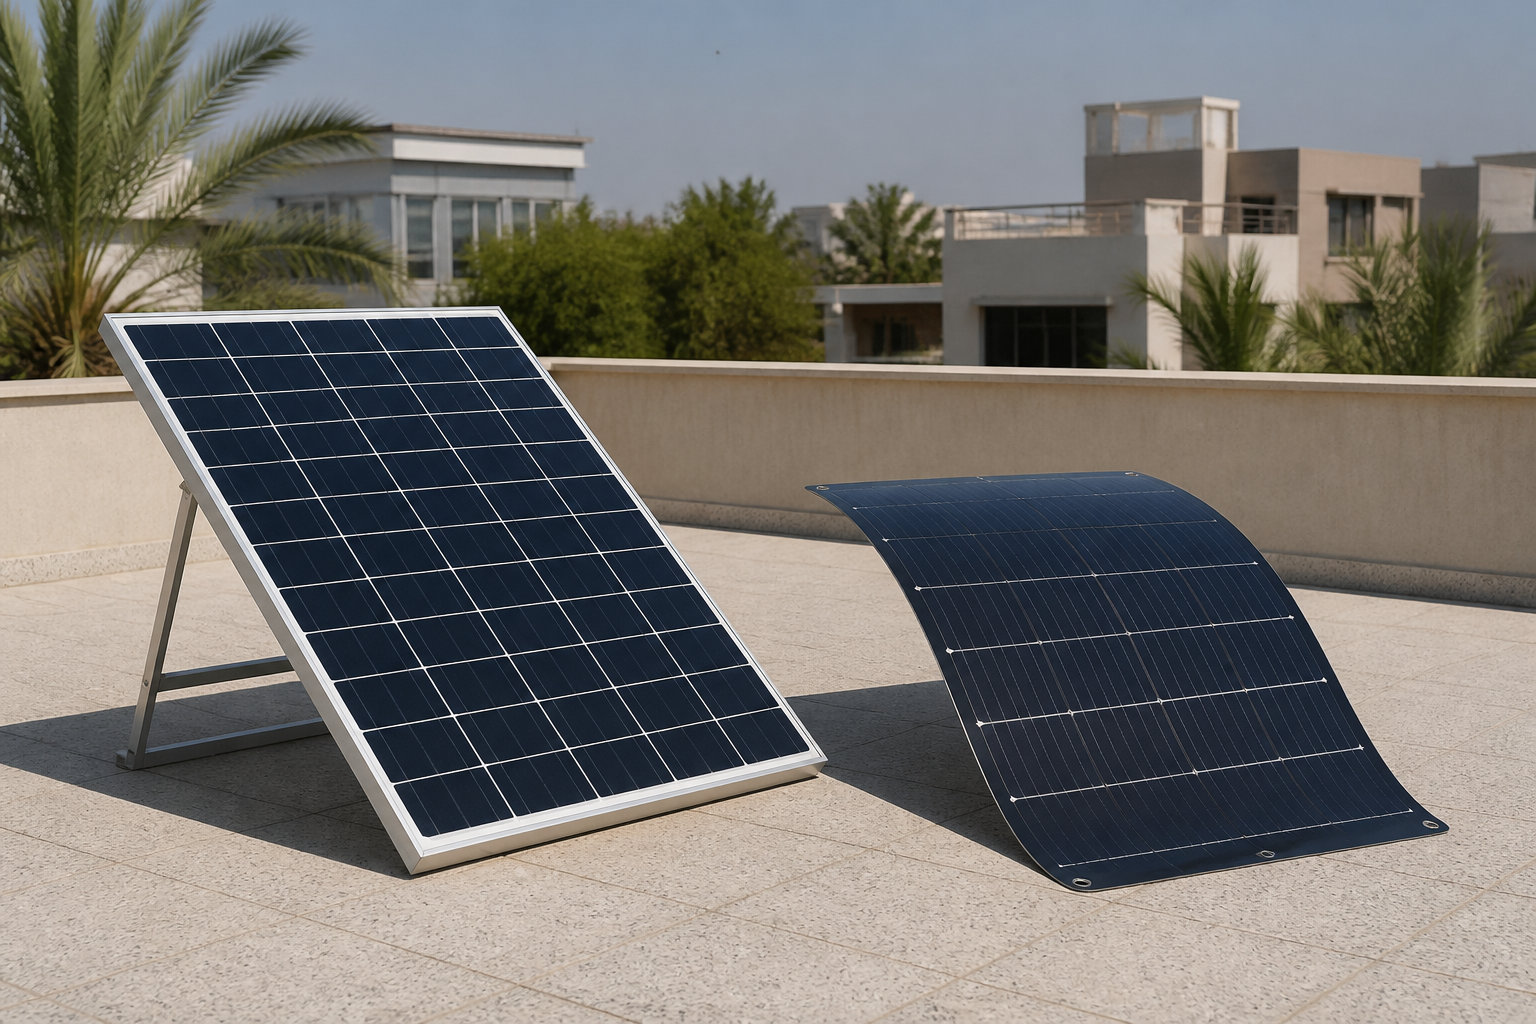
Rigid panels offer the best longevity and efficiency. They use heavy tempered glass for protection. These are best for permanent railing mounts with strong supports.
Flexible modules work well on curved surfaces. They are lightweight and easy to handle alone. However, they often degrade faster than their rigid counterparts due to heat.
Pliable options provide excellent mobility. You can even adapt specialized gear like a solar panel for van for temporary apartment setups.
Understanding Microinverters and Wattage Capacity
The microinverter is the brain of your system. It converts DC power from the sun into AC for your home. Ensure the unit is rated for outdoor use.
Match the inverter wattage to your panel output. An undersized inverter will waste energy during peak sun hours.
| Component | Function | Key Spec |
|---|---|---|
| Solar Panel | Energy capture | Wattage |
| Microinverter | DC/AC conversion | IP Rating |
| Mounting Kit | Structural safety | Wind Load |
Selecting Railing, Wall, or Floor Mounts
Railing hooks allow for non-invasive installation without drilling. Always check the hook diameter against your specific railing size before buying.
Wall mounts offer a permanent solution but require landlord consent for drilling. Floor stands work best for large, open terraces.
Safety tethers are mandatory for high-rise units. A falling panel is a lethal hazard for anyone walking below.
A Practical Guide to Mounting and Wiring Your System
With the hardware in hand, it is time to get your hands dirty and start the assembly. We know how to install balcony solar panels safely, and it all begins with a rock-solid physical foundation on your railing.
Securing Brackets and Panels to the Railing
Start by attaching the mounting brackets to the panel frame. Tighten every bolt but avoid over-torquing. Use stainless steel hardware to prevent rust over time.
Lift the panel onto the railing with help. Never attempt this alone in windy conditions. Secure the hooks and double-check the locking mechanism for stability.
Safety is paramount; always use a secondary steel cable to tether the panel to the main balcony structure.
Routing Cables and Weatherproofing Connections
Connect the MC4 cables from the panel to the inverter. You should hear a clear click when they seat. Use UV-resistant zip ties to manage loose wires.
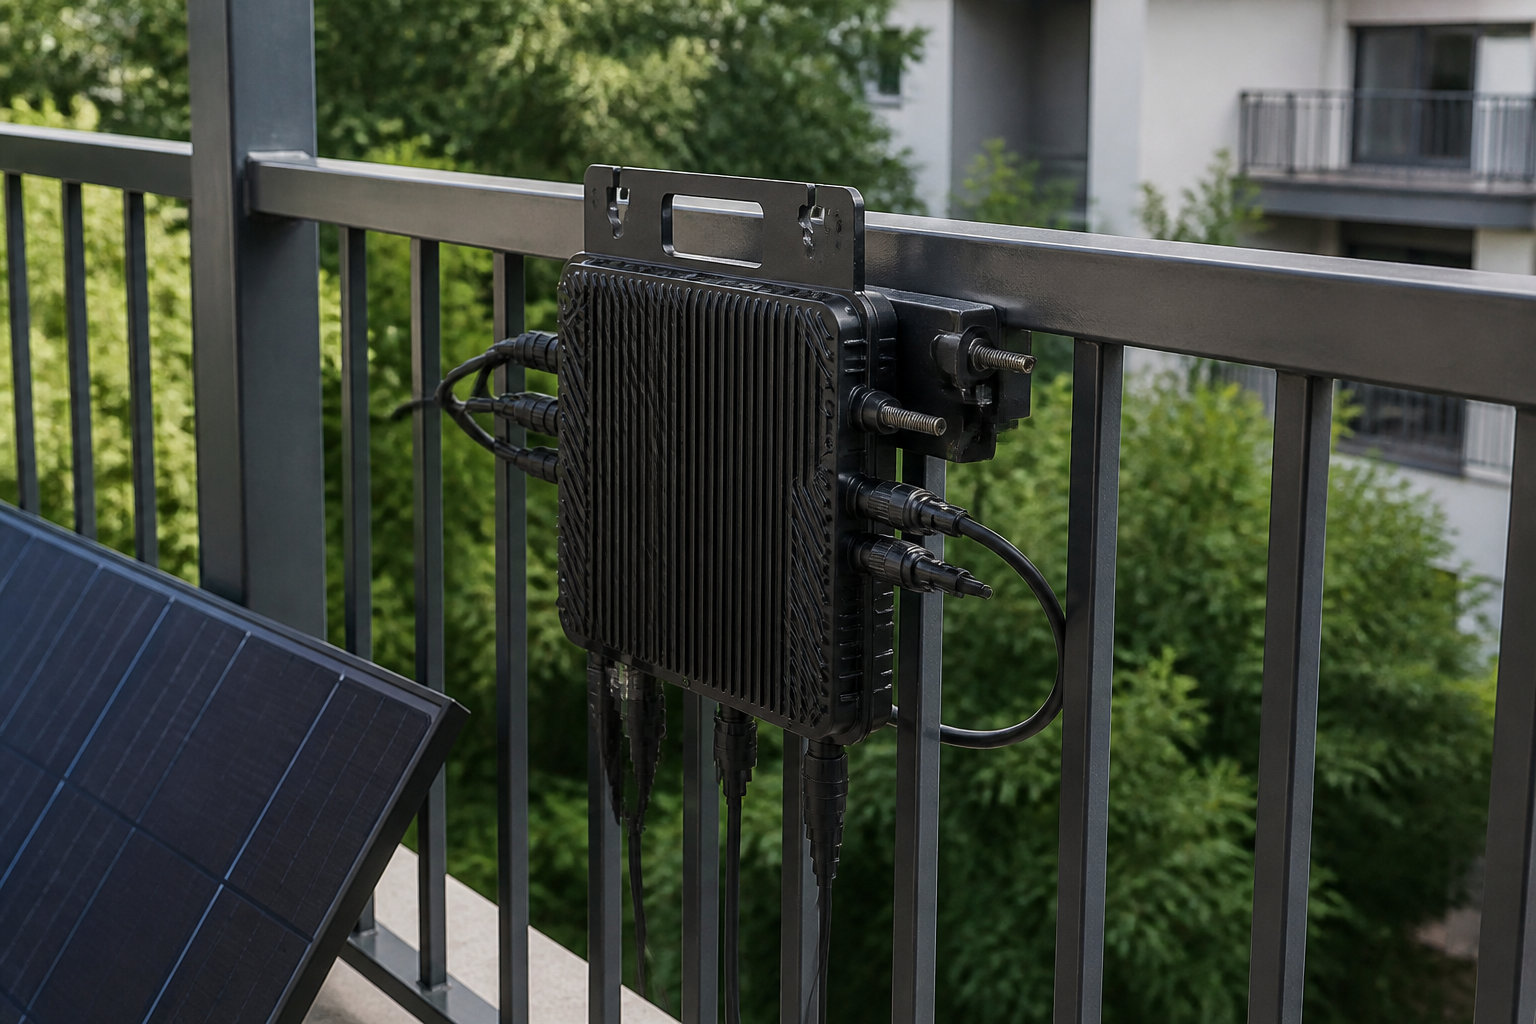
Keep cables off the floor to prevent water damage. Create a “drip loop” so rain runs off the wire instead of into the connector. This simple trick prevents short circuits.
But before finishing, you might wonder how plug and play solar panels work in detail. Proper wiring ensures long-term efficiency.
Connecting to the Home Circuit via Plug-and-Play
The final step is plugging the system into a standard wall outlet. Ensure the socket is grounded and weather-protected. Check your circuit breaker to confirm it can handle the additional solar input. Most modern homes manage this without issues.
- Check socket grounding
- Verify breaker rating
- Plug in the Schuko connector
- Monitor the inverter LED status
Green lights usually mean you are officially generating your own green power. It is that simple.
Maximizing Performance and Long-Term System Health
Installation is just the beginning; keeping the system efficient requires a bit of ongoing attention.
Adjusting Tilt and Orientation for Peak Output
Aim for a south-facing orientation whenever possible. This captures the most intense sunlight during the day. A 30-degree tilt is generally ideal for most latitudes in the northern hemisphere.
We recommend checking out a camper solar panel kit if you need portable mounting ideas. These flexible setups often mirror the versatility needed for tight balcony spaces.
Optimal yield: South-facing orientation with a 30-degree tilt; clean panels with plain water and soft cloth every few weeks.
Adjust the angle seasonally. Lower angles help catch the high summer sun.
Cleaning Routines and Monitoring via Mobile Apps
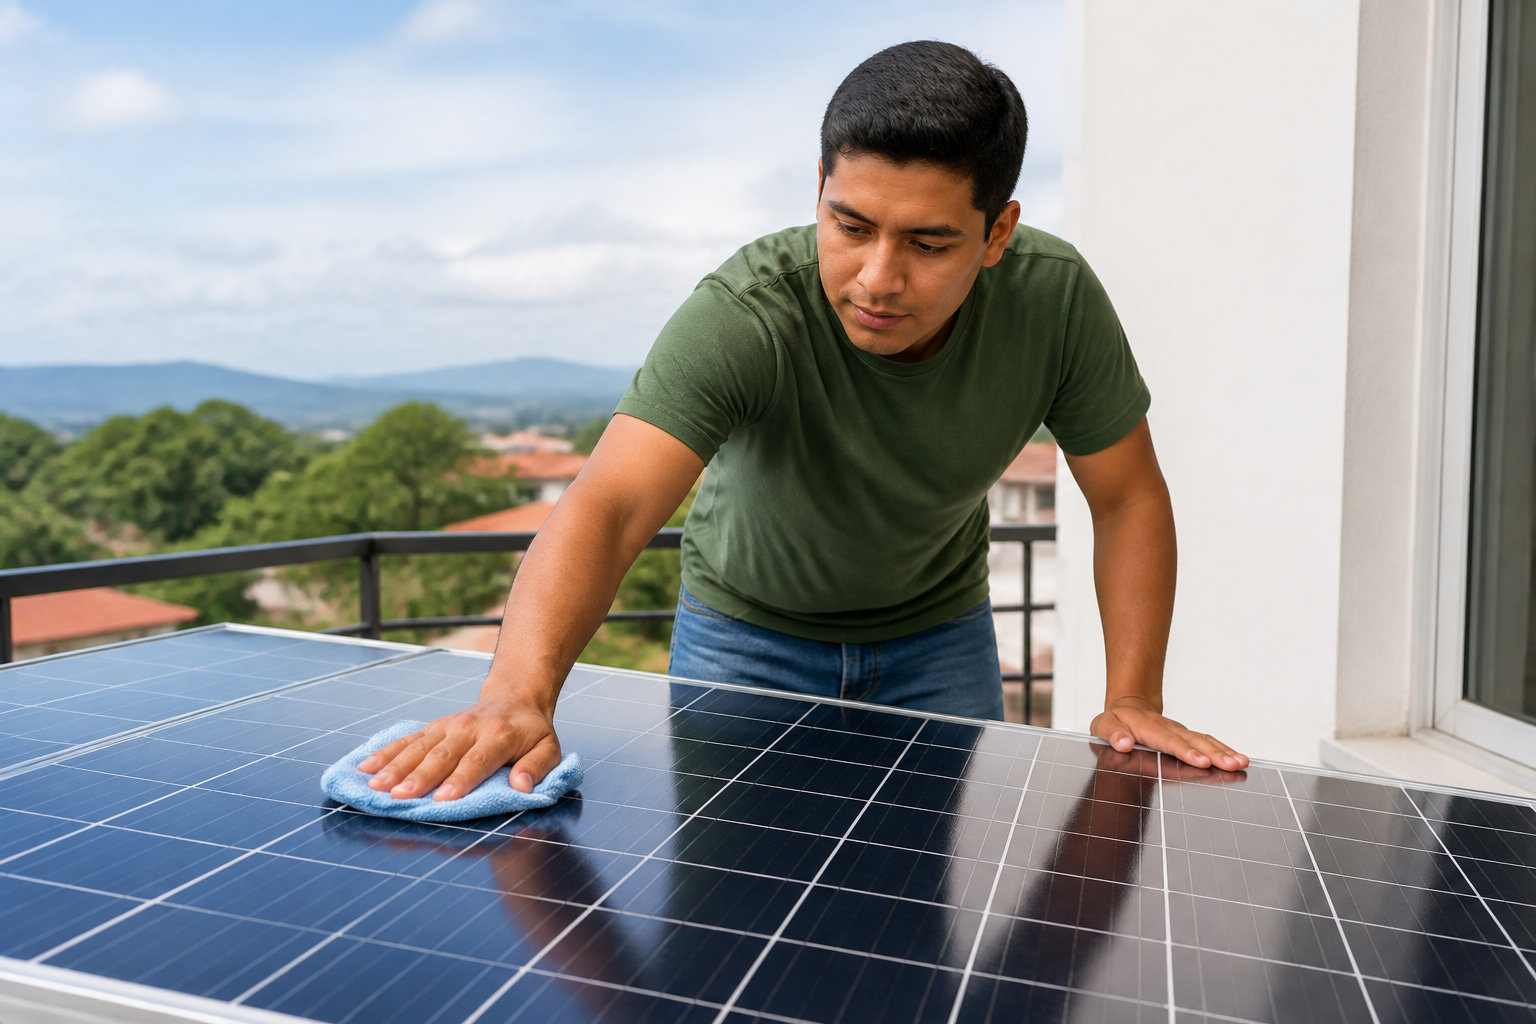
Dust and bird droppings act like shading. Wipe the panels with a soft cloth and plain water every few weeks. Avoid harsh chemicals that could damage the coating.
Consistency is your best friend here. Follow this simple checklist to keep your generation high:
- Check for dust buildup monthly
- Inspect cables for wear
- Review app data weekly
Use the inverter app. Tracking daily production helps spot performance drops early.
Integrating Battery Storage for Energy Independence
Adding a portable power station allows you to save daytime energy for night use. This increases your self-consumption rate significantly. It turns a simple kit into a backup system.
Finding the right solar panel battery is the secret to cutting ties with the grid. It ensures your green energy doesn’t go to waste.
Lithium batteries are the best choice. They offer more cycles and deeper discharge.
We’ve simplified the essentials: verify structural weight limits, secure landlord approval, and eliminate shading for peak efficiency. By following these steps to how to install balcony solar panels safely, you can start slashing bills immediately. Grab your kit today and turn your railing into a powerful, green energy source!
FAQ
Do I need official permission to install solar panels on my balcony?
Yes, getting your paperwork in order is the first step toward energy independence! 🏢 If you are a renter, obtaining written consent from your landlord is absolutely essential before mounting any hardware. For those living in managed buildings, you must check your HOA agreements or building regulations, as aesthetic approvals are often required for anything visible from the street.
We recommend presenting a clear plan to your building’s board to highlight the ecological benefits of your project. Keep in mind that while portable “plug-and-play” kits are generally easier to get approved due to their non-permanent nature, staying compliant with local building codes, especially regarding electrical limits, ensures a smooth and stress-free experience. 📝
Can my balcony structure safely support the weight of solar hardware?
Safety is our top priority! 🛡️ Most modern balconies are designed to handle significant loads, typically around 350 kg per square meter. Since a standard solar panel weighs between 12 and 18 kg, the static weight is usually well within safe limits. However, it is vital to account for “wind loads,” which add extra pressure during stormy weather.
To be completely safe, we suggest reviewing your building’s technical documentation to confirm specific load capacities. If you are worried about weight, consider choosing lightweight flexible modules or high-quality aluminum mounting brackets. Always use a secondary steel safety tether to ensure your panels stay exactly where they belong, even in high winds! 💨
What are the main pros and cons of a balcony solar setup?
Balcony solar kits offer a fantastic way to slash your energy bills by up to 13% while embracing a greener lifestyle! 🌿 The biggest “pro” is the accessibility; these plug-and-play systems are easy to install, require no professional electricians, and can be moved easily if you decide to relocate. They are the perfect solution for apartment dwellers who want to reduce their carbon footprint without major renovations.
On the flip side, space is your primary limit. You won’t be able to sell excess power back to the grid like a roof-mounted system, and shading from nearby buildings can impact efficiency. However, by pairing your kit with a portable power station, you can store that extra daytime energy for later use, maximizing every ray of sunshine you catch! ☀️
How do I ensure my system produces the most electricity possible?
To get the best “bang for your buck,” orientation is everything! 🎯 Aim for a south-facing setup to capture the most intense sunlight throughout the day. Setting your panels at a 30-degree tilt is generally the “sweet spot” for peak performance. Don’t forget to keep them clean; a quick wipe with a soft cloth to remove dust or bird droppings can prevent significant drops in energy production.
We also highly recommend using a mobile monitoring app linked to your microinverter. This allows you to track your daily production in real-time and spot any shading issues early. A smart, well-maintained system ensures you enjoy maximum savings for years to come! 📱
Are there financial incentives or subsidies for balcony solar kits?
While balcony kits are incredibly cost-effective, often paying for themselves in just 4 to 6 years, they generally do not qualify for national subsidies like roof-mounted installations do. 💰 Most government grants require professional installation by certified contractors, which isn’t necessary for these simple DIY kits.
However, don’t let that discourage you! Some local municipalities offer specific green energy incentives for urban residents. Even without subsidies, the immediate reduction in your monthly utility bill and the energy freedom you gain make these kits a brilliant investment for any eco-conscious home. 🚀