Installing solar panels on your shed is a smart way to gain energy independence, with small kits now supporting loads up to 800W. However, a single 400W panel weighs around 20kg, and a structural failure or electrical arc can quickly turn your DIY project into a safety hazard.
We want to ensure your setup is both powerful and secure. This guide breaks down the DIY solar shed installation safety standards to help you protect your structure and follow every regulation with total peace of mind.
- DIY Solar Shed Installation Safety Standards for Site Prep
- Electrical Protocols to Prevent Shocks and Arcing
- Physical Safety and Fire Prevention During Mounting
- Battery Storage and Long-Term System Maintenance
DIY Solar Shed Installation Safety Standards for Site Prep
Shed solar setups require structural roof reinforcement for 15-20kg panels, 10cm ventilation gaps to prevent fire, and local permits for electrical compliance. Safety hinges on using insulated tools and covering panels during mounting to stop live power generation. This leads directly into the evaluation of roof stability and sunlight exposure.
Evaluating roof stability and sunlight exposure
You must check your shed’s rafters first. Most standard sheds aren’t designed for heavy loads. Confirm the frame can support the extra 60kg from a typical three-panel array. Analysis of sunlight patterns across the roof is also vital to avoid shadows from nearby trees.
Proper orientation ensures maximum energy production and prevents uneven wear on your solar cells. Inspect the wood for rot and replace weak shingles before installing brackets. This ensures a leak-proof seal for years of reliable operation.
Securing local permits and fire resistance compliance
Check with your local building department immediately. Many jurisdictions require permits for off-grid structures. Failing to comply can lead to expensive fines or insurance denials. Review the fire resistance codes for your area and use non-combustible materials like cement board under your panels.
A Declaration of Works (DP) is required for panels over 1.80m or sheds 5-20m². A building permit is needed for sheds over 20m². Always consult your local PLU.
We follow strict editorial guidelines to help you. Learn more about us and our safety commitment. Document every step of your compliance and keep copies of your approved plans and inspection reports.
Electrical Protocols to Prevent Shocks and Arcing
Once the site is prepared and legalities are settled, the focus shifts to managing the invisible risks of live electricity.
Handling live panels and using insulated tools
Solar panels generate power the moment light hits them. Always cover the glass with an opaque sheet during installation. This simple step eliminates the risk of high-voltage shocks during handling.
Never attempt to disconnect solar cables while the system is under load, as this can create a dangerous plasma arc.
Use only 1000V rated insulated tools. These prevent accidental short circuits if a wrench touches two terminals simultaneously. Check out why buy a solar panel plug and play for simpler setups.
Selecting correct wire sizes and circuit breakers
Calculate your wire gauge using the Vmpp and Voc specifications found on the panel label. Undersized wires cause voltage drops and excessive heat. Overheating is a primary cause of shed fires. Always round up to the next thicker wire size for safety.
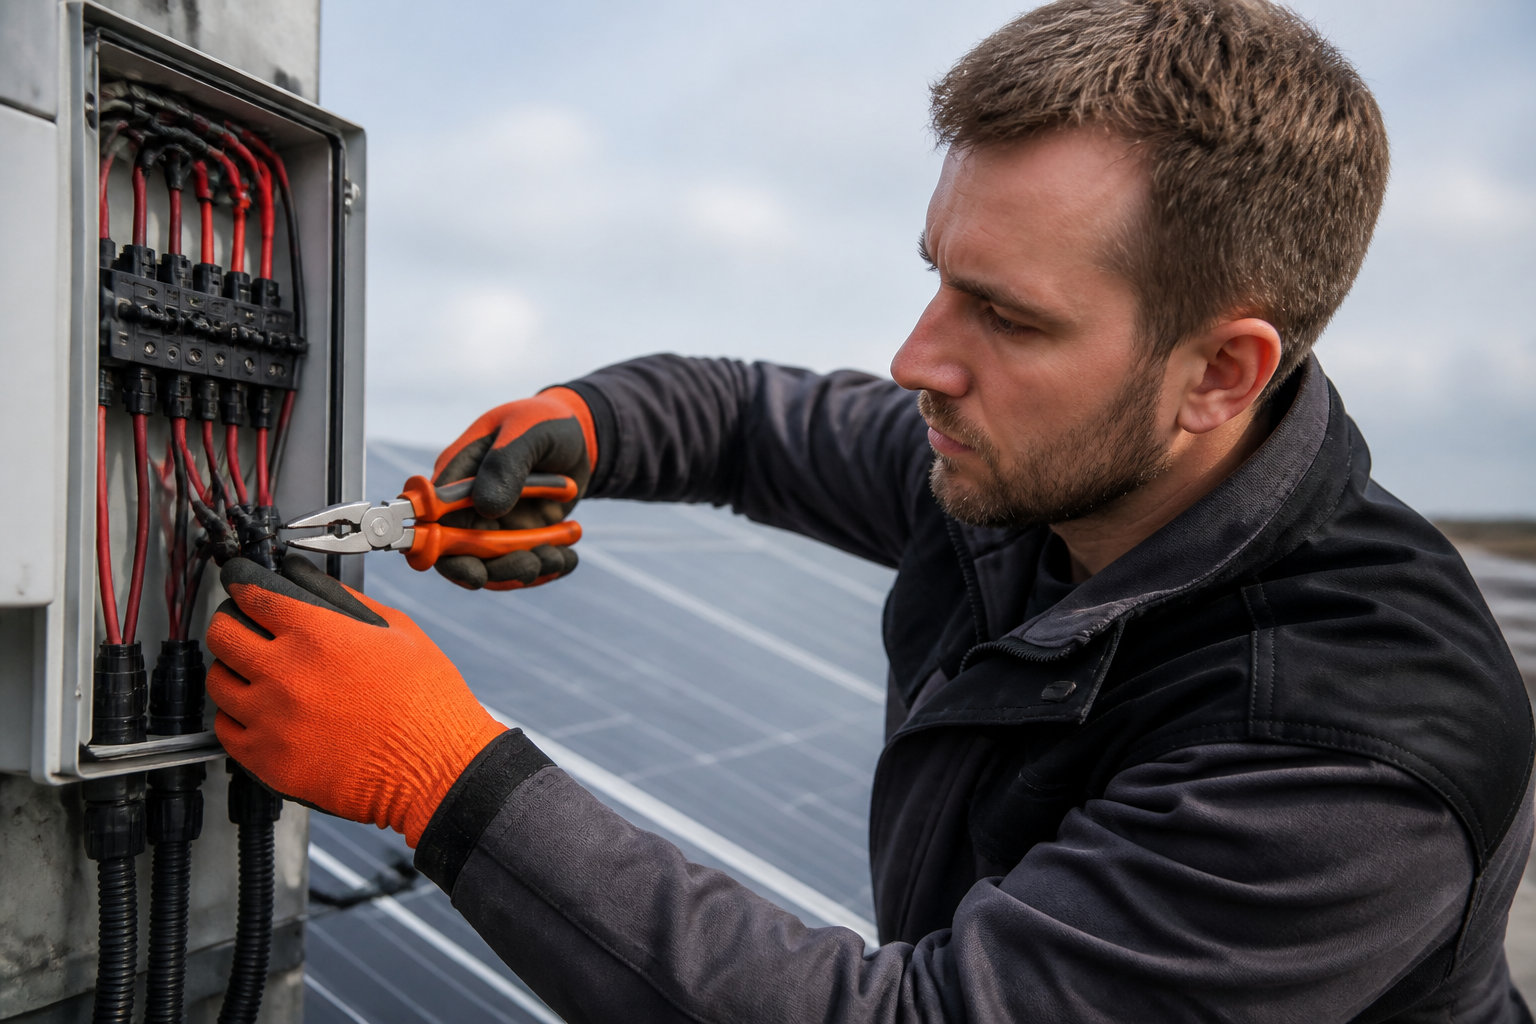
Install a dedicated DC circuit breaker between the panels and the controller. This allows for safe isolation during maintenance. Match the breaker rating to the maximum current of your array.
Understanding how plug and play solar panels work helps in mastering these safety standards for installing solar shed kits effectively.
Physical Safety and Fire Prevention During Mounting
With the electrical plan in place, the physical act of mounting the hardware requires strict adherence to height safety and heat management.
Ladder safety and fall protection techniques
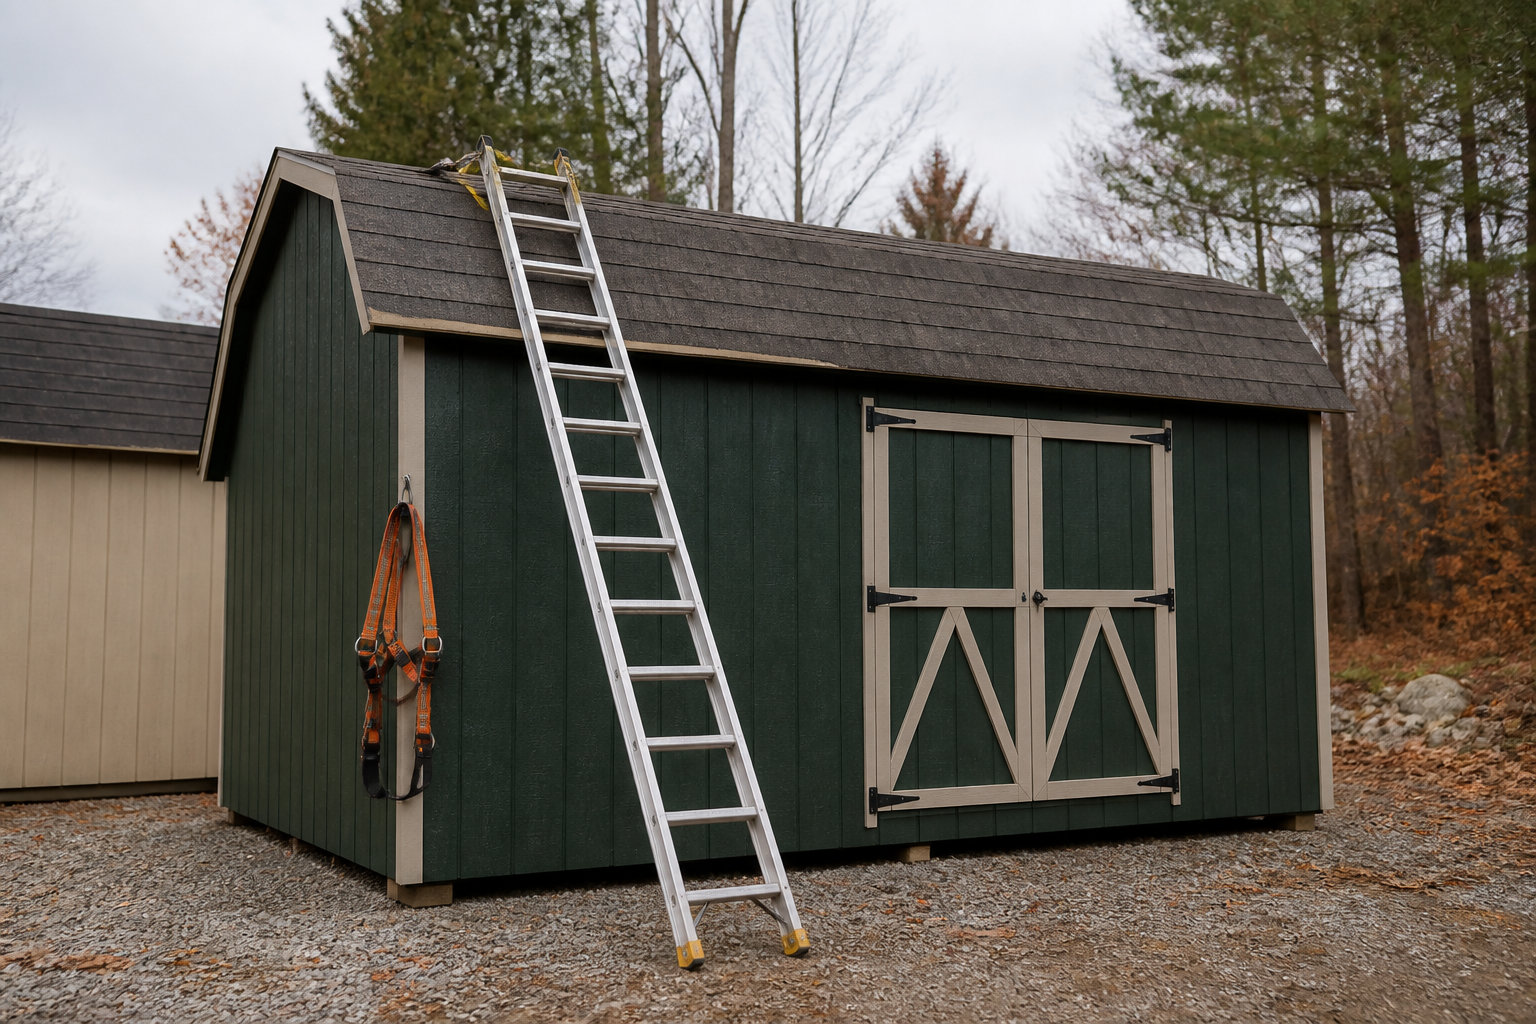
Position your ladder on firm, level ground. Use the 4-to-1 rule for the angle. Secure the top of the ladder to the shed roof to prevent it from sliding sideways.
- Wear a safety harness if the roof is steep
- Use non-slip footwear
- Never work alone during the mounting phase
Monitor wind speeds before climbing up. High gusts can turn a solar panel into a sail. Avoid installation during rain as wet roofs become incredibly slick and dangerous for DIYers.
Maintaining clearance and using non-combustible mounting
Leave a minimum of 10 cm between the panel and the roof. This air gap is vital for cooling. Heat buildup reduces efficiency and increases fire risk on wooden structures. Proper ventilation extends the lifespan of your solar equipment significantly.
A standard 400W panel weighs 18-22kg. The total static load for three panels is approximately 60kg plus mounting hardware.
Use cement board or metal flashing on combustible surfaces. This provides an extra layer of protection against potential electrical faults. Check our guide to install balcony solar panels safely for similar mounting principles.
Tighten all mounting bolts to the manufacturer’s torque specs. Vibration from wind can loosen hardware over time if not secured.
Battery Storage and Long-Term System Maintenance
The final step involves housing the energy storage safely and establishing a routine to keep the system running without incident.
Safe inverter and battery configuration in sheds
Place LiFePO4 batteries in a ventilated enclosure. These units need stable temperatures to function safely. Check our guide on lithium vs lead-acid solar storage or learn more about solar panel battery options.
| Component | Safety Requirement | Goal |
|---|---|---|
| Inverter | Clearance distances | Heat dissipation |
| Battery | Ventilation needs | Prevent gas buildup |
| Grounding Rod | Rod depth | Lightning protection |
| Charge Controller | Mounting surface type | Fire prevention |
Install a grounding rod specifically for the shed array. This protects your electronics from lightning surges and static buildup.
Ongoing connection checks and cleaning routines
Inspect your wiring every six months. Look for signs of rodent damage or frayed insulation. Loose connections are the leading cause of arcing and localized heat damage in sheds.
Clean the panels with water and a soft brush. Remove bird droppings and dust to maintain peak performance. This is a vital part of owning a solar kit for shed setups.
A simple annual maintenance check can prevent 90% of common DIY solar failures and fire hazards.
Mastering DIY solar shed installation safety standards ensures a powerful, secure setup. By reinforcing your roof, using insulated tools, and respecting electrical codes, you protect your investment and home. Start your project today to enjoy reliable, green energy and total peace of mind for years to come.
FAQ
Do I need a building permit for my solar shed kit?
It depends on your shed’s size and height! For structures between 5 m² and 20 m², a Declaration of Works (DP) is typically mandatory. If your shed exceeds 20 m², you will definitely need a full building permit to stay compliant with local urban planning regulations.
Keep in mind that any installation higher than 1.80 meters usually triggers the need for a permit, regardless of the floor area. Always check your local Plan Local d’Urbanisme (PLU) to avoid fines and ensure your eco-friendly project is 100% legal.
Can my shed roof handle the weight of solar panels?
Structural integrity is everything! A standard 400W panel weighs between 18 and 22 kg. If you are installing a three-panel array, you are adding about 60 kg of static load to your roof, not including the mounting hardware or wind pressure.
We recommend reinforcing the rafters if your shed isn’t built for heavy loads. Solid wood or steel roofs are the best surfaces for a secure grip. If you have bitumen shingles or EPDM membranes, pay extra attention to waterproofing seals to prevent rot and leaks over time.
Is a Consuel certificate required for a solar shed?
Safety first! A Consuel certificate is mandatory if your installation is connected to the grid and exceeds 3 kWc, or if you are injecting surplus energy back into the network. It guarantees that your wiring meets strict electrical safety standards.
However, you generally won’t need one for small plug-and-play kits (under 3 kWc) used for total self-consumption, provided they meet CE standards. Even so, we always suggest filing a CACSI with Enedis to formalize your setup.
How do I prevent fire risks on a wooden shed roof?
Prevention is your best friend! To stop overheating, maintain a 10 cm air gap between the panels and the roof for ventilation. Panels can reach 50°C to 80°C during peak production, so this clearance is vital to protect the wood underneath.
Using non-combustible materials like cement board under the mounting brackets adds an extra layer of protection. Always use high-quality cables and dedicated DC circuit breakers to prevent dangerous electrical arcs that could spark a fire.
What maintenance is needed to keep my system safe?
A little care goes a long way! We suggest a visual inspection every six months to check for frayed wires or rodent damage. Dust and debris can drop your efficiency by 5% to 10%, so keep those panels clean using just water and a soft cloth.
Don’t forget to tighten mounting bolts annually, as wind vibrations can loosen them over time. A quick check of your grounding connections ensures your electronics stay protected from lightning surges and static buildup.