High-efficiency monocrystalline silicon cells can achieve energy conversion rates exceeding 21%, providing a reliable power source for off-grid surveillance systems. By utilizing these advanced materials, a compact 6W output is enough to maintain continuous operation for most rechargeable security devices without relying on the traditional electrical grid.
Keeping your property safe shouldn’t mean constantly climbing ladders to swap out dead batteries in hard-to-reach locations. We are going to explore how choosing the right solar panel kits for remote security cameras ensures total energy autonomy and long-term reliability for your outdoor setup.
- Solar Panel Kits for Remote Security Cameras and Power Basics
- Smart Installation Strategies for Peak Energy Performance
- Weatherproofing and Long Term Durability Standards
- Solving Remote Connectivity and Power Drain Challenges
Solar Panel Kits for Remote Security Cameras and Power Basics
Remote security relies on 5W to 10W monocrystalline panels paired with rechargeable lithium batteries. USB-C or DC inputs dictate hardware choice, while 6V voltage regulation prevents fried circuits during peak midday sun exposure, ensuring continuous operation for off-grid surveillance.
Checking Your Camera Compatibility
First, inspect the hardware interface. Look for USB-C or Micro-USB ports. Older DC barrel jacks require specific adapters for modern solar kits.
Integrated units are plug-and-play. Aftermarket kits offer flexibility for power-hungry 4G cameras but require careful voltage matching to avoid damage.
Verify the battery. Solar panels only work with rechargeable models. Non-rechargeable units fail immediately. Learn how plug-and-play solar kits work to simplify your setup.
Understanding Wattage and Efficiency
Prioritize monocrystalline silicon for the best conversion rates. These panels perform better in low light. A standard 6W output is usually enough for most Wi-Fi cameras.
Look for built-in voltage regulation. This protects sensitive camera hardware from sudden power surges during intense, direct summer sunlight.
Efficiency drops with heat. High-quality panels handle thermal stress better. This ensures long-term reliability.
| Camera Type | Wattage | Material | Use Case |
|---|---|---|---|
| Wi-Fi Battery | 3W-6W | Mono | Residential |
| 4G/LTE Cellular | 10W-20W | Mono | Remote Land |
| PTZ (Pan-Tilt) | 20W+ | Mono | High Traffic |
| Continuous Unit | 40W+ | Mono | Professional |
Smart Installation Strategies for Peak Energy Performance
Getting the hardware right is only half the battle; where you put it determines if it actually stays powered.
Finding the Perfect Solar Angle
Orientation is everything for solar harvesting. In the northern hemisphere, always face your panels toward the solar south. This maximizes direct exposure. Even a slight deviation can reduce your daily energy yield by twenty percent.
Tilt your panel at a forty-five-degree angle. This helps shed rainwater and dust naturally. It also aligns better with the sun during shorter winter days when power is scarce.
Watch out for micro-shading. A single branch blocking one corner can kill the entire energy flow.
- Use a compass to find true south
- Clear debris within a 3-foot radius
- Tighten brackets against wind vibration
Keep cable runs under 15 feet to avoid voltage drop and ensure no debris causes micro-shading.
Mapping Your Solar Zones
Geography dictates your energy autonomy. Areas with fewer sunlight hours need larger panels. Calculate regional needs before buying a generic kit that might fail.
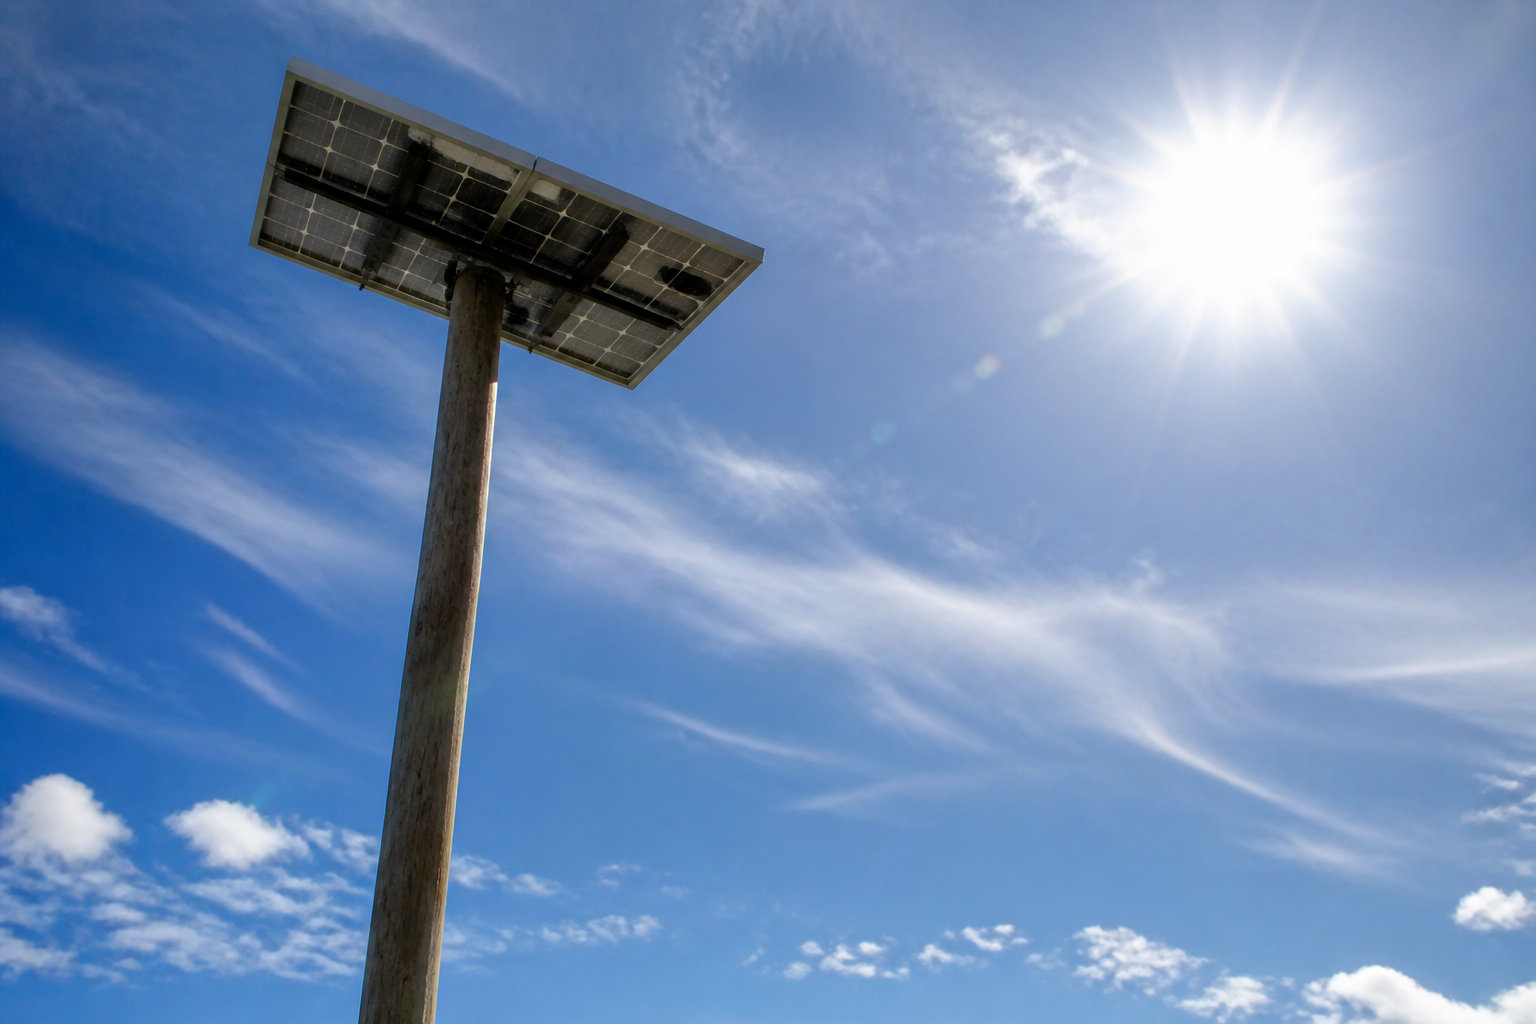
Match panel size to your zone. A 5W panel in Arizona differs from Maine. Learn how to optimize mobile solar energy to handle these environmental shifts.
Check your cable length. Long cables cause voltage drop. Keep the run under 15 feet for efficiency.
Position the panel in the sunniest spot. Sometimes the camera stays shaded while the panel moves. This requires a robust, weatherproof extension cable for success.
Weatherproofing and Long Term Durability Standards
Sunlight is great, but your gear has to survive the brutal reality of wind, rain, and freezing temperatures.
Decoding IP65 and IP66 Ratings
Look for an IP66 rating for maximum protection. This ensures the casing is dust-tight and handles powerful water jets. Cheap kits often settle for IP65, which might struggle in heavy, wind-driven rainstorms or coastal environments with salt spray.
- IP65: Dust-tight; protects against low-pressure water jets.
- IP66: Dust-tight; handles high-pressure water spray.
- IP67: Dust-tight; allows temporary immersion in water.
- Maintenance: Always check seal integrity yearly for safety.
Temperature tolerance is a major factor. Quality panels operate between negative 40 and 185 degrees. Extreme heat can degrade the silicon cells, while extreme cold makes plastic mounts brittle.
Choose rugged mounting hardware. Metal pole mounts beat plastic wall brackets every time. They handle heavy snow loads without snapping.
Managing Power During Winter Months
Winter is the ultimate test for solar setups. Expect performance to drop by sixty percent during cloudy or rainy seasons. You need a solar panel battery with enough capacity to bridge three to four days of zero sun.
“A solar panel is only as good as the battery it feeds; without sufficient storage, your remote security vanishes the moment the clouds roll in for the weekend.”
Keep the surface clean. Snow, bird droppings, and dust layers block photons. A quick wipe-down every month maintains peak efficiency.
Cold weather slows chemical reactions. Batteries charge slower in the frost. Plan for reduced capacity.
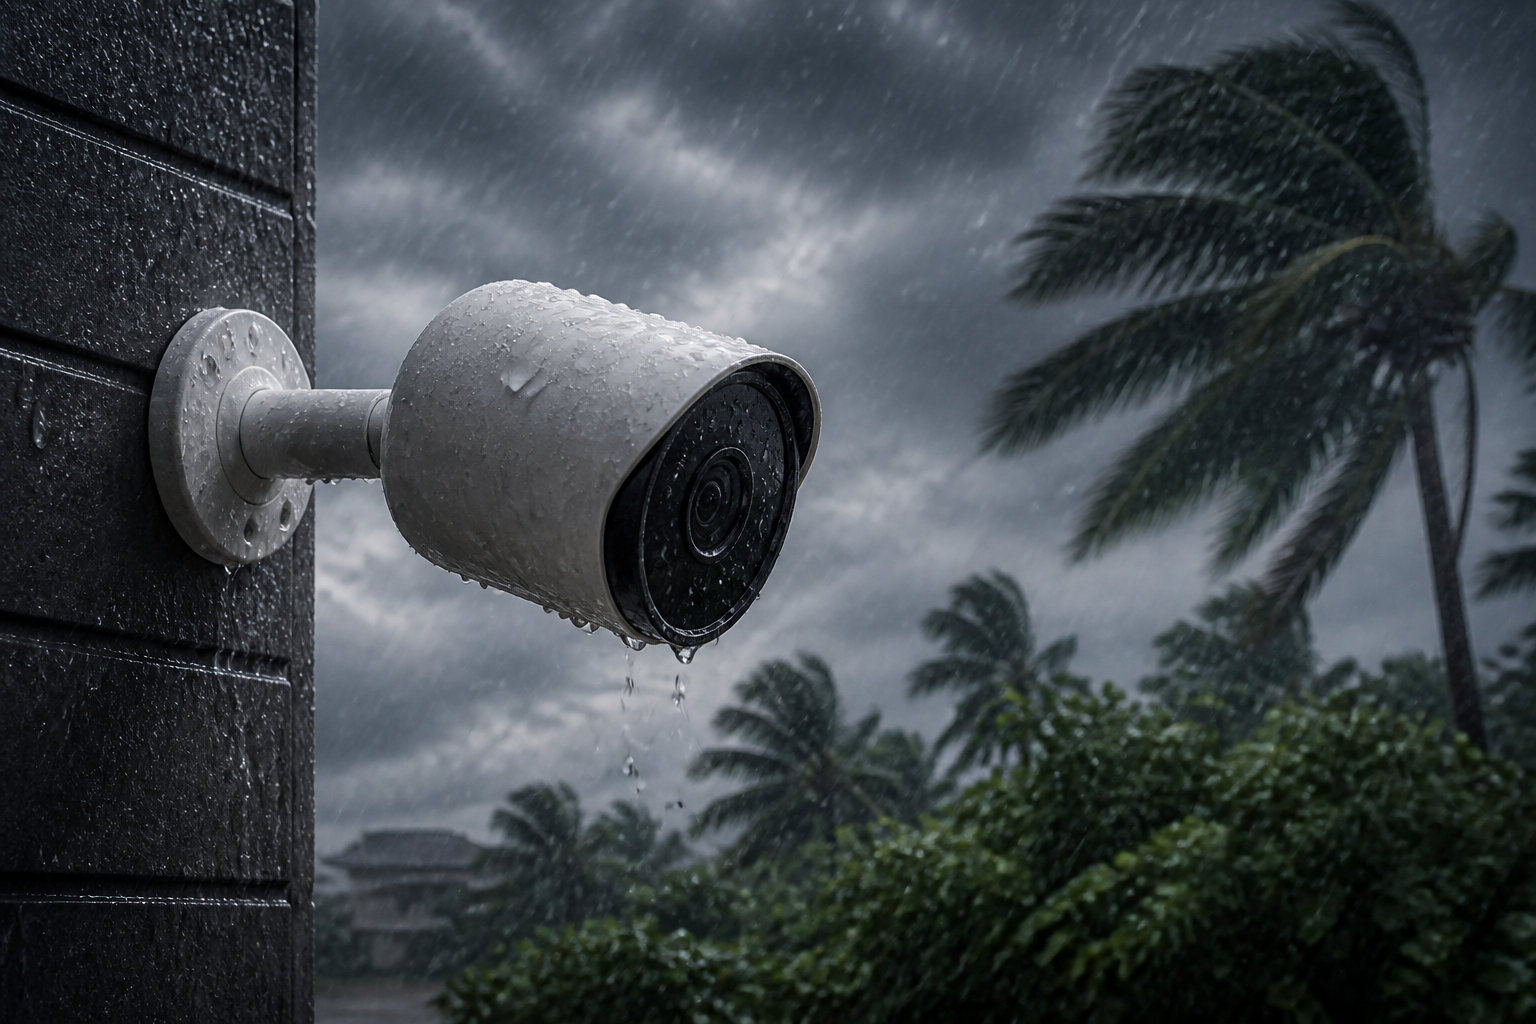
Use dedicated storage. External battery packs offer better thermal insulation. This keeps the power flowing longer.
Solving Remote Connectivity and Power Drain Challenges
Even with perfect weatherproofing, software settings and data choices can quietly kill your battery before dawn.
Fixing Unexpected Battery Drain
Sometimes a panel drains the battery due to reverse current in cheap controllers. Ensure your kit has a blocking diode to prevent nighttime energy leaks.
Adjust motion detection zones. Constant triggers from swaying trees empty storage in hours. Be selective with your monitoring areas.
Night vision is expensive. Infrared LEDs consume significant power. Use them only when absolutely necessary to preserve your daily consumption.
Check recording lengths. Short clips save energy. If the camera records long segments for every movement, the solar panel won’t keep up.
If your battery percentage drops while the sun is shining, you likely have a hardware mismatch or a faulty charge controller leaking power back to the panel.
Choosing Your Data Connection
Cellular 4G is the king of remote locations but acts as a power hog. Balance your transmission frequency with your actual battery budget.
Long-range Wi-Fi offers better efficiency. These setups require a clear line of sight, making them ideal for large properties with a central hub.
Avoid continuous streaming. Use event-based alerts to preserve battery autonomy. Weak signals force the radio to work harder, draining power rapidly.
- Wi-Fi uses the least power
- Cellular is best for off-grid
- Reduce frame rates to save energy
- Use local SD storage to minimize uploads
When powering remote security cameras with solar panel kits, efficiency is your best friend for long-term reliability.
Maximize your off-grid surveillance by pairing monocrystalline efficiency with rugged IP66-rated durability. Secure your property now to enjoy permanent energy autonomy and reliable 24/7 protection, regardless of the weather. Invest in a high-performance solar panel kit for remote security cameras today and never worry about charging batteries again.
FAQ
Is my current security camera compatible with a solar panel kit?
Compatibility depends primarily on your hardware interface and battery type. Most modern kits are designed for rechargeable cameras featuring USB-C or Micro-USB ports. It is vital to verify if your manufacturer uses proprietary charging protocols, as some brands like Arlo or Google Nest may require specific, branded solar accessories to function correctly.
Remember, these solar solutions are strictly for battery-powered units. If your camera is a plug-in model without an internal battery, a standard solar kit will not provide the necessary power. Always check your specific model against the kit’s specifications to ensure a perfect match before installation. 🚀
How much solar power do I actually need for remote surveillance?
For most standard Wi-Fi security cameras, a 5W to 6W monocrystalline panel is the “sweet spot” for maintaining a full charge. This wattage provides enough energy to top up the battery during daylight hours, even under moderate cloud cover. High-traffic areas or 4G/LTE cellular cameras, which consume more data, may require panels reaching up to 20W for total autonomy.
We recommend calculating your daily consumption by multiplying the camera’s wattage by its operating hours. In most regions, just 2 to 5 hours of direct sunlight per day is sufficient to keep your system alive and well, ensuring your remote security never misses a beat! ☀️
What is the best way to install my solar panel for maximum efficiency?
Placement is everything when it comes to energy harvesting! In the Northern Hemisphere, you should always face your panel toward the solar south to capture the most intense rays. We suggest a 45-degree tilt angle, which not only optimizes sun exposure but also helps shed rain and snow naturally to keep the surface clean.
Avoid “micro-shading” from nearby trees or structures, as even a small shadow can significantly drop your energy yield. Use the included adjustable wall mounts to fine-tune the position. If your camera is in a shaded spot, utilize a 3-meter extension cable to place the panel in a sun-drenched location nearby. 🛠️
Will my solar-powered camera survive extreme weather conditions?
Absolutely, provided you choose a kit with the right durability ratings. Look for an IP65 or IP66 certification, which guarantees the unit is dust-tight and resistant to powerful water jets. High-quality panels are built to withstand the brutal reality of the outdoors, operating reliably in temperatures ranging from -40°F to +185°F.
While these kits handle rain and snow with ease, winter performance can drop due to shorter days and lower sun angles. To ensure long-term reliability, we recommend a quick monthly wipe-down to remove dust or bird droppings, keeping your monocrystalline cells operating at peak efficiency year-round. ❄️
Why is my camera battery draining even with a solar panel attached?
Unexpected drain is often caused by high-energy settings or hardware mismatches. Infrared night vision and frequent motion triggers from swaying trees can consume power faster than a small panel can replenish it. Adjusting your detection zones and shortening clip lengths can instantly boost your battery autonomy.
If the battery percentage drops during sunny periods, you might be facing a voltage drop from an overly long cable or a lack of a blocking diode in a cheap controller. Ensure your connection is secure and that you are using a weatherproof cable under 15 feet to maintain a steady flow of energy to your device. 🔋