A single loose connection or an undersized wire can transform your sustainable retreat into a serious fire hazard in seconds. While the promise of energy independence is thrilling, ignoring the technical requirements of a power-generating structure can lead to costly fines or catastrophic equipment failure.
We know that navigating the DIY solar shed installation safety standards feels like a maze of NEC codes and local permits, but mastering these rules is the only way to protect your investment. This guide breaks down the essential grounding, fusing, and structural protocols to ensure your off-grid setup is as secure as it is efficient, so we can get your project powered up the right way.
- Primary DIY Solar Shed Installation Safety Standards and Codes
- 3 Rules for Structural Integrity and Fire Prevention
- How Do You Handle Live Panels Without Getting Shocked?
- Battery Management and Long-Term System Maintenance
Primary DIY Solar Shed Installation Safety Standards and Codes
DIY solar sheds require NEC compliance, specifically grounding electrode systems and Class T fuses for circuit protection. Systems exceeding 3 kWc must pass Consuel certification to meet French safety regulations.
Navigating these technical requirements ensures your off-grid project remains both functional and legal, starting with the foundational electrical codes for small outbuildings.
Always use Class T fuses for battery circuits to handle high short-circuit currents safely.
Navigating the National Electrical Code for Outbuildings
Small off-grid solar arrays must meet specific NEC requirements. We distinguish clearly between residential and outbuilding standards. Even tiny setups demand proper labeling and wire management. This prevents hazardous electrical faults.
A robust grounding electrode system is vital for shed structures. Grounding effectively prevents lightning damage and static buildup. Following safety standards for installing solar shed kits protects your equipment and your life.
Consuel certification is mandatory for systems exceeding 3 kWc. This official validation is a legal requirement. Without it, your insurance validity is at serious risk.
Ignoring these codes leads to fire risks or legal fines. Safety must always come before cost savings. Never skip these technical steps.
Securing Local Permits and Zoning Approval
Permit needs depend on your shed size. Structures under 5m2 usually avoid heavy paperwork. Larger sheds require formal city planning approval. We must check these details early.
- Under 5m2: Generally no permit required.
- 5m2 to 20m2: Prior Declaration (DP) is mandatory.
- Over 20m2: Full Building Permit required.
Height restrictions and proximity rules are vital. Panels should not cast shadows on neighbors. Always verify local setback distances. Respecting boundaries avoids future disputes.
Installing panels without authorization is a gamble. Unauthorized builds might face demolition orders. You could also face insurance claim denials for a solar kit for shed installation.
Failure to obtain a permit can void your home insurance policy in the event of a solar-related fire.
3 Rules for Structural Integrity and Fire Prevention
While legal paperwork sets the foundation, the physical build requires strict adherence to structural and thermal safety rules to avoid collapse or combustion.
Evaluating Roof Load and Wind Resistance
Assess shed roof strength for rigid versus flexible panel mounting. Rigid panels are heavier and need solid rafters. Flexible panels are lighter but offer less airflow underneath.
Calculate wind uplift and snow load reinforcement needs for the structure. Sheds in northern climates need extra bracing. Wind can rip panels off poorly secured mounts.
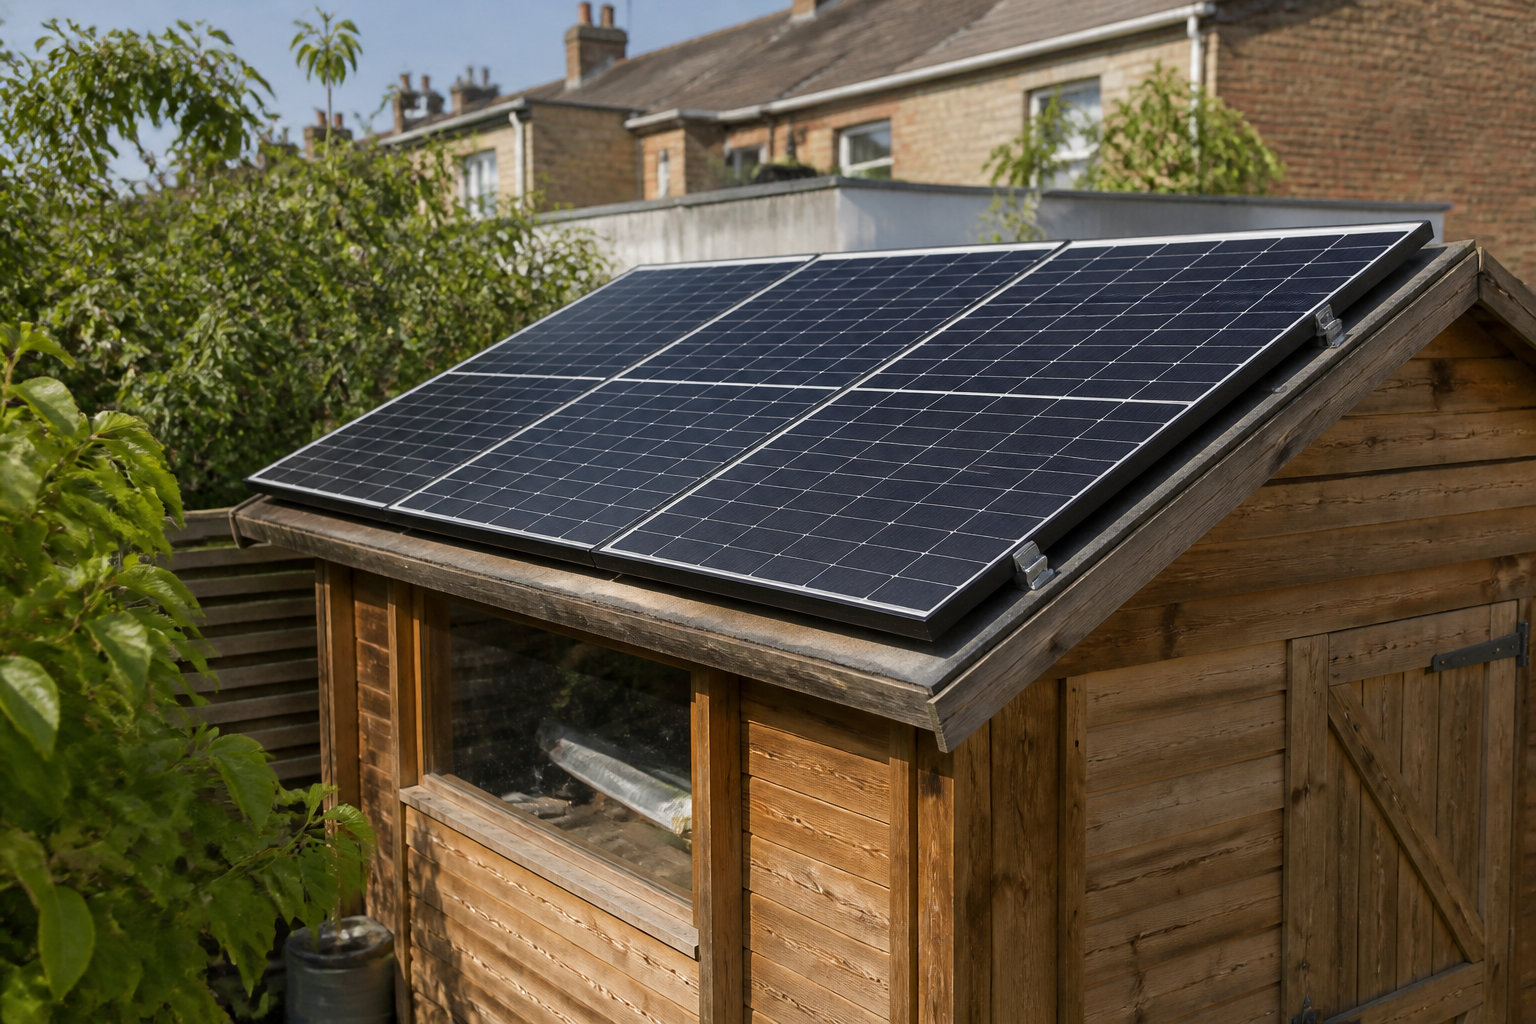
Verify the stability of ground-mounted arrays in high-wind zones. Use concrete footings or heavy ballasts for safety.
| Mounting Type | Weight Impact | Wind Resistance | Best For |
|---|---|---|---|
| Rigid Rails | High | High | Standard sheds |
| Flexible Adhesive | Low | Medium | Light roofs |
| Ground Mount | N/A | High | High-wind zones |
Implementing Mandatory Ventilation and Thermal Spacing
Apply the 10 cm air gap rule to prevent panel overheating. Heat reduces efficiency and stresses the solar cells. Proper airflow extends the equipment’s lifespan significantly.
Identify fire-resistant mounting materials to reduce heat transfer to the roof. Aluminum rails are better than wooden frames. Avoid placing panels directly on flammable shingles.
Secure junction boxes and conduit routing against weather-related wear. Use UV-rated conduits for all outdoor wiring. Always install balcony solar panels safely by following similar protective cable management standards.
Check connections annually. Loose wires are the leading cause of electrical fires in DIY setups.
How Do You Handle Live Panels Without Getting Shocked?
Once the structure is ready, the focus shifts to the electrical assembly where handling live current demands specific protective measures.
Managing Voltage During the Mounting Phase
Panels generate power as soon as light hits them. Always cover the glass with an opaque sheet during installation. This simple step eliminates the risk of accidental shocks.
Always cover solar panels with an opaque sheet during installation to stop power generation and prevent accidental shocks.
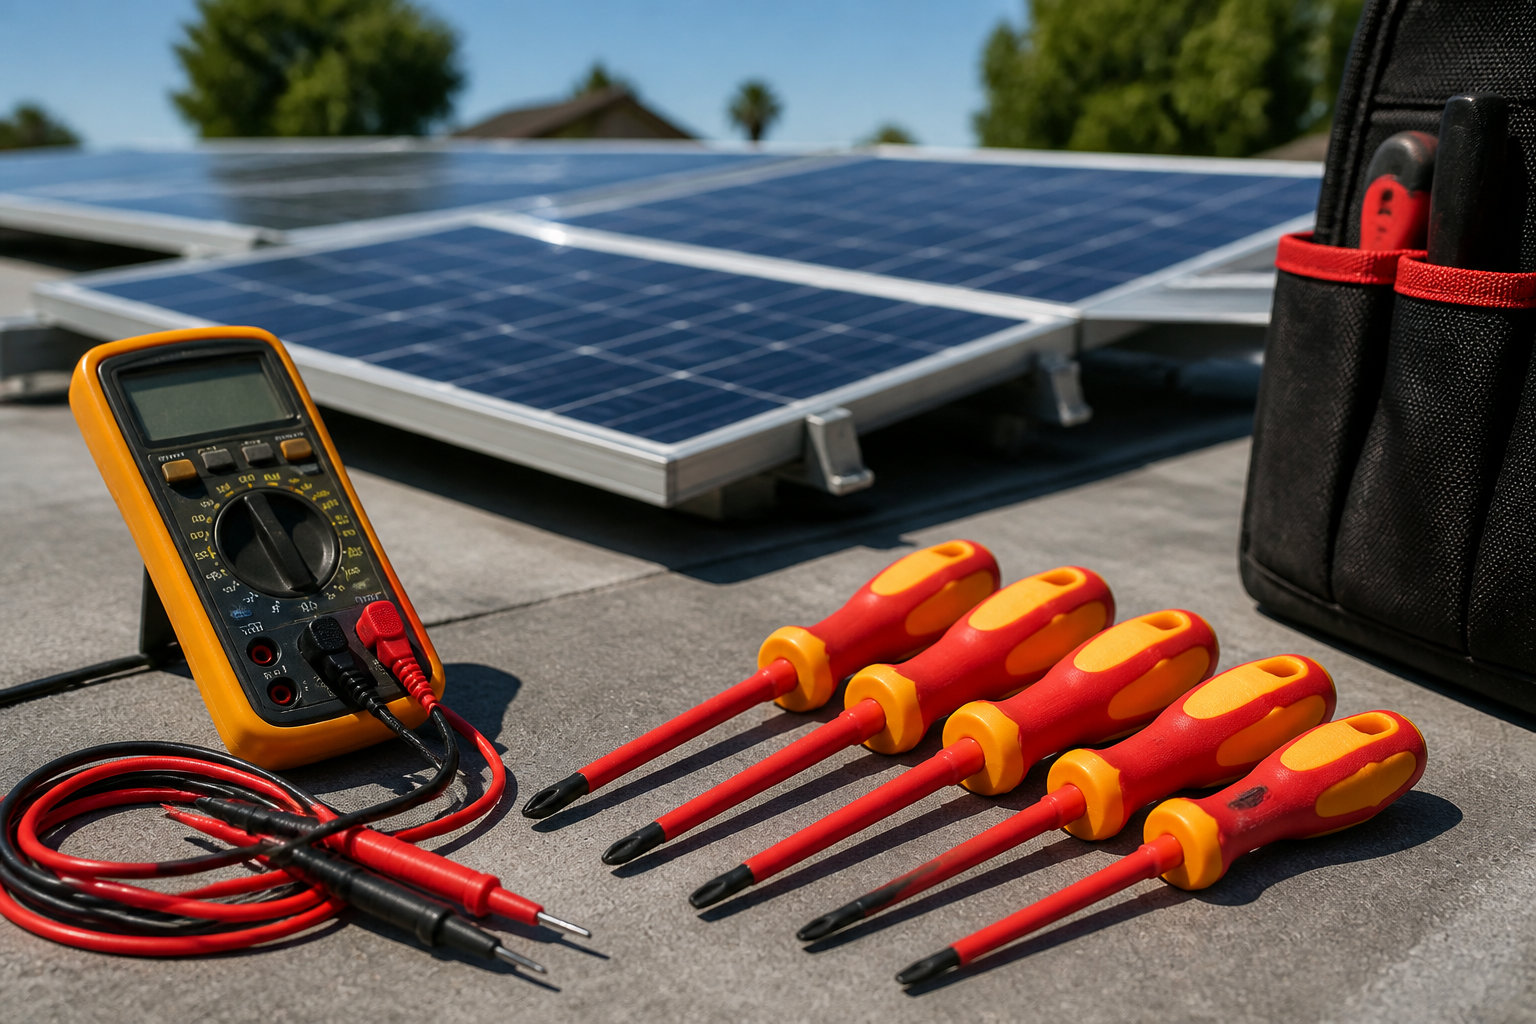
Use 1000V rated screwdrivers and pliers for all DC wiring. These insulated tools are your primary defense against conductivity. High-quality gear prevents dangerous energy transfers to your hands.
- Insulated gloves
- Multimeter
- Torque wrench
- MC4 crimping tool
Avoid disconnecting components under load to prevent dangerous arcing. Arcs can cause severe burns or ignite nearby materials instantly. Always verify the circuit is open.
Never work on a solar system during rain or high humidity to prevent conductivity risks.
Sizing Wire Gauges and Selecting Class T Fuses
Calculate voltage drop based on distance between the shed and the array. Long runs require thicker cables to maintain efficiency. Use a dedicated calculator for precision.
Integrate battery disconnect switches and high-speed Class T fuses for protection. These fuses react faster than standard breakers during a short circuit. They are essential for lithium battery banks to prevent catastrophic failure.
Match wire thickness to the maximum current output of the MPPT controller. Oversized wires are safer than undersized ones. This prevents overheating during peak production.
Label every wire. Clear identification prevents mistakes during future maintenance.
Battery Management and Long-Term System Maintenance
Beyond the initial wiring, the longevity of your shed’s power relies on how you house your batteries and maintain the hardware over time.
Safe Venting for LiFePO4 and Lead-Acid Storage
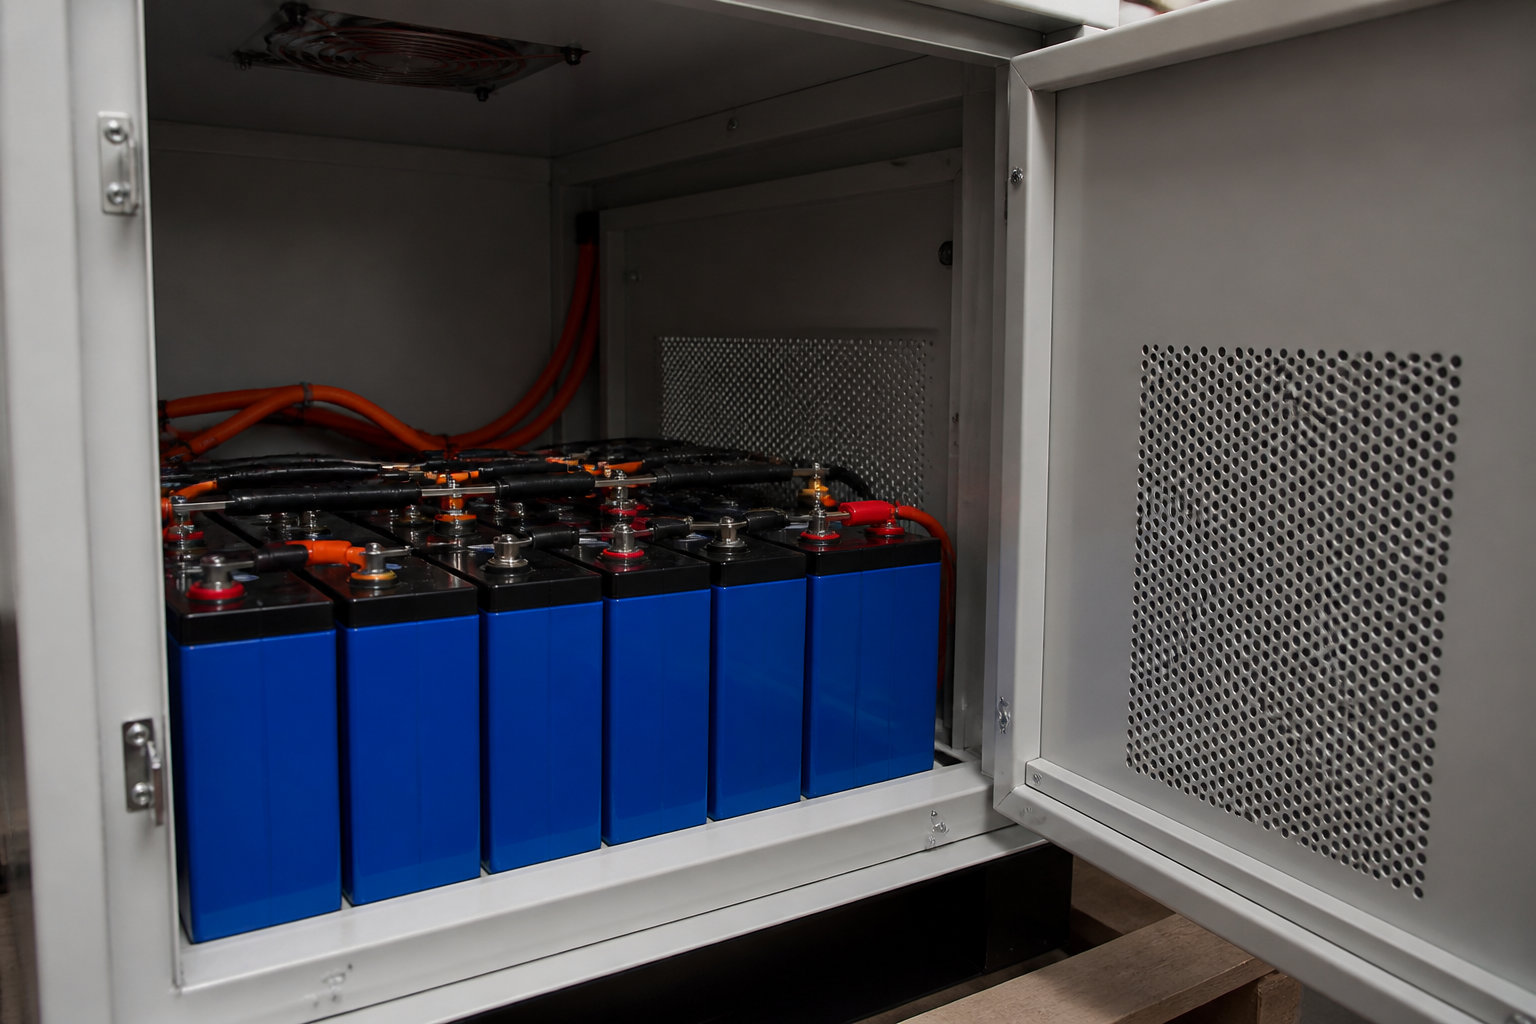
Different battery chemistries present unique risks. Lead-acid batteries release explosive hydrogen gas during charging cycles. While LiFePO4 is inherently safer, it still demands stable airflow and strict temperature control.
Design a smart ventilation system for your enclosure. Passive vents suffice for light setups. However, active fans are much better for sheds powering heavy-duty tools that generate heat.
Keep electrical components away from potential gas sources. A simple spark from a controller can ignite hydrogen. For a deeper look at your options, check out our guide on lithium vs lead-acid solar storage.
Releases hydrogen gas. Requires active venting and frequent maintenance. Lower initial cost.
No gas release. Requires temperature control (15°C to 25°C). Higher safety and lifespan.
Use sealed battery boxes. They contain accidental leaks. They also direct any stray gases outside the shed safely.
Establishing a Routine Inspection and Cleaning Schedule
Monitor junction boxes for weatherproofing failures. Moisture ingress leads to rapid corrosion and dangerous shorts. Check your seals every six months for tiny cracks or wear.
Verify the torque on all electrical connections. Vibrations or thermal expansion can loosen screws over time. A quick tightening check prevents major system failures and arcing.
Clean your panels using non-abrasive methods. Dust, pollen, and bird droppings block sunlight, slashing efficiency. Use plain water and a soft cloth for the best results.
- Monthly visual check
- Quarterly terminal tightening
- Bi-annual panel cleaning
Regular maintenance can boost performance by 20%. These simple habits protect your investment for decades.
Mastering DIY solar shed installation safety standards ensures your project is legal, efficient, and secure. By prioritizing NEC compliance, structural integrity, and proper ventilation, you protect your investment from fire risks and fines. Start your journey toward energy independence today and enjoy a reliable, high-performance power source for years to come!
FAQ
Do I really need a permit to install solar panels on my garden shed?
In most cases, yes! While sheds under 5m² typically dodge heavy paperwork, you’ll still need a formal declaration if your panels sit higher than 1.80m or if you live in a protected zone. For structures between 5m² and 20m², a Declaration of Prior Works (DP) is mandatory, requiring a Cerfa form and detailed site plans.
If your solar shed project exceeds 20m², you are entering Building Permit territory. Skipping these steps is risky; unauthorized builds can lead to insurance claim denials or even demolition orders. Always consult your local Plan Local d’Urbanisme (PLU) to ensure your panel tilt and color comply with community standards.
What are the essential electrical safety standards for a DIY solar kit?
Safety first! Your installation must adhere to strict electrical codes to prevent fire hazards. A Consuel certificate is a legal necessity if your system exceeds 3 kWc, uses battery storage, or connects to the public grid. This certification proves your setup meets rigorous safety benchmarks and is often required for insurance validity.
For smaller “plug-and-play” kits under 3 kWc used for total self-consumption, the process is simpler, but you must still ensure all components are CE marked. We highly recommend filing a CACSI agreement with Enedis to formalize your self-consumption framework and keep everything above board.
How can I safely handle solar panels during installation without getting shocked?
Solar panels are “live” the moment light hits them, so caution is your best friend! Always cover the glass with an opaque sheet during the mounting phase to stop electricity generation. This simple trick eliminates the risk of accidental DC shocks while you are positioning the hardware.
Equip yourself with 1000V rated insulated tools and never attempt to disconnect components while the system is under load, as this can cause dangerous electrical arcing. Remember: never work on your solar array during rain or high humidity, as moisture significantly increases conductivity risks.
What kind of maintenance does a shed solar system require to stay safe?
Consistency is key to a long-lasting and safe system! You should perform a monthly visual check of all wiring and a quarterly inspection to verify the torque on electrical connections. Over time, vibrations can loosen screws, which is a leading cause of heat-related failures and arcing.
Keep your panels clean using non-abrasive methods, plain water and a soft cloth work best, to maintain peak efficiency. Additionally, inspect your junction boxes every six months for any signs of moisture ingress or seal degradation to prevent internal corrosion and short circuits.
Are there specific safety rules for storing solar batteries in a shed?
Absolutely! Battery chemistry dictates your safety strategy. While LiFePO4 batteries are incredibly stable, they still require proper temperature control. If you are using lead-acid batteries, you must account for hydrogen gas venting to prevent explosive buildups in confined spaces.
Always house your energy storage in sealed, vented battery boxes and maintain a clear separation between the batteries and electrical controllers. This prevents any potential spark from the electronics from igniting gases, ensuring your autonomous power hub remains a safe asset for years to come.