A high-quality plug and play solar kit can remain operational for over 30 years, effectively turning your balcony or patio into a personal power plant with just a standard wall outlet. But with options ranging from 500W to 3000W, which setup actually delivers the best return on your investment?
Choosing the wrong hardware often leads to paying for capacity you never use or failing to cover your home’s baseline energy load. This plug and play solar kit comparison breaks down the technical metrics and legal requirements to help you select the perfect system for your specific energy habits.
- Plug and Play Solar Kit Comparison: The Basics You Need to Know
- 4 Metrics to Find Your Perfect Solar Match
- Can You Legally Plug Solar Into Your Balcony Outlet?
- Maximizing Your Wallet: ROI and Maintenance Reality
Plug and Play Solar Kit Comparison: The Basics You Need to Know
Plug-and-play solar kits utilize microinverters to feed AC power directly into standard 120V outlets, bypassing complex wiring. These grid-tie systems prioritize immediate consumption offset, differing significantly from battery-heavy portable solar generators designed for off-grid storage.
The magic happens right behind the panel where the microinverter manages the energy flow, ensuring your home gets usable power instantly.
Microinverters: The Brain Behind the Plug
Microinverters convert raw DC power from panels into usable AC electricity. They optimize each panel individually to maximize efficiency. This technology ensures you capture every possible watt from the sun.
The grid-tie mechanism syncs solar energy with your home’s frequency automatically. You simply plug the system into a standard wall outlet. This action is the ultimate shortcut to lower bills.
Modern kits rely on microinverters as the standard for safety and performance. They manage current flow effectively to protect your home. Learn more about how plug and play solar panels work to master your setup.
Grid-tie Kits vs. Portable Solar Generators
Permanent grid-tie systems differ from battery stations. Grid-tie units lack internal storage. They focus exclusively on slowing down your utility meter to reduce active costs.
Portable stations are designed for camping or blackouts. In contrast, grid-tie kits provide continuous energy injection for daily savings. Choosing the right plug and play solar kit for your home depends on your storage needs. If you want immediate savings, discover why buy a solar panel plug and play today.
4 Metrics to Find Your Perfect Solar Match
Choosing the right hardware is only half the battle; you need to match the system’s output to your specific energy habits.
Baseline Appliance Load Management
Calculate the wattage needed for a standard refrigerator. Focus on “always-on” devices like routers or standby electronics. These form your baseline consumption.
A typical 400W plug-in panel can offset the energy consumption of a modern high-efficiency refrigerator during peak daylight hours.
Evaluate capacities from 500W to 3000W. Match the kit size to your daytime usage. Don’t overbuy capacity you won’t consume immediately.
Bifacial Panels and Sun Orientation Efficiency
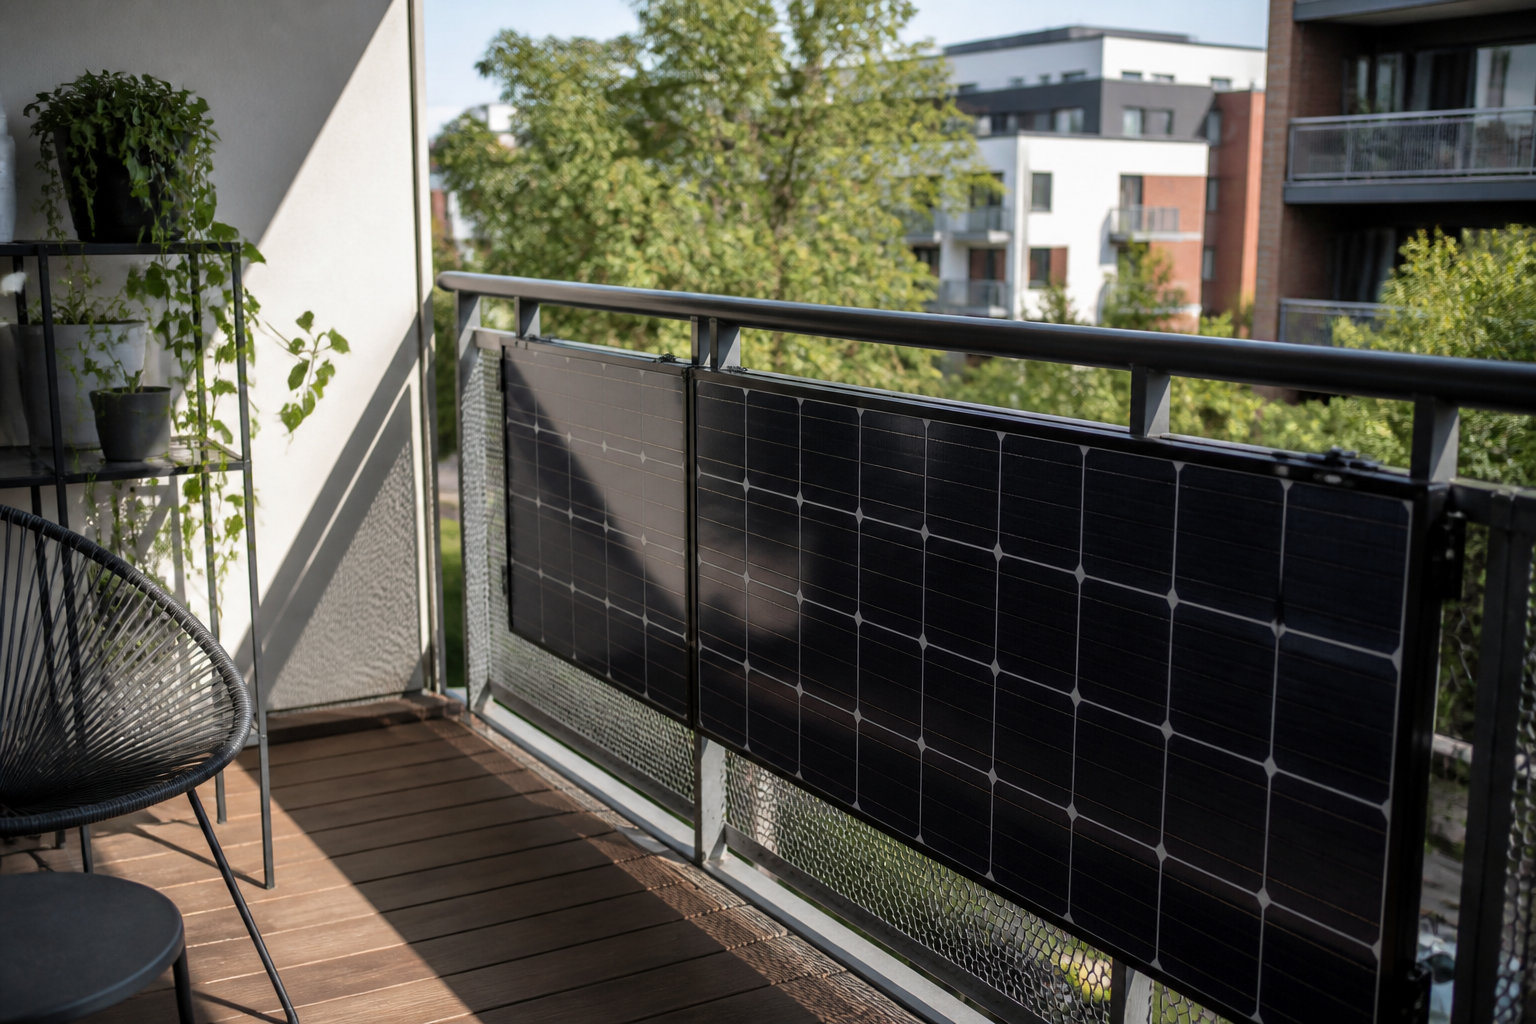
Analyze the performance boost of bifacial panels. They capture light from both sides. This is perfect for balconies with reflective surfaces. It maximizes output in tight urban spaces.
Bifacial panels capture light from both sides, ideal for reflective balcony surfaces. Southern orientation with 20-45 degree tilt increases savings by 20%.
Southern orientation is vital. Proper tilting can increase monthly savings by twenty percent. Learn how to install balcony solar panels safely to maximize these gains.
Safety Certifications and UL Standards
Identify mandatory UL standards for safety. Look for UL 1741 for microinverters. This ensures the system shuts down during power outages.
Look for UL 1741 certification for microinverters to ensure automatic shutdown during power outages.
Verify hardware durability for outdoor use. Check weatherproofing ratings for outlets. Safe unattended operation is the priority for home kits.
Can You Legally Plug Solar Into Your Balcony Outlet?
Technical specs mean nothing if your local regulations or landlord block the installation entirely.
Landlord Permissions and HOA Restrictions
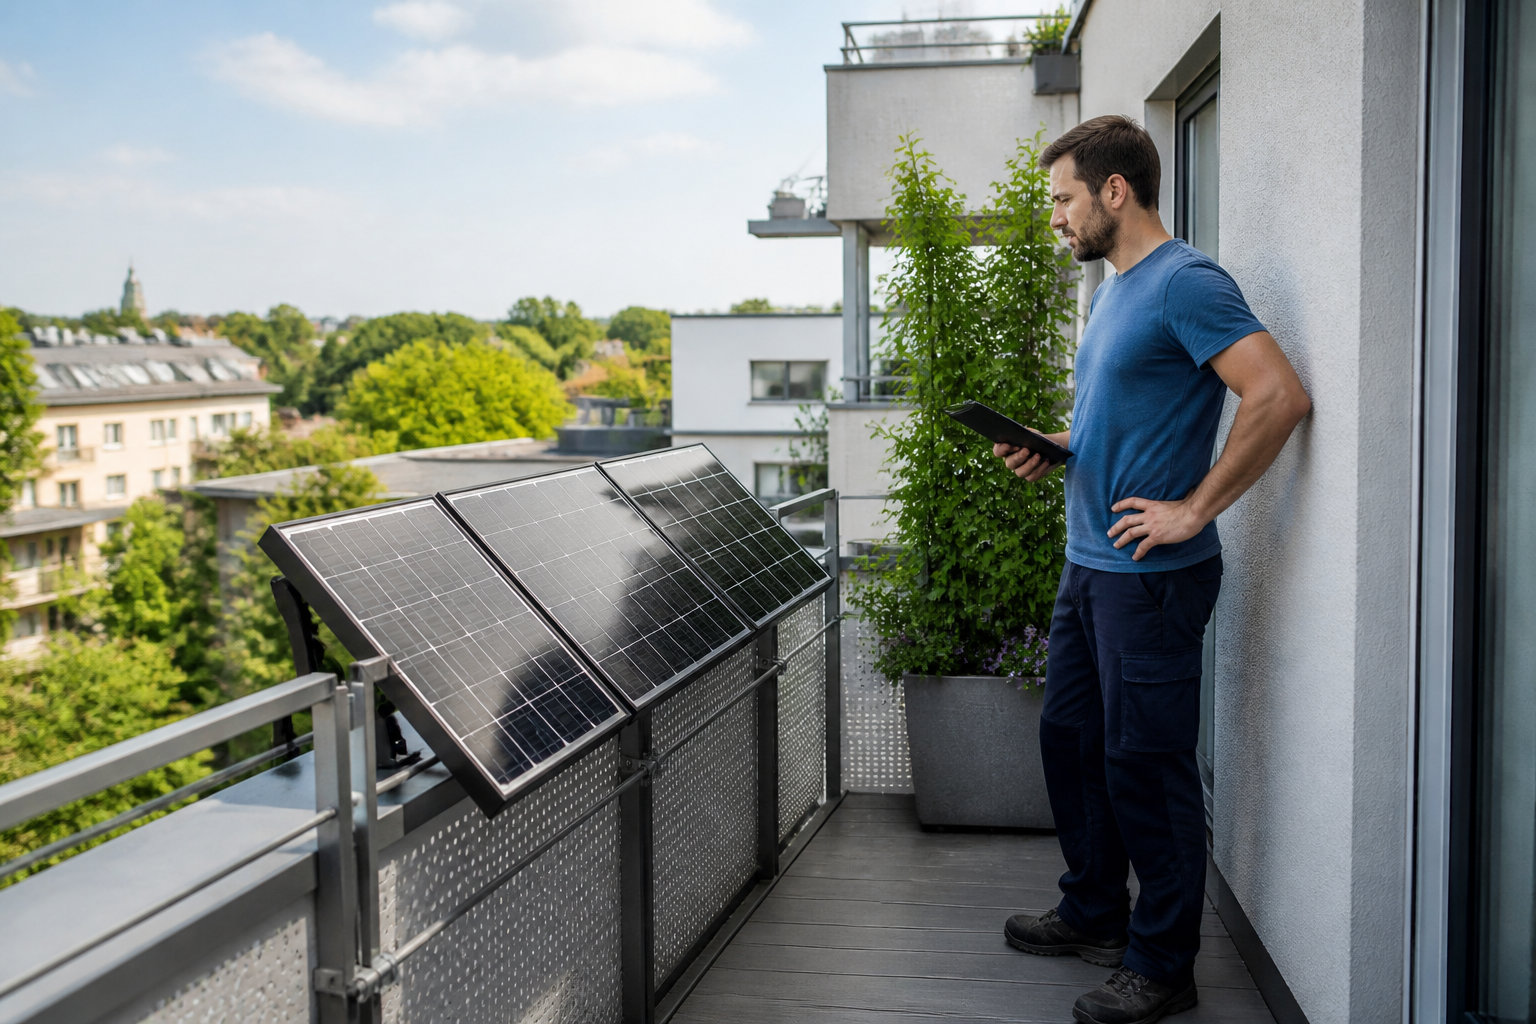
Before buying, check your HOA aesthetic rules and mounting safety guidelines. Renters must review lease agreements for specific bans. Choosing the right plug and play solar kit for your home starts with HOA approval.
Solar laws vary wildly across the country, so research your state. Some regions offer “right to dry” protections for solar users. Others require you to send a formal utility notification before plugging in. Check local solar regulations and options for renters to stay compliant.
Always get written permission from management. This simple step prevents future legal disputes. It protects your investment and your peace of mind.
Net Metering vs. Simple Consumption Offset
Net metering pays you for excess energy sent back to the grid. In contrast, simple offset just lowers your current bill. Most plug-in kits focus on self-consumption rather than selling power.
Regulatory requirements for utility agreements are often strict. These small kits rarely generate enough excess for complex net metering contracts. They are designed to cover your base load consumption efficiently.
Check if your meter is bidirectional immediately. Old meters might actually charge you for exported power. Ensure your hardware matches your utility’s technical standards.
Maximizing Your Wallet: ROI and Maintenance Reality
Beyond the legal hurdles, the ultimate question is whether the math actually adds up for your bank account.
Payback Periods and Financial Expectations
Most kits pay for themselves in five to eight years. We use current electricity prices as a baseline for these estimates. It is a straightforward way to see your savings grow.
Panels are durable and long-lasting investments. You can easily compare initial costs against the solid 25-year lifespan of the hardware.
| Kit Size | Estimated Cost | Annual Savings | Payback Period |
|---|---|---|---|
| 400W | $500 | $100 | 5 Years |
| 800W | $1000 | $160 | 6.2 Years |
| 1200W | $1500 | $220 | 6.8 Years |
| 2000W | $2500 | $350 | 7.1 Years |
Understanding the plug and play solar kit cost is the first step. Then, you can calculate residential solar kit ROI to see the long-term gains.
Troubleshooting Common Installation Hurdles
Solve issues with outdoor outlets immediately. Ensure the circuit can handle the added solar load. You must check for GFCI protection on all exterior plugs for safety.

Keep panels clean from dust and bird droppings regularly. Inspect microinverter connections once a year for corrosion. These simple tasks preserve your energy output over time.
Maintenance for plug-and-play systems is minimal, usually requiring only a quick seasonal cleaning to maintain peak photovoltaic efficiency.
Secure mounting is vital for wind resistance. Use heavy-duty brackets or weighted ballasts for balcony setups to keep everything in place.
Ready to slash your bills? Choosing the perfect plug and play solar kit comparison ensures you match high-efficiency microinverters with your home’s baseline load for maximum ROI. Secure your energy independence today and watch your utility meter slow down, your greener, pocket-friendly future starts with a single outlet.
FAQ
What exactly is a plug and play solar kit and how does it function?
Think of a plug and play solar kit as the ultimate shortcut to energy independence! ⚡ It’s a simplified solar solution designed for instant activation without the need for a professional electrician. The system uses high-efficiency solar cells to capture sunlight and convert it into DC power, which is then transformed into usable AC electricity by a microinverter.
The magic happens when you plug the kit directly into a standard 120V wall outlet. Your home’s appliances will automatically prioritize this “homegrown” energy over power from the grid, effectively slowing down your utility meter and slashing your monthly bills immediately! 💸
Is it actually legal for me to plug solar panels into my balcony outlet?
Yes, it is generally legal, but there are a few “hoops” to jump through! 🏠 In the U.S., a massive movement is growing, with 35 states introducing bills to protect your right to use plug-and-play tech. However, you must check your HOA rules or lease agreement first. While these kits are non-permanent, some associations have specific rules about facade aesthetics or mounting safety.
Safety-wise, always look for the UL 1741 certification on your microinverter. This ensures the system features “anti-islanding” technology, meaning it shuts down instantly during a blackout to protect utility workers. Don’t forget to submit a simple interconnection notification to your utility provider to stay fully compliant! ✅
How do I choose the right kit size for my specific home needs?
It’s all about matching the output to your baseline consumption! 📊 If you just want to offset “always-on” devices like your Wi-Fi router and fridge, a 400W to 500W kit is a fantastic starting point. For families looking to make a bigger dent in their energy costs, stepping up to a 2000W or 3000W system provides a much more significant solar contribution.
We recommend evaluating your daytime energy habits. Since these grid-tie kits usually lack batteries, you want to consume the power as it’s generated. ☀️ Pro tip: Opt for bifacial panels if you have a balcony; they capture light from both sides, maximizing your efficiency even in tight urban spaces!
What kind of financial return can I expect from a plug-in solar system?
Get ready for some exciting math! 📈 Most high-quality plug and play kits pay for themselves in just five to eight years. With electricity prices rising, your savings only grow over time. A standard 400W kit can save you significant money annually, and since these panels are built to last 25 to 30 years, you’re looking at decades of essentially free power.
To maximize your ROI, ensure your panels face South and stay clear of shadows. Even a small 400W panel can offset the energy of a modern high-efficiency refrigerator during peak daylight hours. It’s a low-risk investment that turns your balcony into a mini power plant! 💰
Do I need special permits or professional help to install these kits?
The beauty of plug-and-play is that you can DIY the whole thing! 🛠️ Because these are considered portable, non-permanent equipment, you typically don’t need a complex building permit. If you’re a renter, just ensure you use non-permanent mounts (like weighted ballasts or hook-on brackets) to keep your landlord happy.
Maintenance is a breeze, too. Just keep the glass clean from dust or bird droppings to maintain peak photovoltaic efficiency. 🧼 With no moving parts and pre-configured microinverters, you can go from “in-the-box” to “generating power” in less than an hour. It really is that simple!