Did you know that lithium-ion batteries can lose up to 10% of their capacity for every 10°C drop in temperature? While cold weather actually boosts silicon conductivity, the real danger lies in the physical stress of ice and moisture on your hardware.
Leaving your gear exposed to the elements often leads to cracked frames or ruined cells before the first spring thaw. We will help you master how to store mobile solar panels for winter to ensure your investment stays efficient and ready for your next adventure.
- Essential Winter Storage Strategy for Mobile Solar Gear
- 3 Steps to Prep Solar Hardware Before Frost
- Battery Maintenance and Killing Vampire Loads
- Ideal Storage Spots and Spring Deployment
Essential Winter Storage Strategy for Mobile Solar Gear
Winterizing mobile solar requires dry, climate-controlled storage to prevent thermal cycling damage. Disconnecting batteries to kill vampire loads and maintaining a 50-80% charge for LiFePO4 cells ensures long-term hardware health.
The mention of climate control leads directly into the comparison between indoor and outdoor storage options.
Deciding Between Indoor and Outdoor Storage
Indoor storage in climate-controlled garages beats sheltered outdoor spots every time. Stable temperatures effectively prevent seal degradation. Choosing an indoor space offers your gear the ultimate protection from the elements.
Extreme thermal cycling poses a massive risk to panel frames. Rapid temperature swings trigger constant metal expansion and contraction. This mechanical stress eventually weakens glass seals, allowing moisture to seep into the internal components.
Rodents frequently seek warmth inside stored gear. Mice often chew through expensive wiring during the winter months.
Mice and small mammals view your stored solar kits as perfect winter nests. Their tendency to gnaw on electrical insulation can lead to permanent damage or fire hazards upon spring reconnection.
Why Snow and Ice are the Real Enemies
Heavy snow accumulation creates significant physical weight on glass surfaces. This pressure can bow the panel surface. In extreme cases, it leads to structural damage or immediate glass shattering.
Freeze-thaw cycles expand micro-cracks within the solar cells. Water enters tiny fissures and expands when it freezes. This process gradually destroys the electrical conductivity of the internal silicon wafers.
Moisture ingress in junction boxes is a silent killer. Corroded terminals lead to total system failure. You should prioritize mobile solar efficiency in extreme climates by keeping all connections bone-dry during the off-season.
The Logic Behind Full Decommissioning
Complete system shutdown boosts component longevity significantly. Removing all electrical tension prevents early wear on parts. It is the safest method for preserving sensitive electronics during their winter dormancy.
Partial setups often lead to critical maintenance oversights. Users typically forget to check hidden connections. A fully dismantled system forces you to perform a complete inspection before spring deployment.
Enjoy total peace of mind during heavy winter storms. You won’t have to worry about electrical shorts or fires.
A fully disconnected system is a safe system; winter storms are unpredictable and can easily overwhelm active, unattended electronics.
3 Steps to Prep Solar Hardware Before Frost
Before the temperature drops, a physical inspection and cleaning routine is the only way to ensure your hardware survives the freeze.
Did you know that moisture, not just cold, is the primary enemy of your mobile panels? Proper winterization can save you from a 30% efficiency drop next spring.
Deep Cleaning and Moisture Removal
Get rid of sap, bird droppings, and industrial film immediately. These nasty contaminants can etch your glass permanently over the winter months. Always use gentle, pH-neutral cleaners to protect specialized anti-reflective coatings.
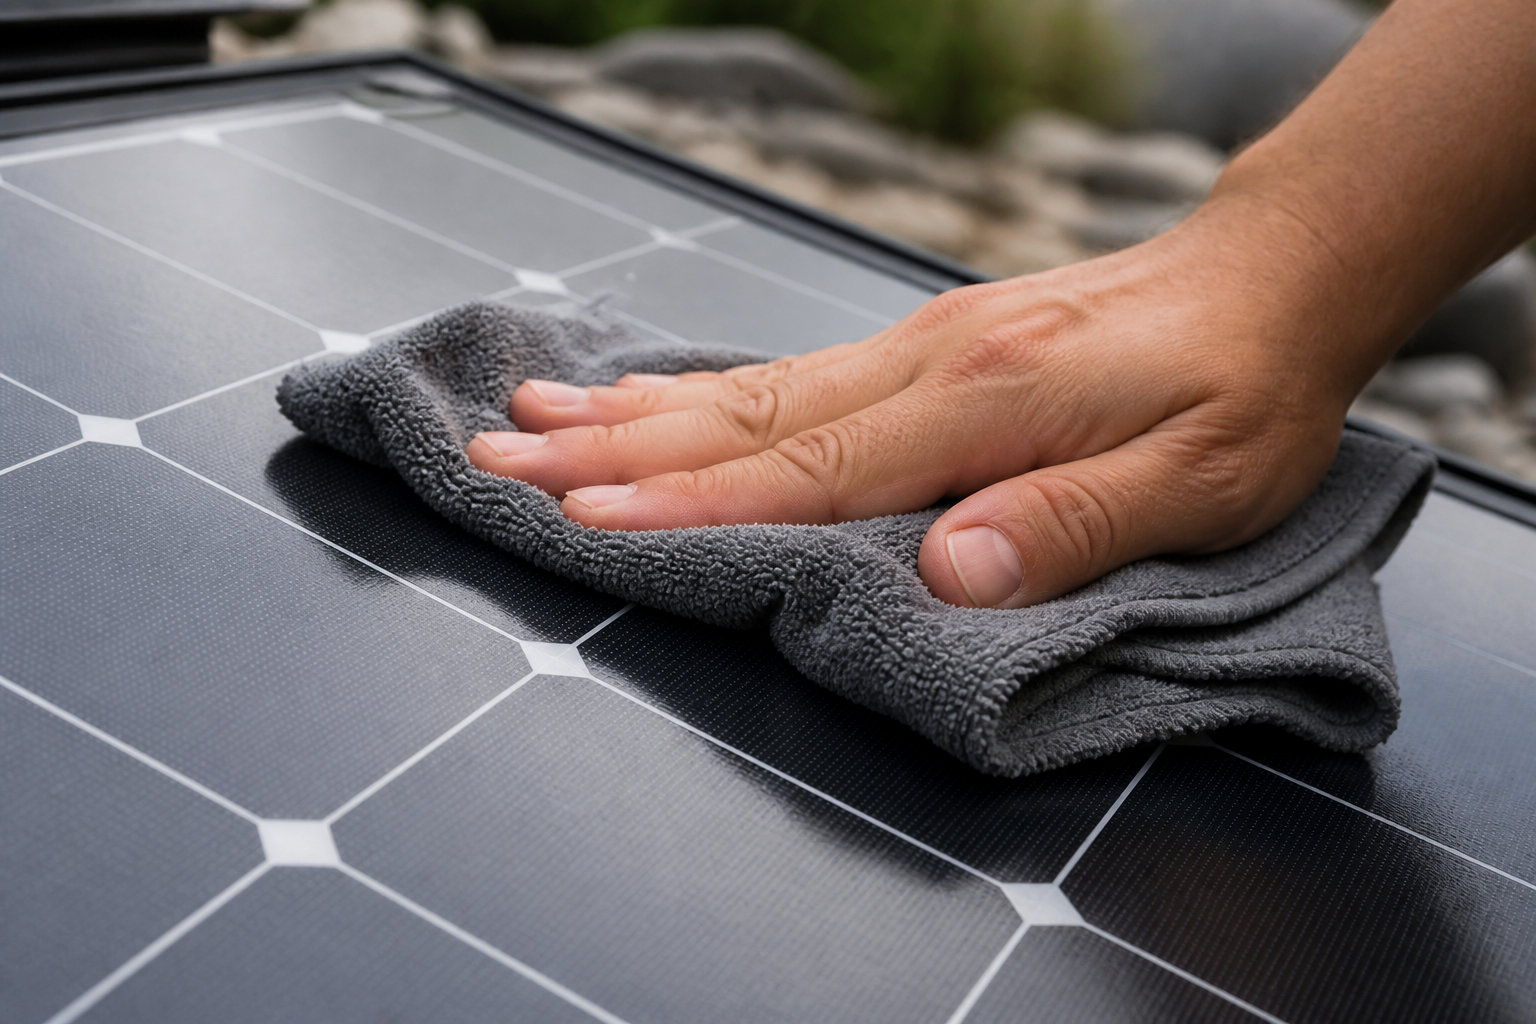
Absolute dryness prevents internal delamination during storage. Trapped moisture quickly turns into ice crystals inside the panel frame. These crystals force layers apart, leading to irreversible efficiency loss and clouded glass.
Use soft microfiber techniques to avoid creating micro-scratches on the surface. Never use abrasive brushes on your gear. Follow these specific cleaning rules:
- Use distilled water
- Microfiber cloths only
- Avoid harsh chemicals
- Dry edges thoroughly
Inspecting Cables for Physical Damage
Identify clear signs of UV degradation or fraying in your MC4 connectors. Look closely for discoloration or small cracks in the plastic housing. Damaged connectors allow water to seep directly into the wiring core.
Cold weather makes plastic insulation brittle and extremely prone to cracking. Frozen cables lose their natural flexibility instantly. Bending a frozen wire can snap the outer jacket and expose live copper wires.
Apply dielectric grease to provide essential connector protection against the elements. This simple step prevents oxidation during long months of total inactivity. Check your RV solar panel kit for specific connector compatibility before sealing.
Securing Portable Frames and Mounting Hardware
Tighten every loose bolt before moving to long-term storage. Constant vibration from travel often loosens critical hardware. Secure every nut to prevent parts from falling off during transport to the storage area.
Upright panels face high risks of wind-catchment in storage. Strong gusts can easily tip over unsecured panels, shattering the glass. Always store them perfectly flat or securely lashed to a heavy structure.
Use protective padding for glass-to-glass stacking to prevent scratches. Place cardboard or foam spacers between units. Ensure your camper solar panel kit is stored in a dry, indoor space like a garage.
Battery Maintenance and Killing Vampire Loads
While panels are hardy, your batteries are chemically sensitive and require specific voltage management to survive sub-zero temperatures.
Cold Weather Impact on LiFePO4 and Lead-Acid
Electrolytes in lead-acid batteries freeze easily if they are discharged. A frozen casing often cracks under pressure. This leads to dangerous acid leaks and total equipment failure.
Lithium batteries cannot be charged below freezing. Charging in the cold causes permanent lithium plating. This destroys internal cell structures, so always warm them first.
Lithium remains remarkably stable in sub-zero environments compared to lead-acid. It loses capacity slower during storage. Check out this guide on lithium vs lead-acid solar storage for more details.
Disconnecting to Prevent Parasitic Drain
Charge controllers and inverters create vampire loads by consuming power constantly. Even small draws add up over time. They can completely flatten a healthy battery bank in months.
Physical disconnection is always safer than using a software switch. Software toggles can reset or fail unexpectedly. Removing the main fuse is the only way to be 100% certain.
Always remove the negative terminal first. This simple step prevents accidental short circuits if your wrench touches the metal frame. Safety is your top priority here.
Follow a strict sequence for safe cable removal. Start with the negative side to break the circuit. Secure the loose cables to prevent any accidental contact during the winter.
Choosing Between Trickle Charging and Isolation
Smart maintainers work wonders for lead-acid setups during the off-season. However, they are often unnecessary for lithium systems. Proper isolation is usually enough to keep lithium cells healthy.
Aim for the 50-80% charge rule for long-term lithium health. Storing at 100% causes unnecessary chemical stress. Conversely, storing at 0% leads to permanent cell death very quickly.
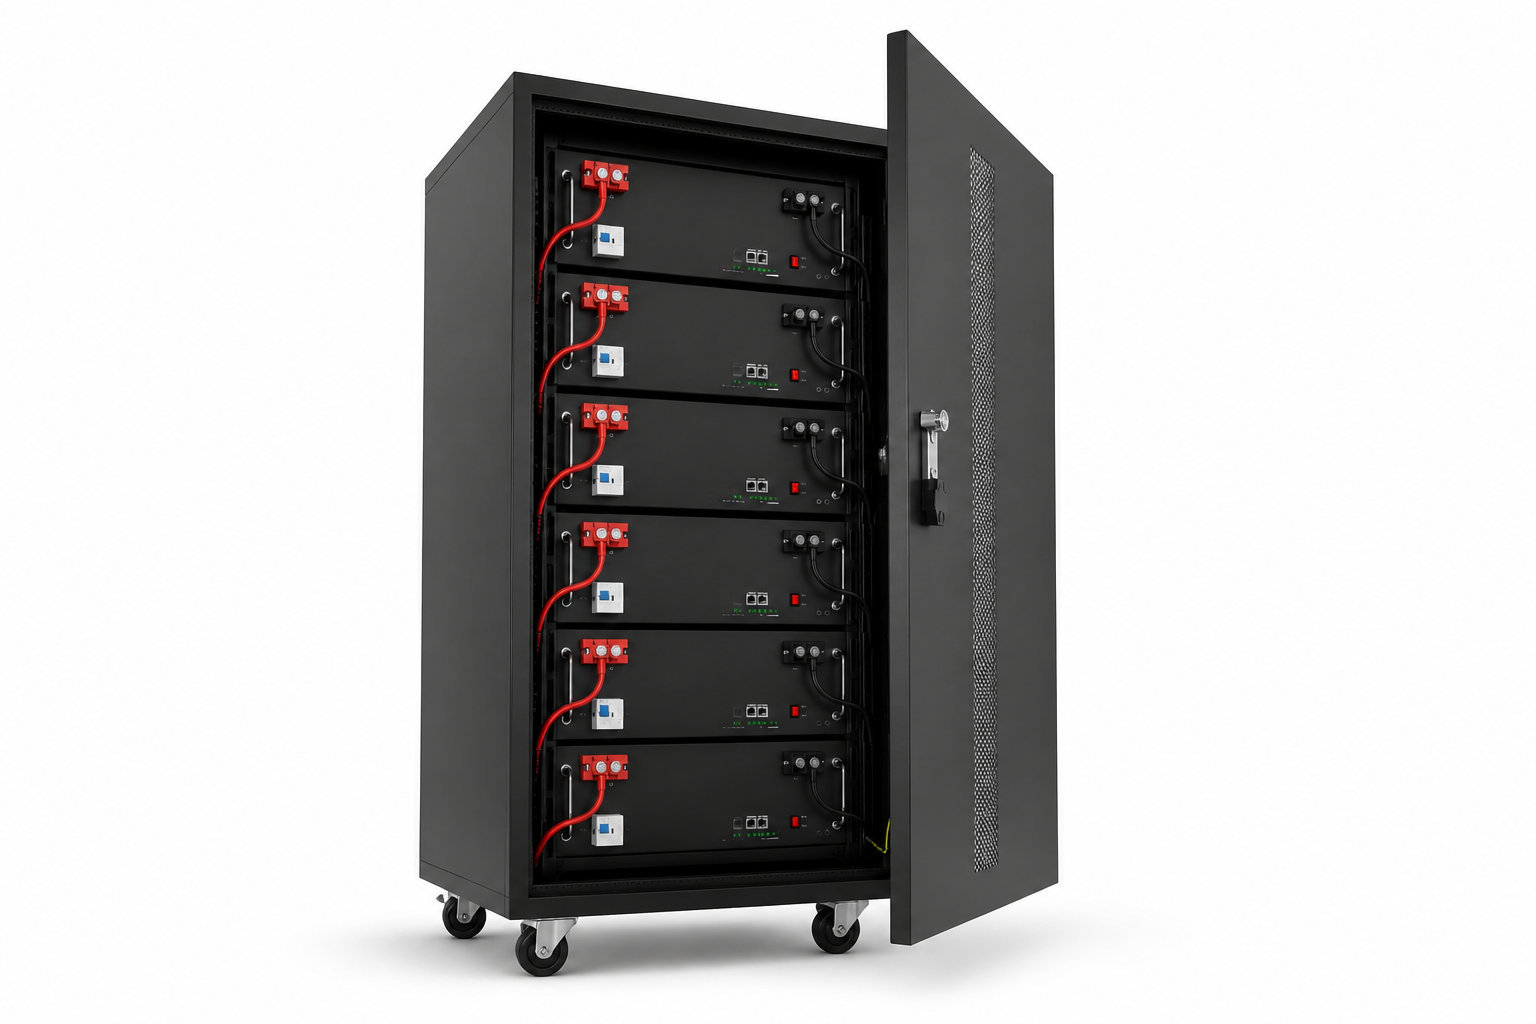
Monitor your voltage periodically using a handheld multimeter. This keeps the system “asleep” while you check levels. Knowing your solar battery price and home cost helps justify this protective maintenance.
Ideal Storage Spots and Spring Deployment
Once the hardware is prepped, choosing the right environment is the final step before the long winter wait begins.
Selecting a Dry and Controlled Environment
Identify the best spots in a home to avoid condensation. Basements are often too damp. A spare closet or a dry attic space provides the most stable humidity levels.
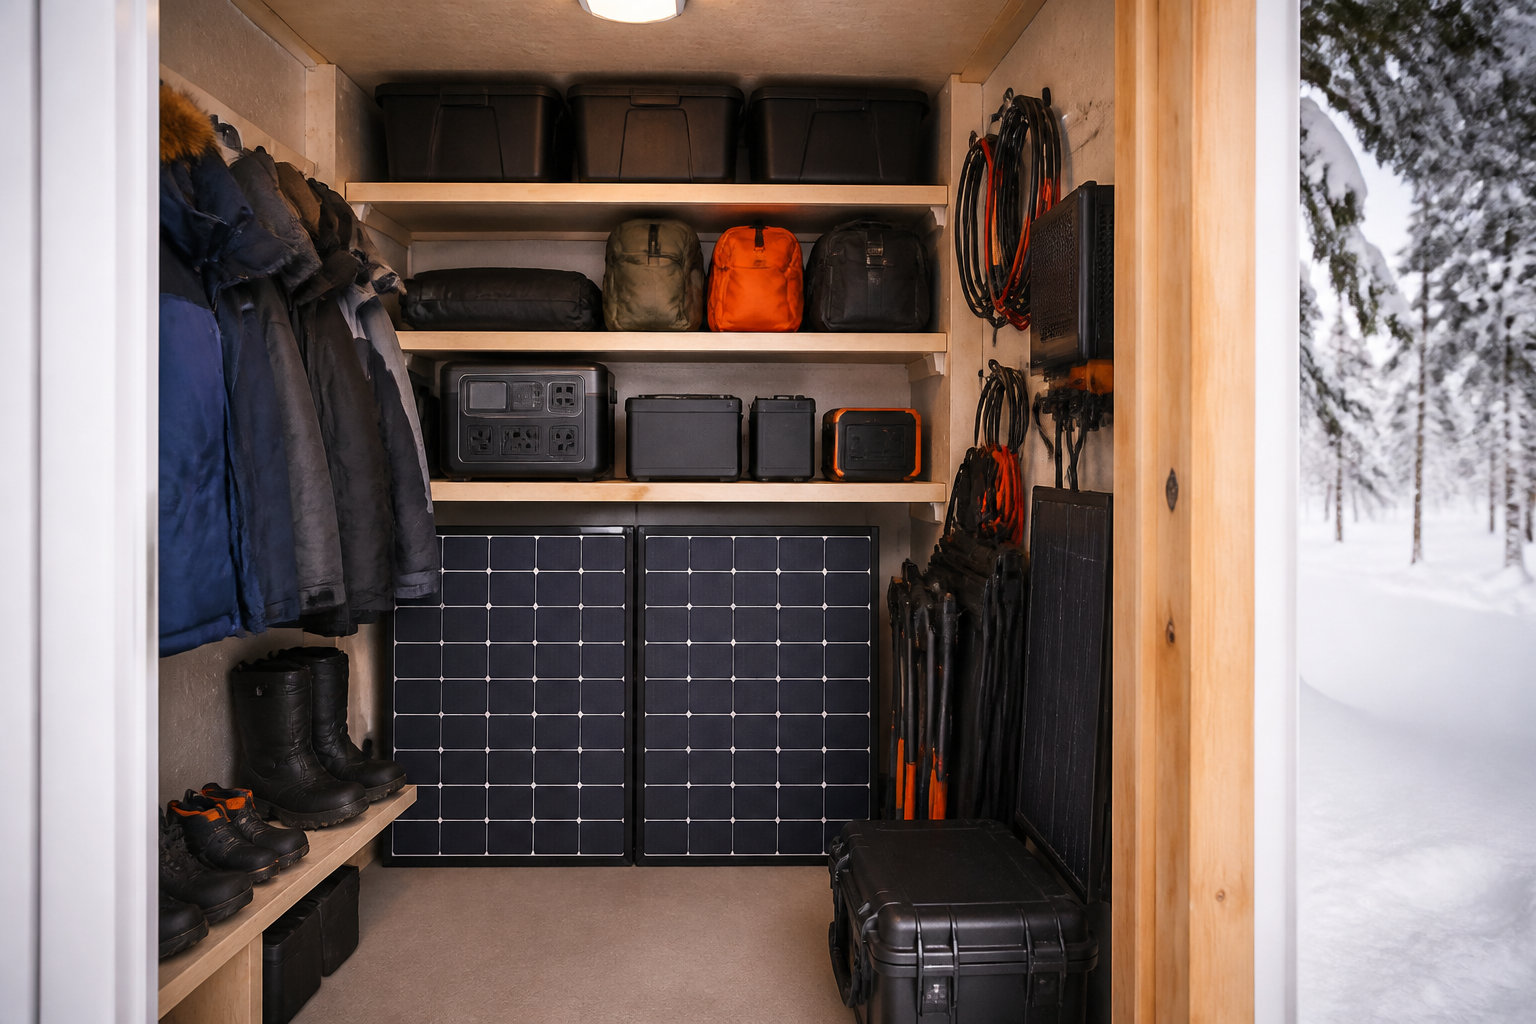
Airflow remains vital even in enclosed spaces. Stagnant air encourages mold growth on fabric components. Leave a small gap between stored items. This allows moisture to evaporate rather than settling on sensitive glass.
Use breathable covers to block dust. Avoid plastic sheets that trap moisture. Humidity control is your best ally for long-term gear health.
| Storage Location | Humidity Level | Temperature Stability | Recommendation |
|---|---|---|---|
| Heated Garage | Low | High | Yes |
| Unheated Shed | High | Low | No |
| Indoor Closet | Low | High | Yes |
| Damp Basement | High | Medium | No |
Verifying Solar Output After Winter Storage
Perform a multi-meter test for open-circuit voltage. Check each panel individually before connecting them. This ensures no internal cells were damaged by the cold or hidden moisture ingress.
Follow a gradual reconnection process to avoid surges. Connect the battery to the controller first. Then, add the solar panels to the circuit. This order protects the controller’s logic from high-voltage spikes.
A quick cleaning refresh is smart before the first spring sun exposure. Remove any dust accumulated during storage. Knowing how to store mobile solar panels for winter properly ensures you are ready for your next adventure.
To ensure your gear survives the freeze, remember to deep clean every surface, disconnect batteries to kill vampire loads, and choose a dry, indoor spot. Acting now prevents permanent cell damage and guarantees peak performance for spring. Mastering how to store mobile solar panels for winter protects your investment forever.
FAQ
Is it really necessary to store my mobile solar panels indoors during the winter?
While solar panels are built to be tough, indoor storage is the gold standard for protecting your investment. Storing your gear in a dry, climate-controlled space like a spare closet or a heated garage prevents seal degradation caused by extreme thermal cycling. By avoiding rapid temperature swings, you ensure the structural integrity of the glass and frames remains intact for years to come.
Outdoor storage exposes your equipment to unnecessary risks, including heavy snow loads that can bow the panels and rodents looking for a warm place to chew on expensive wiring. If you want to guarantee your system is ready for spring, keeping it in a stable, indoor environment is the smartest move you can make.
Can freezing temperatures actually damage my solar hardware?
The cold itself doesn’t usually hurt the photovoltaic cells, but moisture and ice are your real enemies. When water enters micro-cracks or junction boxes and freezes, it expands, which can lead to internal delamination or total system failure. This freeze-thaw cycle gradually destroys the electrical conductivity of the internal silicon wafers, leading to irreversible efficiency loss.
Furthermore, extreme cold makes plastic insulation on cables brittle and prone to cracking. Bending a frozen wire can snap the outer jacket, exposing live copper and creating safety hazards. Taking the time to deep clean and thoroughly dry your panels before storage prevents these ice crystals from forming in the first place.
How should I manage my batteries when the temperature drops?
Batteries are the most chemically sensitive part of your kit and require specific voltage management to survive sub-zero weather. For LiFePO4 cells, you should aim for a 50-80% charge level before storage; never store them at 0% or 100%, as this causes permanent stress. Most importantly, never charge Lithium batteries below freezing, as this causes lithium plating that destroys the cells.
For Lead-acid batteries, keeping them fully charged is vital because a discharged battery can actually freeze and crack its casing. Regardless of the chemistry, we recommend a physical disconnect of all cables to kill “vampire loads.” These tiny parasitic draws from controllers and inverters can completely flatten your battery bank over a long winter, leading to premature failure.
What is the best way to prep my panels for long-term storage?
Start with a deep cleaning using distilled water and a soft microfiber cloth to remove bird droppings and sap, which can etch the glass over time. Once they are completely dry, inspect all MC4 connectors for signs of UV damage or fraying. Applying a bit of dielectric grease to the terminals is a great way to prevent oxidation while the system is dormant.
When stacking your panels, always use cardboard or foam spacers to prevent glass-to-glass contact. If you must store them in a shed, ensure they are securely lashed down or stored flat to avoid wind-catchment. A breathable cover is also a fantastic addition to block dust while allowing moisture to evaporate, preventing mold growth on fabric components.
How do I safely restart my solar system in the spring?
Before you jump back into your adventures, perform a multi-meter test for open-circuit voltage on each panel individually. This simple check ensures that no internal damage occurred during the winter months. Once verified, give the glass a quick refresh to remove any dust that accumulated during storage to maximize your initial sun exposure.
When reconnecting, always follow the proper sequence: connect the battery to the charge controller first, and then add the solar panels. This specific order protects the controller’s sensitive logic from high-voltage spikes. Taking these few extra minutes ensures your mobile power grid is safe, efficient, and ready to fuel your next journey.