Static buildup in dry camping environments can turn a simple metal frame into a source of painful shocks or fry your expensive charge controller. While many portable setups under 100W operate safely as floating systems, larger arrays often require a dedicated safety path to prevent equipment damage and lethal electrical surges.
We have analyzed the technical requirements to help you determine if your kit needs protection and exactly how to ground a portable solar panel to keep your campsite secure. Let’s break down the process of bonding frames and installing temporary earth rods to safeguard your investment.
- How to Ground a Portable Solar Panel for Safety
- 3 Factors for Choosing Between Floating and Grounded Systems
- Step-by-Step Procedure for Equipotential Bonding
- How Do You Verify Your Ground Connection Works?
How to Ground a Portable Solar Panel for Safety
Grounding prevents equipment damage and lethal shocks by diverting excess current. Standalone setups under 200W often remain floating, but larger arrays require equipotential bonding of frames to a common earth point via copper rods, especially in dry environments where static buildup occurs.
The distinction between simple frame protection and full electrical grounding is the first technical hurdle to clear.
Chassis Grounding: Connecting the metal frame to prevent it from becoming live. Electrical Grounding: Connecting the active circuit to the earth to provide a fault path.
Differences Between Chassis and Electrical Grounding
Grounding for portable kits provides a safe path for stray electricity. This is vital for standalone systems operating in the wild. It keeps your setup stable and secure.
Frame protection prevents metal casings from becoming live. System grounding connects the actual circuit to the earth. Both play different roles in how plug and play solar panels work safely. We must prioritize both.
Fault current travels through the wire instead of your body. This dedicated path ensures your campsite remains a safe zone. It is a simple but effective fix.
Role of Grounding in Preventing Shocks
Grounding diverts electricity away from you. It acts as a relief valve for sudden surges. This prevents the metal casing from delivering a shock during shorts.
A proper ground is not just a wire; it is the primary insurance policy for your expensive solar investment against unpredictable atmospheric static.
Voltage spikes can easily fry sensitive charge controllers. A solid ground path absorbs these spikes instantly. This protects your internal electronics from permanent damage.
Grounding triggers fuses or breakers much faster. This rapid response minimizes fire risks in your campsite. Safety should always be your top priority.
3 Factors for Choosing Between Floating and Grounded Systems
While grounding offers protection, not every small-scale kit needs a physical connection to the earth to operate safely.
Safety Risks of Ungrounded Portable Generators
Units without lugs lack dedicated earth bonding terminals. This creates risks if internal insulation fails during use. The frame can become energized unexpectedly.
Dry camping spots generate high friction. Static electricity accumulates on frames and discharges painfully. Proper legal safety setup prevents these sudden, sharp shocks.
Decision Matrix for Small Scale Setups
Systems over 200W or 50V usually require grounding. High voltage increases the danger of lethal currents crossing the body. Safety becomes a priority here.

Kits under 100W are often safer isolated. This prevents accidental loops in mobile environments. Isolation simplifies your setup while maintaining basic protection.
| System Type | Wattage Threshold | Grounding Required | Best Use Case |
|---|---|---|---|
| Ultra-Portable | <100W | No | Camping |
| Small Kit | 100-200W | Optional | RV |
| Large Array | >200W | Yes | Cabin/Off-grid |
| Fixed Off-Grid | Any | Yes | Residential |
When to Leave a System Floating
Floating systems lack an earth reference. This makes it harder for faults to complete circuits through you. Isolation provides a specific layer of safety.
Mobile setups on rubber tires are naturally insulated. Adding rods can sometimes create new electrical problems. Keep your camping solar panels isolated to avoid unnecessary grounding loops.
Step-by-Step Procedure for Equipotential Bonding
If your power needs dictate a grounded setup, following a strict sequence ensures the system remains stable and safe.
- Link frames with copper wire.
- Use star washers for contact.
- Connect to a common bus bar.
- Drive the rod into the earth.
Bonding Panel Frames in a Daisy-Chain
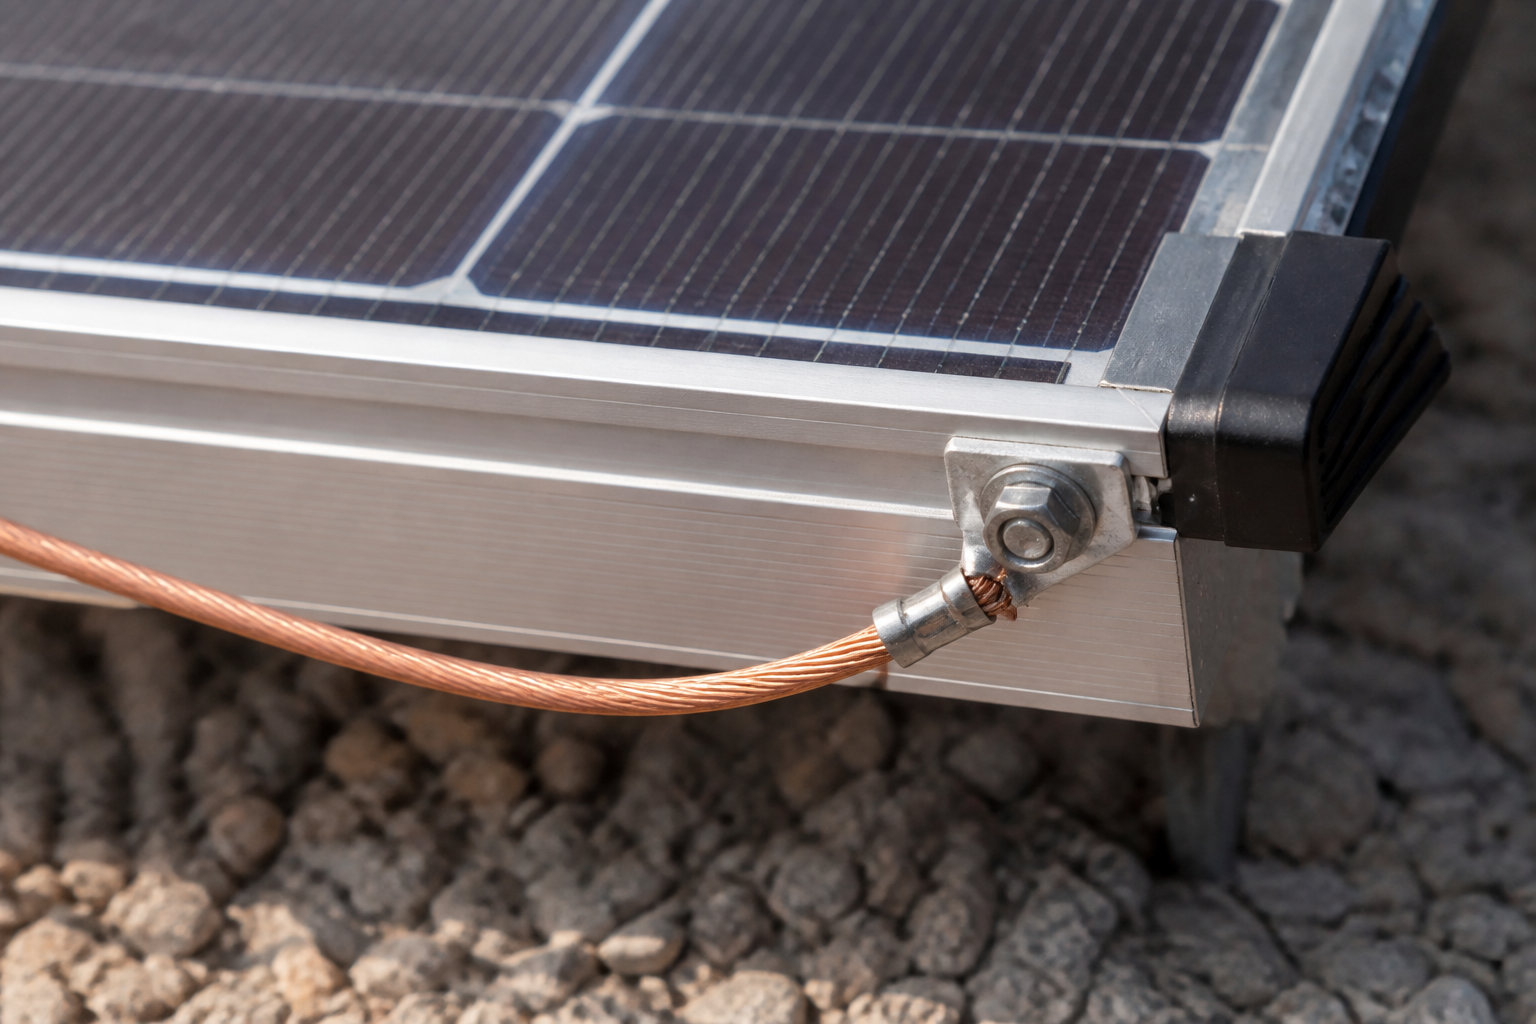
Link multiple panels together. Use bare copper wire to connect every metal frame. This ensures all panels share the same electrical potential.
Specify wire gauges. A 6 AWG or 10 AWG wire is standard for bonding. Thicker wire handles fault current better without causing resistance issues.
- Required wire gauges
- Grounding lugs
- Stainless steel hardware
- Star washers
Connecting Components to a Common Ground Point
Explain the central bus bar. Every component must lead to one single point. This prevents ground loops and safety hazards in your electronics.
Detail the path to the rod. Run a heavy lead from the bus bar to the earth rod. Ensure the connection is clean for a stealth van solar setup guide.
Installing a Ground Rod in Dry or Moist Soil
Compare sand versus forest soil. Dry sand has poor conductivity. You may need longer rods to reach moist, conductive earth layers.
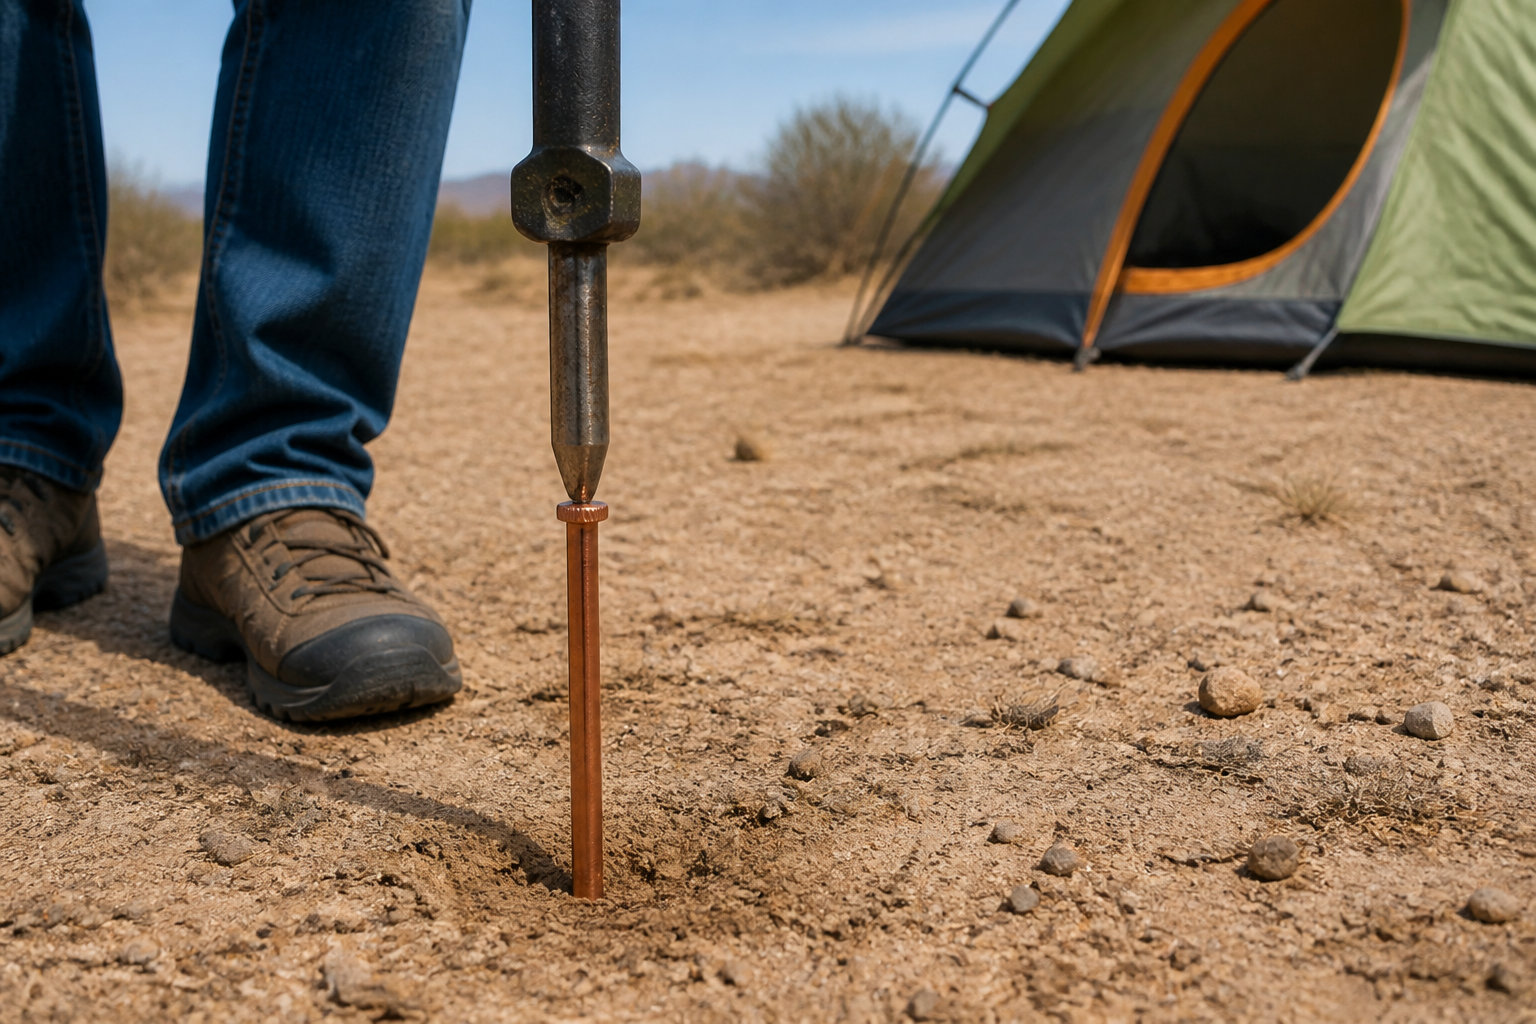
In dry environments, pour water around the rod base to temporarily increase soil conductivity and improve the safety path.
Tips for temporary installation. Use a shorter 4-foot copper rod for camping. Pouring water around the base can improve the ground connection significantly.
How Do You Verify Your Ground Connection Works?
Installation is only half the battle; you must verify that your safety net is actually functional before turning on the power.
Measuring Resistance With Specialized Testing Equipment
Grab your multimeter now. Set the device to the ohms setting carefully. Measure the resistance between the panel frame and the actual ground rod in the earth.
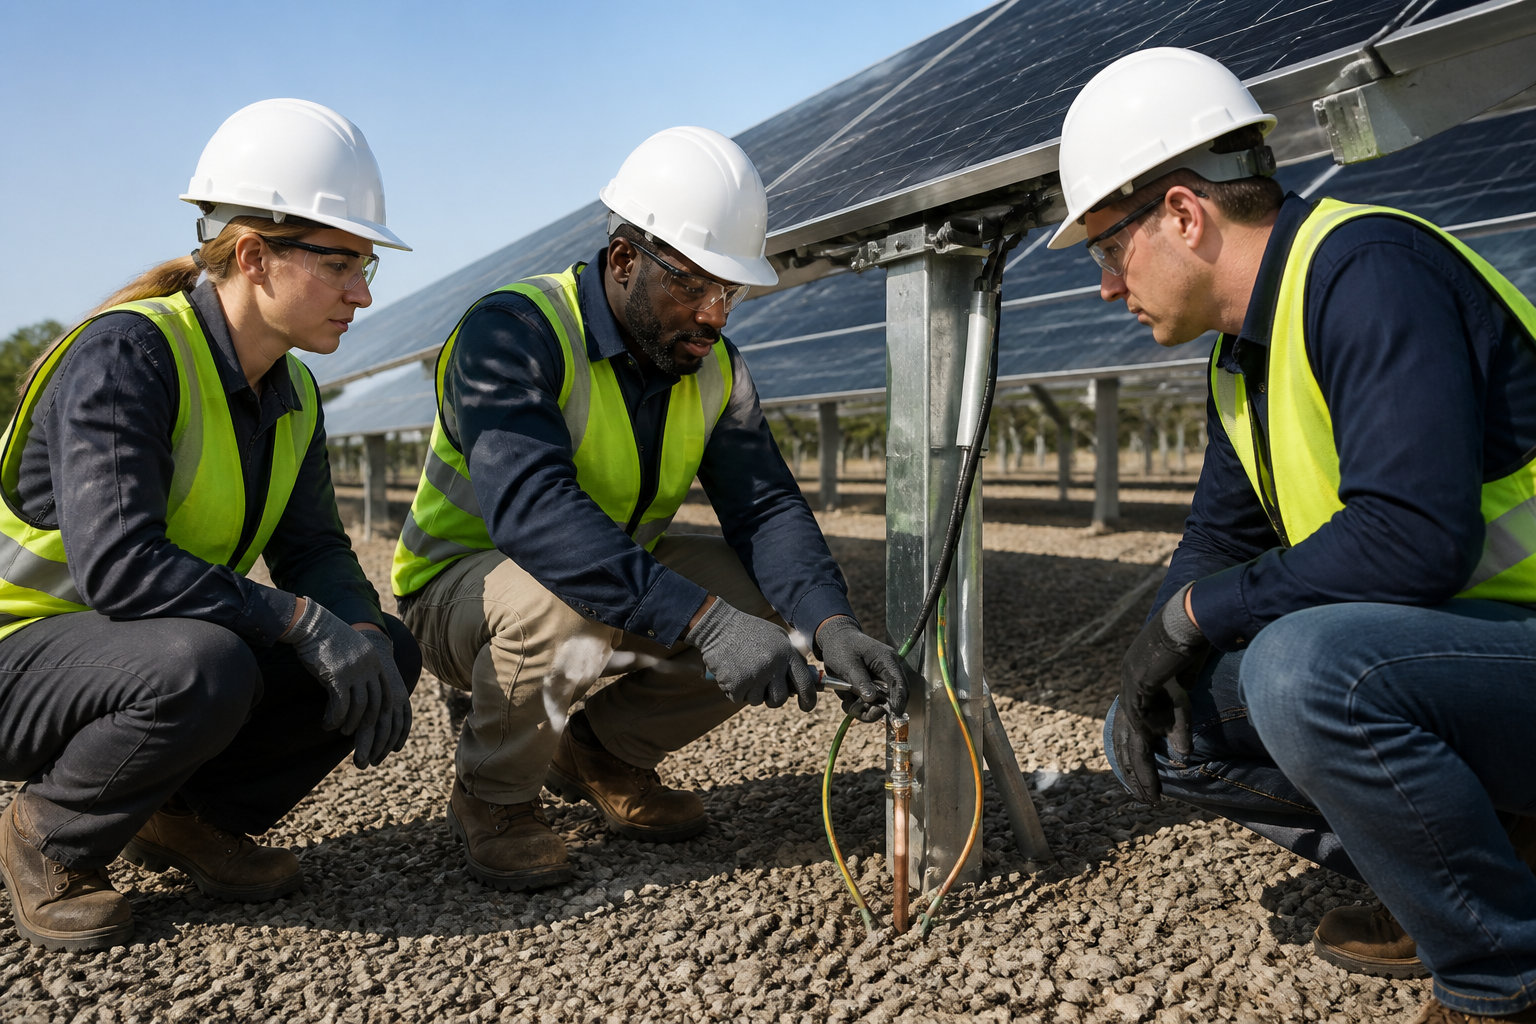
Check your reading immediately. A reading below 25 ohms is generally considered safe. Lower resistance means the electricity can escape to the ground more easily during a fault. Maintaining solar panel kit efficiency in winter requires these solid connections.
Integrating Surge Protection Devices (SPDs)
SPDs work with grounding. The ground rod handles steady current. The SPD catches massive, sudden spikes from nearby lightning strikes or grid surges.
Grounding provides the path, but a Surge Protection Device provides the gatekeeper that blocks high-voltage transients from destroying your gear.
Install the device correctly. Place the surge arrestor between the panels and the controller. Connect the SPD’s ground wire directly to your common ground bus bar.
Maintenance Routines for Corrosion and Wire Sizing
Stick to a schedule. Inspect all connections every three months. Look for green oxidation or rust on the copper rod and the terminal lugs.
Watch your wiring closely. Ensure cables haven’t frayed or become loose. Long distances require thicker wires to maintain a low-resistance path to earth. This is vital for any RV solar panel kit setup.
Secure your setup by bonding metal frames to a common ground and using copper rods to divert surges. Proper grounding prevents lethal shocks and protects expensive gear from static buildup. Safety is non-negotiable: verify your connections today to ensure a worry-free, powered adventure tomorrow.
FAQ
Do I really need to ground my portable solar panels while camping?
Safety is our top priority! While small standalone kits under 100W are often safe to leave “floating,” larger setups over 200W or systems exceeding 50V definitely require grounding. Grounding creates a vital safety path for stray electricity, preventing lethal shocks and protecting your expensive gear from sudden voltage spikes or static buildup in dry environments.
How do I set up a ground connection in very dry soil?
Dry sand or rocky earth has poor conductivity, making traditional grounding tricky. We recommend using a longer copper rod (at least 4 feet for camping) to reach deeper, moist soil layers. A pro tip for campers: pour water around the base of your ground rod to temporarily boost conductivity and ensure a solid connection to the earth.
What is the difference between frame bonding and system grounding?
We need to distinguish between two safety layers. Frame bonding involves connecting the metal frames of your panels together so they share the same electrical potential, preventing the metal from becoming “live.” System grounding connects the actual electrical circuit to a common earth point, like a ground rod, to safely divert fault currents away from your body.
Can I just ground my solar kit to my RV chassis?
Connecting to a vehicle chassis is known as “bonding to mass,” which creates a common reference point but isn’t a true earth ground. While this helps for 12V safety, a dedicated ground rod is much more effective for lightning protection and dissipating static, especially if you are setting up a semi-permanent camp or using high-wattage arrays.
How can I verify that my ground connection is actually working?
You can easily test your setup using a multimeter set to the ohms (Ω) setting. Measure the resistance between your solar panel frame and the ground rod; for maximum safety and equipment protection, we aim for a reading below 25 ohms. If the resistance is too high, your safety net might fail to divert current during a short circuit.
What equipment do I need to ground my portable panels safely?
To build a reliable safety system, you will need 6 AWG or 10 AWG copper wire, grounding lugs, and stainless steel hardware to prevent corrosion. We also suggest using star washers to ensure deep metal-to-metal contact through the panel’s protective coating, along with a portable copper ground rod for the final earth connection.