A high-quality MPPT charge controller can boost your energy harvest by up to 30% compared to standard PWM systems, even in overcast conditions. This efficiency gain is the difference between a dead battery and total off-grid independence when your roof space is limited by visibility constraints.
We often see travelers struggle with visible hardware that ruins their profile or overheats their interior. This stealth van solar setup guide provides the exact blueprint to build a low-profile power system using 3M VHB bonding and custom aluminum frames to keep your rig looking like a standard work van while maintaining peak performance.
- Stealth Van Solar Setup Guide: Master the Low-Profile Power
- 3 Non-Invasive Mounting Techniques for a Hole-Free Roof
- Wiring and Component Selection for Maximum Efficiency
- Maintenance and Stealth Strategies for Long-Term Success
Stealth Van Solar Setup Guide: Master the Low-Profile Power
Stealth van setups require 200W-400W of solar capacity paired with MPPT controllers for efficiency. Rigid panels offer superior heat dissipation via 1-inch air gaps, whereas flexible alternatives prioritize a zero-visibility profile on curved roofs. The Secrets to a perfect stealth van solar setup rely on balancing this thermal management with total discretion.
Rigid vs. Flexible Panels: The Heat and Longevity Trade-Off
Rigid panels use tempered glass for decade-long durability. Flexible options rely on plastic surfaces that suffer from UV degradation. Over years, this plastic clouds and cracks, killing your energy output. Airflow under rigid panels prevents thermal buildup effectively.
Metal roofs trap extreme heat directly under flexible cells. High temperatures significantly reduce solar efficiency and can even damage your van’s paint. Choosing between flexible vs rigid solar panels for vans is a vital decision for full-timers.
Calculating Your Daily Energy Needs With a Power Audit
Typical draws like 12V fridges consume 40Ah daily. Guessing leads to dead batteries. Accuracy is vital for maintaining reliable stealth power without external charging. Use this data to calculate solar power needs for van life accurately.
- Fridge (3-5A) / Laptop (5-8A)
- Diesel heater (2A) / Pump (4A)
We recommend matching panel wattage to battery capacity for optimal lithium health. This ensures your system remains efficient and your footprint remains invisible to the outside world.
3 Non-Invasive Mounting Techniques for a Hole-Free Roof
While knowing your power needs is the foundation, securing the hardware without compromising the van’s shell is the next technical hurdle.
High-Strength Adhesive Tape and VHB Bonding Secrets
Scrub the roof surface using 90% isopropyl alcohol. Remove all wax and road film. This allows 3M VHB tape to create a permanent molecular bond. Surface prep is the absolute priority here.
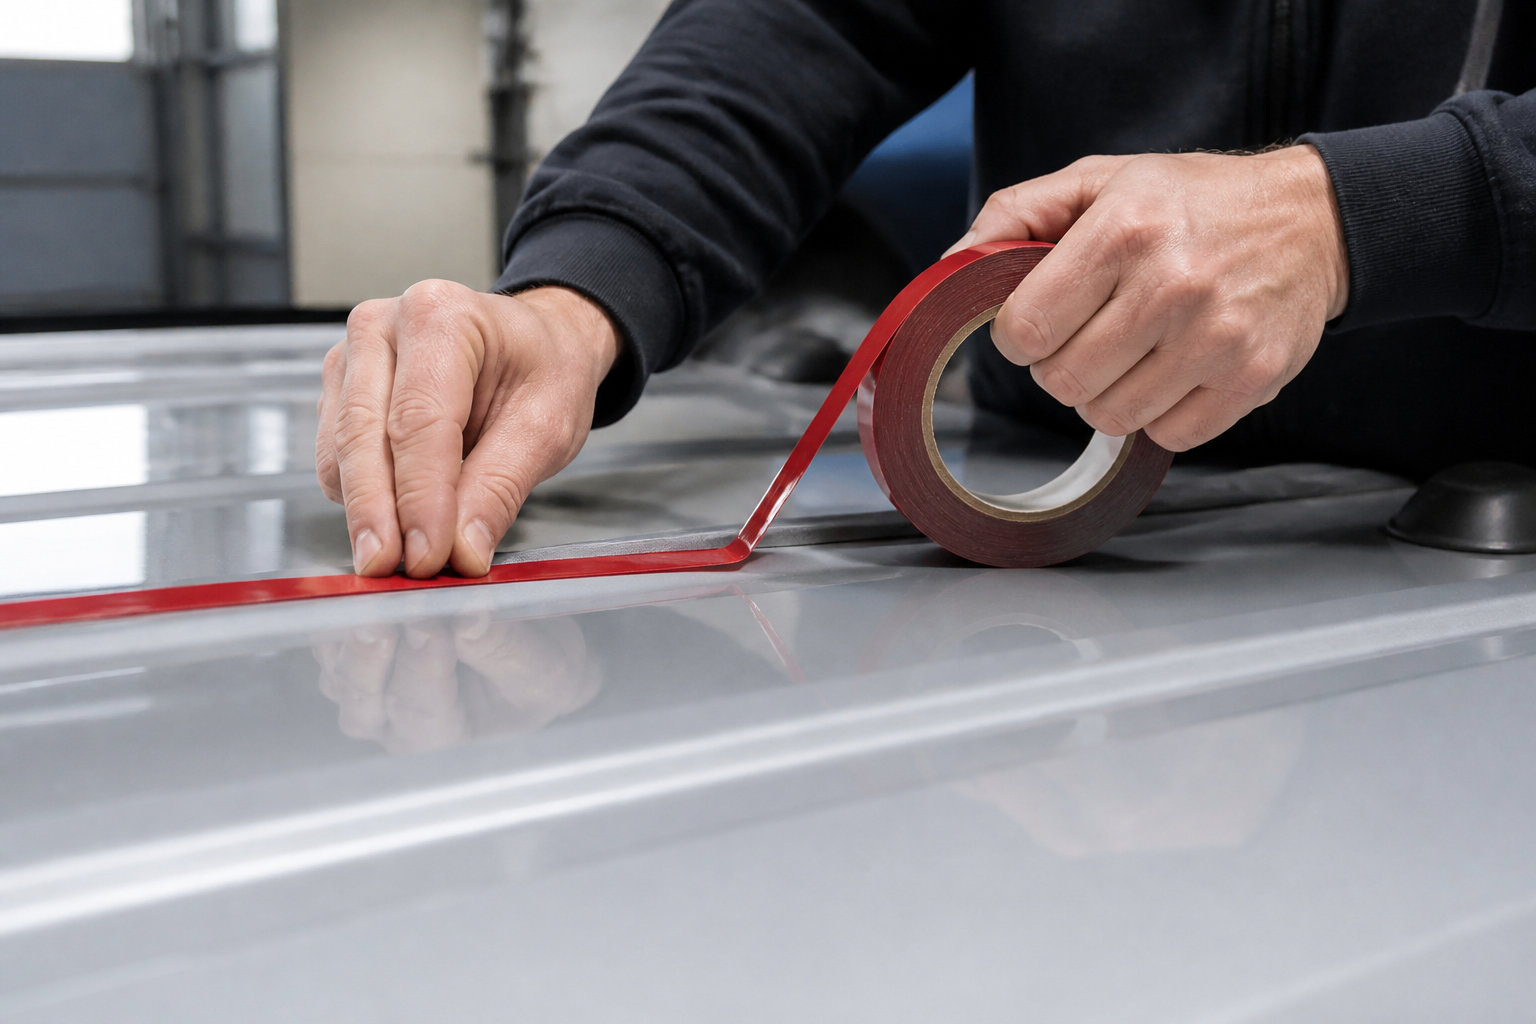
Wait 72 hours for maximum strength. Avoid high speeds or rain immediately after application. Pressure is key during the initial stick. Patience ensures your panels stay locked down.
A 72-hour curing window is required for 3M VHB tape. Avoid high speeds or rain immediately after application. Manual pressure is mandatory.
Using Low-Profile Brackets and Custom Aluminum Frames
Combine Z-brackets with Sikaflex 252 for a secondary safety layer. This “belt and braces” approach prevents lift. It keeps the profile extremely low and stealthy.
Frames hide the silver edges of panels. Explore these solar panel mounting options to see how frames improve aesthetics. They provide a clean, integrated look.
Black powder-coated aluminum blends into the roofline perfectly. It looks like a standard luggage carrier from the street. This is the ultimate secret to a perfect stealth van solar setup.
Wiring and Component Selection for Maximum Efficiency
Mounting the panels securely is only half the battle; the way you route that energy determines if your stealth rig actually stays powered.
MPPT Charge Controllers: Why They Are Non-Negotiable
MPPT controllers outperform PWM models when clouds roll in. They extract up to 30% more power by constantly adjusting voltage. This efficiency is vital when roof space is limited by stealth constraints.
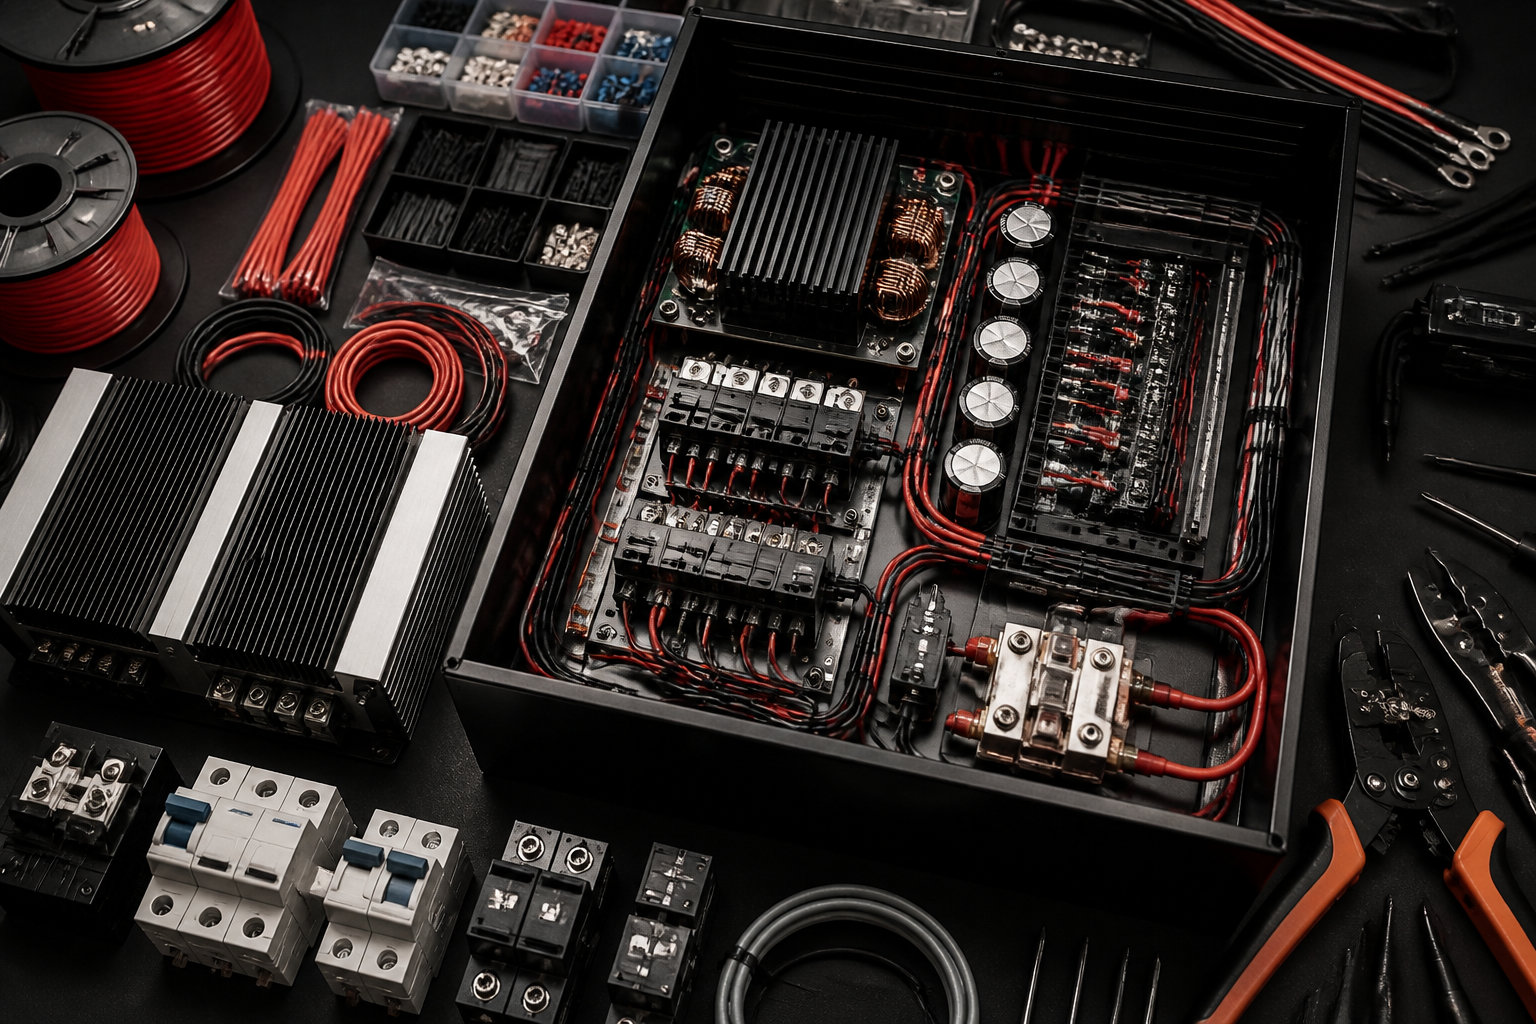
We recommend pairing these with a high-quality solar panel battery for peak performance. Integrated temperature sensors are also essential. They provide necessary lithium protection during extreme weather shifts.
Quality controllers prevent overcharging. They extend the life of expensive battery banks significantly.
Series vs. Parallel Configurations for Shading Resilience
Series wiring increases voltage to overcome resistance. This setup performs well in full sun. However, a single shadow can kill the entire output.
Parallel wiring is better for vans parked near trees. Each panel operates independently. Shading on one doesn’t stop the others from charging your system.
| Configuration | Shading Impact | Wiring Complexity | Best For |
|---|---|---|---|
| Series | High | Simple | Open plains |
| Parallel | Low | Moderate | Wooded areas |
Maintenance and Stealth Strategies for Long-Term Success
Once the system is wired and humming, long-term reliability depends on a proactive maintenance schedule and clever deployment tactics.
Clean panels monthly with plain water and microfiber; avoid abrasive chemicals. Regularly check Dicor sealant and MC4 connectors, as road vibrations can loosen them.
Cleaning and Testing Connections for Peak Performance
Road grime and salt buildup act like a shade screen. Clean panels monthly with plain water and a soft microfiber. Never use abrasive chemicals or hard brushes.
Inspect the VHB tape edges for any signs of peeling. Check the Dicor lap sealant around cable entry points. Vibration from highway driving can loosen MC4 connectors over time.
A dirty panel can lose 20% efficiency in just a few weeks of highway travel.
Ground-Deployable Panels as a Stock-Look Alternative
Portable solar blankets offer the ultimate stealth. Keep the roof completely bare to look like a work van. Deploy them only when parked at remote campsites.
Store these portable van solar panel kits under the bed for quick access. This setup ensures your vehicle maintains a completely unsuspecting profile in urban environments.
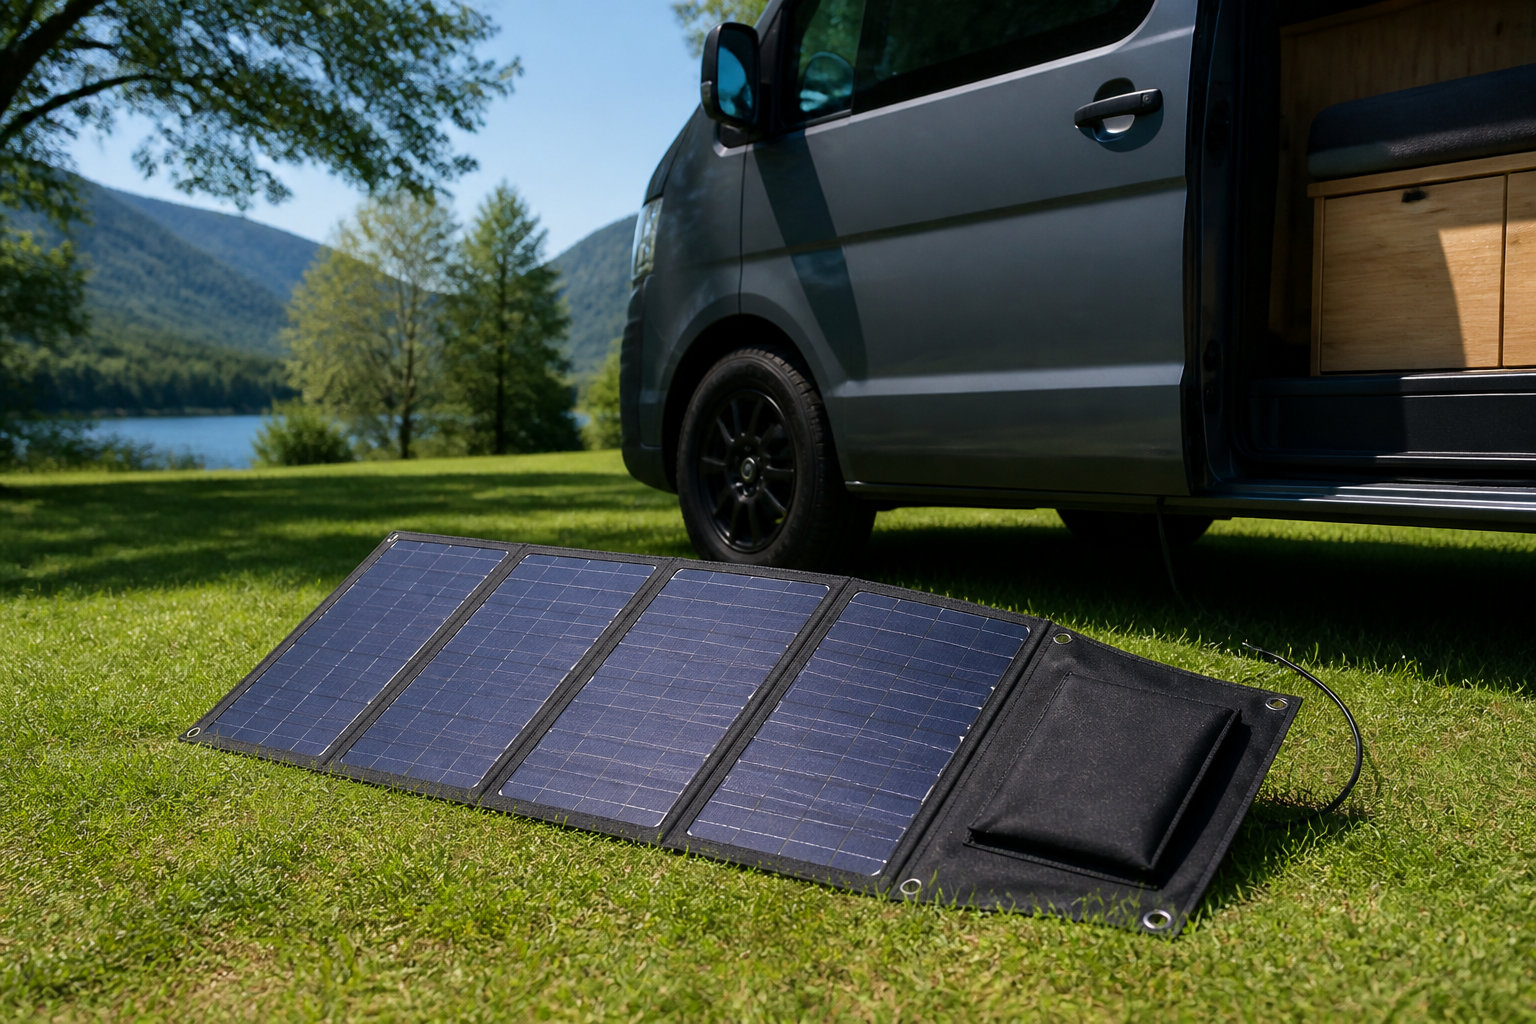
These kits allow you to park in the shade while placing panels in the sun. It keeps the van interior cool. Use heavy-duty extension cables to minimize voltage drop.
Mastering a stealth van solar setup guide requires balancing high-efficiency MPPT controllers with low-profile VHB bonding for ultimate security. Perform your power audit now to size your lithium bank correctly before hitting the road. Power your freedom invisibly and never run out of energy again.
FAQ
Which solar panel type is best for a low-profile stealth van setup?
For a truly discreet profile, flexible panels are the go-to choice because they sit flush against the roof, making them virtually invisible from street level. However, they tend to trap heat against the van’s surface, which can lead to a 10% efficiency loss and a shorter lifespan of 5 to 15 years due to UV degradation.
If you prioritize long-term durability and performance, rigid panels are superior. By using custom aluminum frames and low-profile brackets, you can maintain a stealthy look while benefiting from an air gap that prevents overheating. These robust units can last up to 40 years, offering a much higher return on your investment.
How can I mount solar panels without drilling holes in my roof?
You can achieve a rock-solid bond without a single drill bit by using industrial-strength adhesives. The secret lies in a “belt and braces” approach: combine 3M VHB tape for immediate molecular bonding with a high-performance structural adhesive like Sikaflex 554. This method provides a massive contact surface area that handles highway speeds with ease.
Preparation is 90% of the victory here. You must meticulously clean the roof with 90% isopropyl alcohol and use an activator like Sika Aktivator 205 to ensure the chemical bond is permanent. Once applied, allow a 72-hour curing window before hitting the road to ensure maximum strength and weather resistance.
Should I wire my stealth solar system in series or parallel?
The choice depends entirely on your travel environment. Series wiring is excellent for boosting voltage and overcoming resistance, but a single shadow from a roof fan or a nearby tree can significantly drop your total output. This is a high-risk configuration for stealth vans that often park in varied urban environments.
Parallel wiring is generally the smarter play for van life. It allows each panel to operate independently, meaning if one panel is shaded by a building or a tree, the others continue to charge your battery bank at full capacity. This resilience is vital for maintaining power when you can’t choose the perfect sunny parking spot.
How do I accurately calculate my daily energy needs for a van?
Stop guessing and start auditing! To build a reliable system, you must list every device, from your 12V fridge (approx. 40Ah/day) to your laptop and LED lights. Multiply the wattage of each appliance by the hours of daily use to find your total Watt-hour (Wh) consumption, then add a 20% safety margin for inverter and wiring losses.
Once you have your total daily draw, match it to your battery capacity and solar input. For example, if you consume 1200Wh daily and have 5 hours of peak sun, you’ll need at least 240W of solar panels to break even. Using a MPPT charge controller is non-negotiable here, as it extracts up to 30% more power than older technology, ensuring your batteries stay topped off even on overcast days.
What maintenance is required to keep a stealth solar setup efficient?
Stealth doesn’t mean “set and forget.” Road grime, salt, and dust act like a physical shade screen, and a dirty panel can lose 20% efficiency in just a few weeks. We recommend cleaning your panels monthly with plain water and a soft microfiber cloth, never use abrasive brushes that could scratch the surface.
Regularly inspect your mounting points and cable entries. Check the edges of your VHB tape and the Dicor lap sealant around your roof entry gland for any signs of peeling or cracking. Vibrations from thousands of miles of driving can loosen MC4 connectors, so a quick physical check ensures your system remains safe and productive for years to come.