When a plug-and-play solar kit underperforms, nobody from an installer is on site to check it, so the first look falls to you. A low reading, an offline alert or a dark screen can each point to a different fault.
This article shows which checks you can run without special tools, which parts to leave closed, and when to call a professional.
How to Tell Whether Your System Is Working
Read the inverter or power-station display before trusting the app. Check the incoming watts, the operating status, any warning light and any error code. Watts on the display mean the panels are producing, even if the app says otherwise.
An offline message proves nothing by itself. On Enphase IQ microinverters, a flashing orange light means the grid is fine but the gateway link is down, so the panels still feed power.
For a red light, see how plug and play solar detects the grid.
Don’t judge today’s output against the panel’s nameplate rating. Compare it with a day that had similar sun, because output moves with shade, panel angle, temperature and the station’s input limit.
Open your app history and note the reading at a set hour today, such as 12:00.
Find a clear day from the past few weeks with similar weather and temperature.
Read the same hour on that day and compare the two.
A small gap is normal. If the station shows 0 W during a sunny hour, no usable solar power is reaching it.
Fixing a System That Produces Nothing
Start with the simple causes: they are the quickest to check. Check that the panel is outdoors in direct sun with no shade, that you use the correct adapter, and that it is firmly connected to the power station.
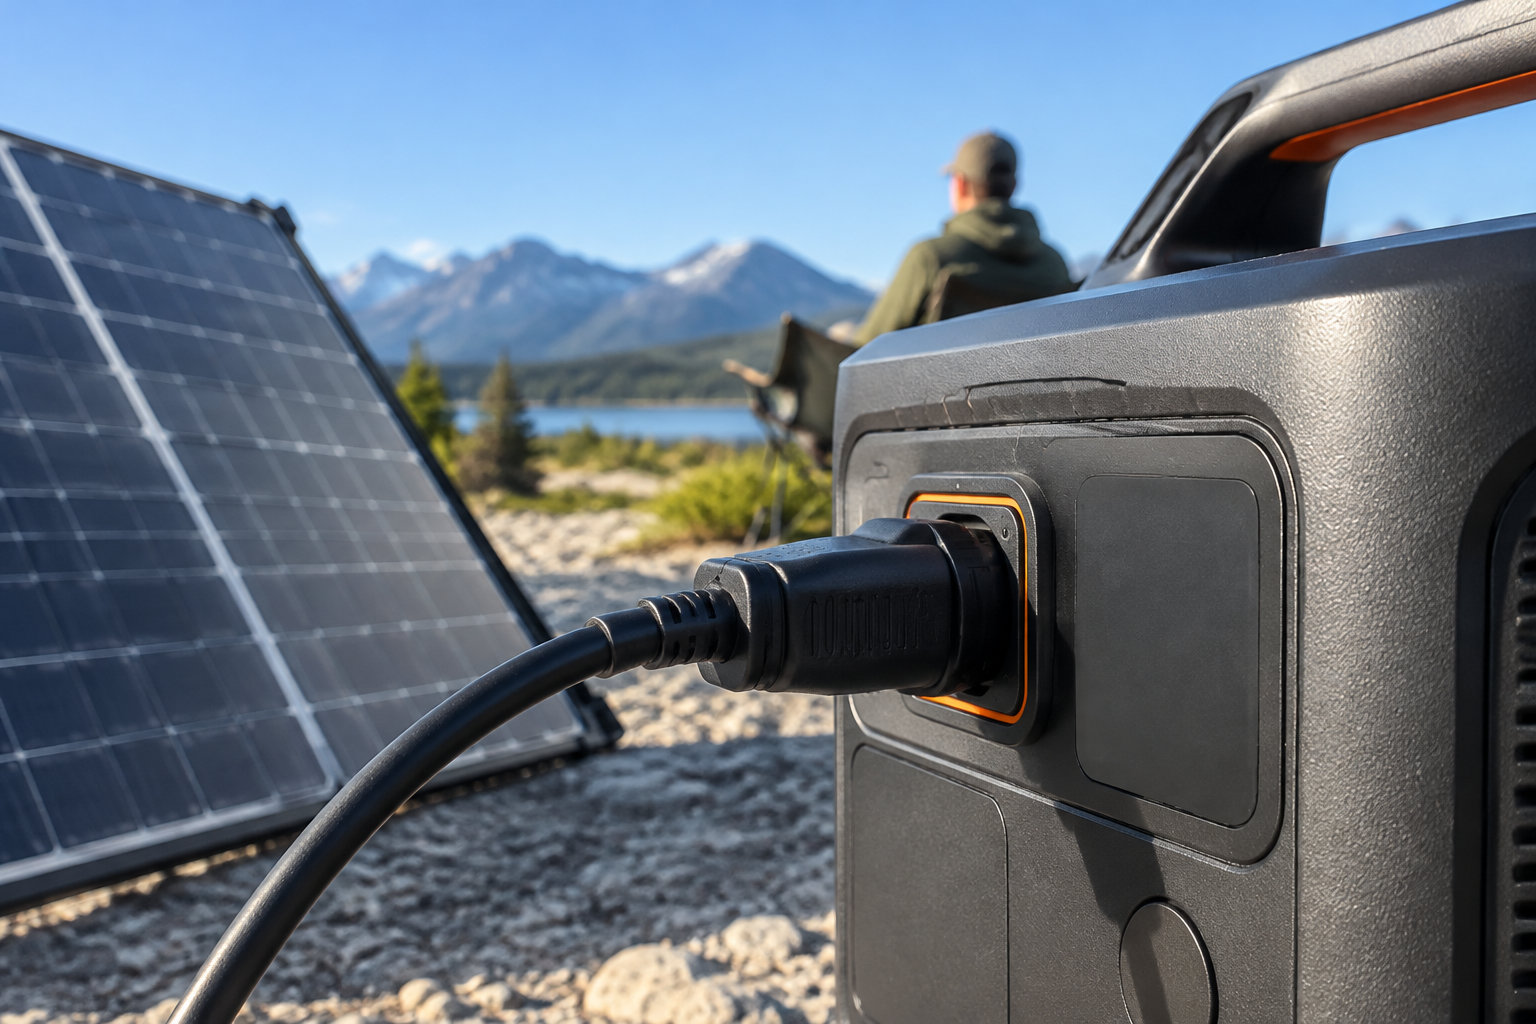
Then check the battery: at 100% charge, a power station stops taking solar input, so it looks like a dead panel.
See which inverter type suits your kit or how to size an RV kit first:
- Residential: read the status light and error code first.
- Portable: in direct sun, aim the panel and read solar input after a few seconds.
- Swap test: try a known-good panel. If the station charges, the panel is faulty; if not, suspect the battery.
Before You Escalate
- Write down the fault code and the light pattern before acting.
- On a Jackery, F7: check the input voltage and whether the charging module is overheating.
- For a small USB charger, test with a cable and device you know work.
- Keep the panel in direct sun during that test.
Why Output Is Low or Comes and Goes
Weak or intermittent output usually comes from shade, dirt, or weather. Even partial shade can cut output, and the loss depends on the shaded area, panel design and wiring. Check the whole panel surface for leaves, railings or vents.
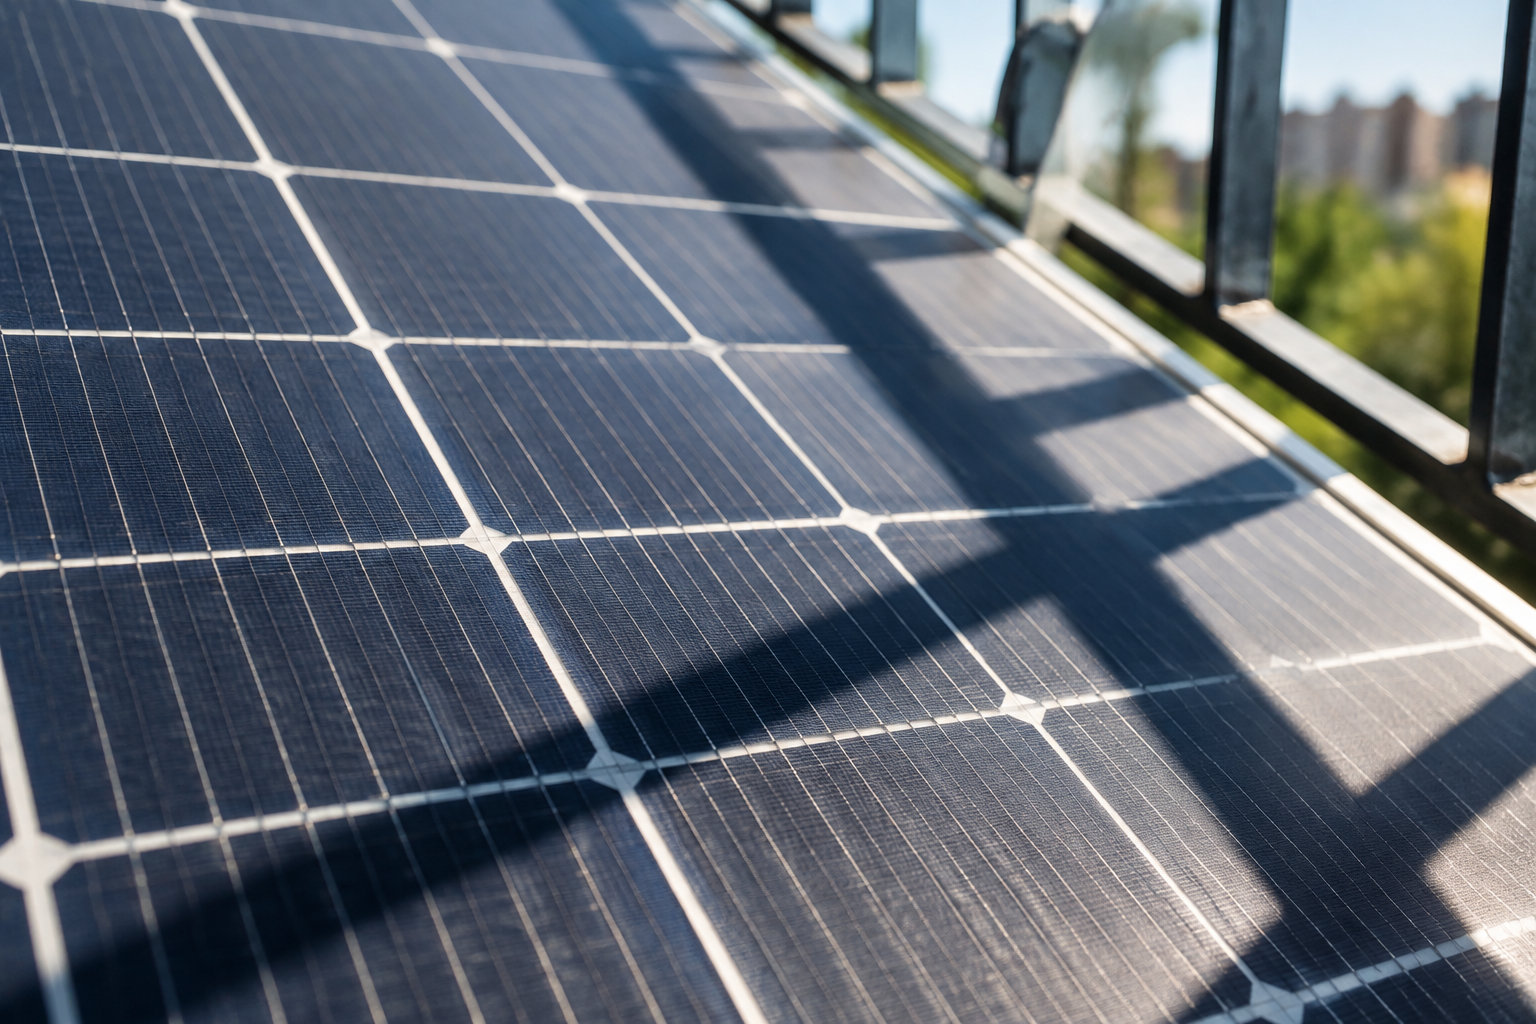
One shaded panel can pull down a whole series string. Clouds and a poor angle also make portable output rise and fall. For balcony setups, see how to measure sun exposure before you blame the panel.
A panel that runs below its rated wattage on a hot day is not necessarily faulty. The rating is a maximum set under test conditions, and heat lowers output by an amount your panel label or manual gives. Don’t climb onto a roof or balcony railing to wash panels, because a fall is far more dangerous than dirt. From a safe spot, use only water or mild dish soap. Abrasives, solvents and harsh cleaners can scratch the glass and leave marks that block light.
Safe Checks You Can Do Without Tools
Start with your model’s manual, since its start-up and reset steps override any general order. For a plug-in kit, check how plug-and-play solar kits are set up first.
Then run these checks in order: read the display and error code, check sunlight and shade, look at visible cables and plugs, then see if the battery or station has room to charge.
Look over what you can see of the cables and plugs, without unplugging anything:
- Check that each portable-panel adapter matches your power station model, and that every visible plug is fully pushed in.
- Look for cracked plug housings, connectors that look loose, exposed wire, burn marks, or melted plastic.
- If you see any of these signs, stop. Do not touch or unplug the damaged connection.
Test in direct sun
-
Connect a working device
Use a device that charges, in direct sun. Success: a charging sign or a rising battery level.
-
Record the result
Photograph any light or code, and note the time and weather. For upkeep, see the maintenance checklist for longevity.
What to Leave Alone
Keep the inverter, junction boxes and DC cables closed. Panels make electricity whenever there is light, so the wiring stays live even when the system looks off.
Never open an electrical box or power station, and never unplug a DC cable.
Testing, repairs and damaged wiring belong to a qualified professional, since daylight does not make them safe.
Never do these, even when the system seems off:
- Do not touch the pins of an unplugged solar plug. Some designs leave accessible pins live in sunlight.
- Do not keep resetting a breaker that trips again. A repeat trip needs an electrical inspection to find the cause.
- Do not bypass a breaker, ground-fault device, or other safety protection.
A standard outlet is not a safe connection point. Power flowing backward can reach wiring you assume is dead. The 2026 National Electrical Code does not recognize plug-in panels fed this way. Outdoor outlets need ground-fault protection (GFCI) to cut power on leaks. Check plug and play solar safety first.
When to Stop and Call a Professional
Switch the system off and call for help as soon as you smell burning, see smoke or burn marks, hear buzzing or crackling, find water inside the equipment, or spot a damaged cable.
An arc-fault warning means the same: stop and book a professional. Don’t keep testing once any of these appears.
Call for help if:
- A breaker trips again after one reset: call an electrician or installer.
- Inverter ground or insulation fault: call a professional, never bypass it.
- Output stays low or the same error returns: check high-heat error codes first.
- Solar input stays at zero: contact the maker, and don’t open the station.
- Search the NABCEP directory for a certified installer.
Before you contact support
- Find the model number on the unit’s label.
- Note the serial number and keep your proof of purchase.
- Photograph the unit and the inverter display.
- Copy the error code exactly as shown.
- Write your test notes with date, time and result.
Read the display before trusting the app, and check the simple causes first: shade, the right adapter, a firm connection and a full battery.
Your next step is the direct-sun test with a device you know works. Write down the result. If the output stays low or the same error returns, contact the maker, and don’t open the station.
FAQ
How to test if solar lights are working?
To test a solar light, charge it in direct sun with a clean, unshaded panel, and let the battery charge. Then cover the panel so no light reaches it. If the light switches on in the dark, it works.
How can I fix my outdoor solar lights if they aren’t working?
Clean and reposition the panel so it gets direct sun, then check that the light’s switch is on.
Dust and shade block the sunlight, so they are the first things to rule out. Replace the rechargeable battery only if the light’s instructions allow it.
Why is my solar charger not working?
Your solar charger is not working because of one of five things: no direct sunlight, shade, the cable, the device connection, or the charger’s input limit.
A power station at 100% charge takes no more solar input, so it looks like a dead panel.