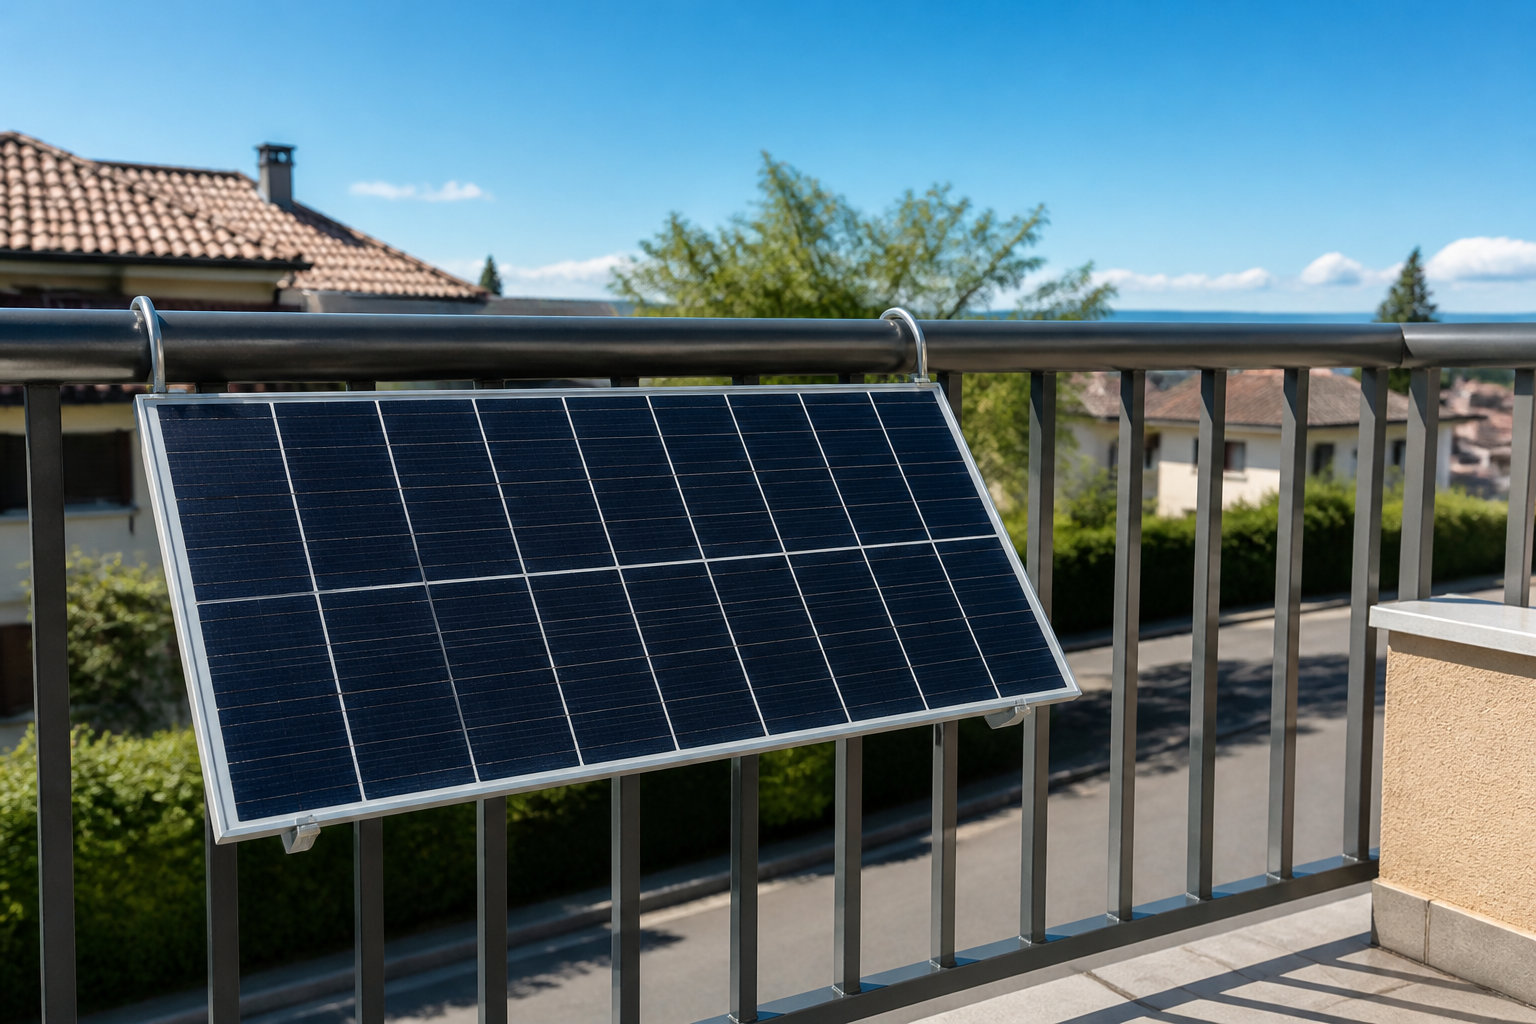
Key takeaway: Plug-and-play solar kits under 800W provide a safe, immediate way to slash energy bills by connecting microinverter-equipped panels directly to standard household sockets. This setup ensures seamless grid synchronization and vital anti-islanding protection, automatically shutting down during outages to protect workers. By respecting circuit amperage limits, you gain sustainable, decentralized power with zero installation hassle.
The global market for decentralized energy is expanding rapidly, with plug and play solar systems under 800W now allowing millions of households to generate their own electricity instantly. These kits offer a direct path to energy independence by simply using a standard AC outlet to offset daily consumption.
However, connecting a power generator to your home’s wiring carries specific risks if safety protocols like anti-islanding are ignored. We are going to break down exactly how to connect plug and play solar to grid systems to ensure your installation remains efficient, legal, and perfectly safe for your family.
How to Connect Plug and Play Solar to Grid: The Basics
Plug-and-play solar systems under 800W typically consist of two panels, a microinverter, and a standard AC plug. These kits synchronize with grid frequency automatically, allowing immediate self-consumption of renewable energy via household sockets.
Understanding your hardware is the first step toward energy independence. Here is how to connect plug and play solar to the grid safely by identifying the essential components for a successful setup.
Core Components of a Mobile Solar Kit
Three pillars define these systems: photovoltaic panels, microinverters, and AC cabling. You connect panels directly to the inverter. Photovoltaic modules capture sunlight effectively to begin the process.
The microinverter converts DC to usable AC power. This component is the brain of the kit. It ensures electricity matches your home’s needs. Without it, energy remains unusable for standard appliances.
Microinverter Synchronization with the Local Network
The microinverter monitors the 50Hz or 60Hz signal constantly. It adjusts its output to perfectly align with the utility grid. This technical process ensures seamless integration with your local network.
Safety is managed through anti-islanding. The system detects the grid signal before activating power. It stays dormant until it senses a stable connection, protecting the network during outages.
The microinverter acts as a bridge, ensuring that the solar energy produced is perfectly in phase with the electricity supplied by your local utility provider.
3 Steps to Connect Plug and Play Solar to Grid Safely
Once you understand the hardware, the actual physical setup follows a logical sequence to ensure stability and maximum exposure.
Mounting Techniques for Balconies and Flat Roofs
Choose between railing hooks or weighted garden mounts. Security is the absolute priority here. Check how to install balcony solar panels safely to master these mechanical basics.
Tilt angles impact your yield. South-facing setups usually provide the highest energy production.
Stainless steel hooks for railings
Weighted tubs for flat roofs
Adjustable tilt brackets for gardens
Wiring and Final Socket Connection
Always click DC connectors before the wall plug. This sequence prevents electrical arcing during setup. Verify your grounded outlet is a GFCI-protected exterior socket.
Safety Alert
Always connect the solar panels to the microinverter (DC) BEFORE plugging the system into the wall socket (AC) to avoid electrical arcing.
Use UV-resistant ties and conduits. Weatherproofing ensures your system lasts for decades. Keep connectors off the ground and use drip loops to direct rain away from electronics.
Installation Workflow
Step 1: Mount panels securely. Step 2: Connect DC cables to microinverter. Step 3: Plug AC cable into grounded outlet.
Proper cable management is not just about aesthetics; it is a fundamental requirement for long-term electrical safety in harsh outdoor environments.
Electrical Safety and Load Management Protocols
Beyond the physical mounting, you must respect the invisible limits of your home’s electrical circuits to prevent hazards.
Anti-islanding and GFCI Outlet Requirements
The microinverter features a vital automatic shutdown function. If the utility grid fails, production stops instantly. This mechanism effectively protects utility workers from accidental electrocution during local repairs.
Outdoor sockets require mandatory GFCI protection due to moisture risks. A ground fault circuit interrupter detects leaks immediately. This device is essential for preventing dangerous shocks in damp environments.
Safety First
Safety is paramount. Always test your outlet before plugging in the solar kit.
Always verify your outlet’s integrity before connecting. Testing the socket ensures the safety loop is active.
Avoiding Circuit Overload on Shared Lines
Standard household circuits generally handle a 16-amp limit. Adding solar power increases the local current flowing through your wires. You must ensure the total load doesn’t exceed safety thresholds to avoid fires.
Mastering how to connect plug and play solar to grid ensures immediate savings through safe microinverter synchronization and anti-islanding protection. By respecting wattage caps and securing weather-resistant wiring today, you guarantee a sustainable, high-yield energy future. Start powering your home independently and watch your electricity bills shrink instantly.
FAQ
Is it safe to plug a solar kit directly into a standard wall outlet?
Absolutely! Plug-and-play solar kits are specifically engineered for simplicity and safety. These systems feature a microinverter that synchronizes with your home’s electrical frequency, allowing you to feed renewable energy directly into your household circuit via a standard socket. However, it is vital to ensure your outlet is GFCI-protected and that your home’s wiring is in good condition to handle the continuous power flow.
What exactly is the anti-islanding safety feature in these kits?
Think of anti-islanding as a digital guardian for utility workers. This mandatory safety mechanism ensures that the microinverter shuts down instantly if it detects a power outage on the main grid. By preventing your panels from sending electricity into a “dead” network, it eliminates the risk of accidental electrocution for technicians performing repairs. The system remains dormant until it senses a stable, active connection from your local provider.
Is there a maximum wattage limit for plug-and-play solar connections?
Yes, there are specific thresholds to keep your home safe and compliant. In many regions, the limit for a direct socket connection is typically capped around 800W to 900W. Staying within this limit often allows for a simplified registration process without the need for a professional electrician. If you plan on installing a system with a higher capacity, you will likely need to transition to a dedicated connection at your main electrical panel.
Do I need to install a GFCI outlet for my balcony solar panels?
Safety is paramount, and a Ground Fault Circuit Interrupter (GFCI) is a non-negotiable requirement for any outdoor installation. Because exterior sockets are exposed to moisture and the elements, a GFCI provides critical protection by cutting power if it detects a leak to the ground. Before plugging in your kit, always verify that your outdoor outlet is properly grounded and protected to prevent shocks and electrical hazards.
How can I track the energy production and ROI of my system?
Monitoring your gains is part of the fun! Most modern kits come with integrated Wi-Fi monitoring via a dedicated smartphone app, allowing you to track real-time production. For an extra layer of data, you can use an external smart plug to verify the output. Tracking your daily yield helps you understand your Return on Investment (ROI) and ensures your decentralized power plant is performing at its peak efficiency.