An adjustable ground mount can boost your solar yield by up to 30% compared to static installations. We know that finding space for traditional arrays is a struggle when your outdoor area is limited. You often feel forced to choose between a bulky, inefficient system or no renewable energy at all.
We have designed this guide to help you select and install the best ground mounted solar kits for small yards to maximize your autonomy. We will break down compact racking options and seasonal tilt strategies to ensure every square inch of your garden works for you.
- What Are Ground Mounted Solar Kits for Small Yards?
- How to Evaluate Your Garden for Solar Mounting
- 3 Foundation Methods for a DIY Solar Setup
- Boosting Energy Output In Limited Spaces
What Are Ground Mounted Solar Kits for Small Yards?
Ground-mounted kits maximize efficiency via 15-45° seasonal tilt adjustments, often utilizing space-saving single-post or ballasted racks. These systems typically support 400W+ modules, providing a rigid, high-yield alternative to roof-based solar for restricted garden spaces.
Maximize your garden’s potential with seasonal tilt adjustments (15-45°). These space-saving single-post racks support high-yield 400W+ modules for peak performance.
While standard setups rely on fixed positions, the real power lies in adapting the structure to the sun’s path.
Fixed Versus Adjustable Racking Systems
Rigid frames offer simplicity, but adjustable systems are superior for small yards. Manual tilt mechanisms capture significantly more energy during seasonal shifts. This is vital where space is limited and every ray counts.
We prioritize durability using galvanized steel or anodized aluminum. These materials withstand long-term outdoor exposure and resist corrosion in garden soil. High-yield modules require these stable, warp-resistant frames.
Pole-Mount and Compact Ballast Options
Single-post designs significantly minimize the physical footprint. They elevate panels above ground-level obstructions. This setup is perfect for narrow garden strips or corners where space is at a premium.
Weighted ballast racks offer a non-permanent solution. These are ideal for renters or temporary installations. They secure 400W+ modules without needing deep excavation or permanent concrete.
Discover why buy a solar panel plug and play system to simplify your setup. These kits offer instant energy savings.
How to Evaluate Your Garden for Solar Mounting
Once you understand the hardware types, you need to determine if your specific outdoor space can actually support the physical and solar requirements of a ground array.
Measuring Square Footage and Panel Clearance
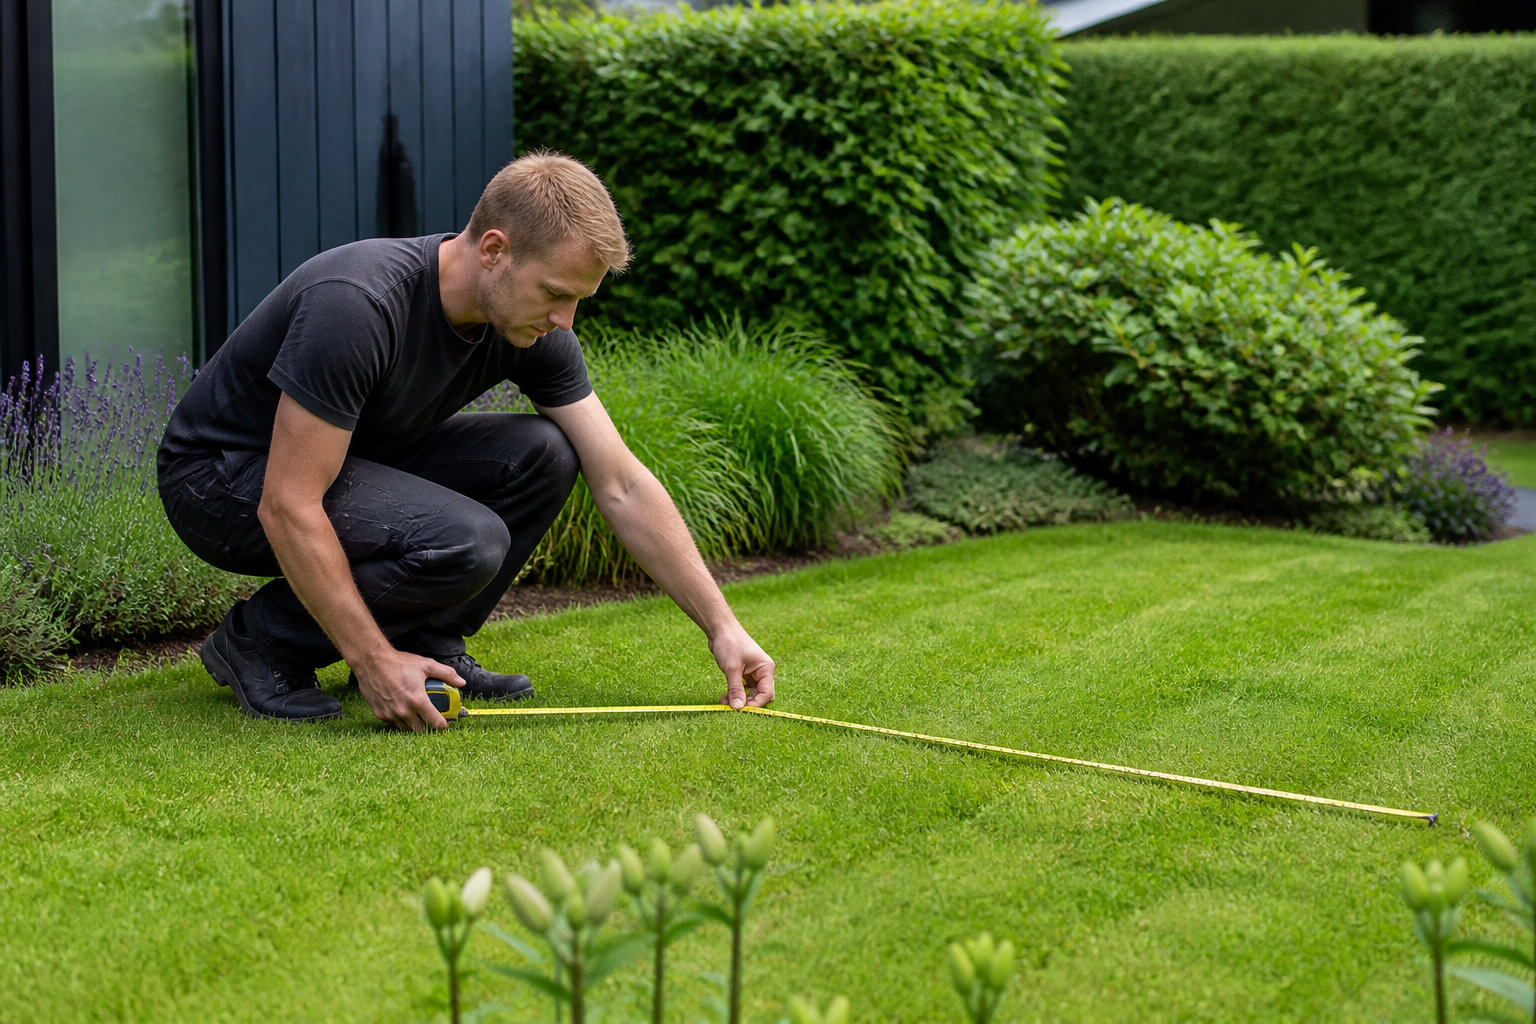
Calculate the area for 2-panel or 4-panel arrays carefully. Standard panels need roughly 18 to 20 square feet each. Always leave extra room for maintenance access around the perimeter.
Define buffer zones to prevent self-shading between multiple rows. If rows are too close, the front panels block the sun for the rear ones. This reduces your total energy output.
Map the sun’s path across your yard throughout the day. Use a solar pathfinder or a mobile app. Check out these solar panel kits for garden offices to see how compact setups fit.
Identifying Shade and Soil Stability Issues
Nearby fences and trees create significant shading issues. Even a small shadow can drop panel efficiency by half. Check neighboring structures that might cast long shadows during winter months.
Small shadows can drop efficiency by 50%. Verify patterns before finalizing ground mounted solar kits for small yards and gardens.
Evaluate soil types from loose sand to heavy clay. Clay holds anchors well but drains poorly. Sandy soil might require deeper spikes or wider ballast trays to ensure the rack remains level.
Check for underground utilities first. Never penetrate the ground without verifying wire locations to avoid safety risks.
3 Foundation Methods for a DIY Solar Setup
With a clear site plan in hand, the next step is choosing a foundation method that balances structural security with your personal DIY skill level.
Comparing Concrete Footings and Ground Spikes
Poured concrete piers offer maximum permanence. They handle high wind loads and heavy snow easily. Use these if you plan for a twenty-year installation in a permanent residential home.
Ground spikes are a faster, no-dig alternative. They work best in stable, rocky, or dense soils. Check out these safety standards for solar sheds to ensure your mounting remains secure over time.
We recommend having these tools ready for a smooth ground mounted solar kits for small yards and gardens installation:
- Post-hole diggers for concrete
- Sledgehammer or power driver for spikes
- Leveling tools
- Socket wrench set for assembly
Implementing No-Dig Ballast Systems Safely
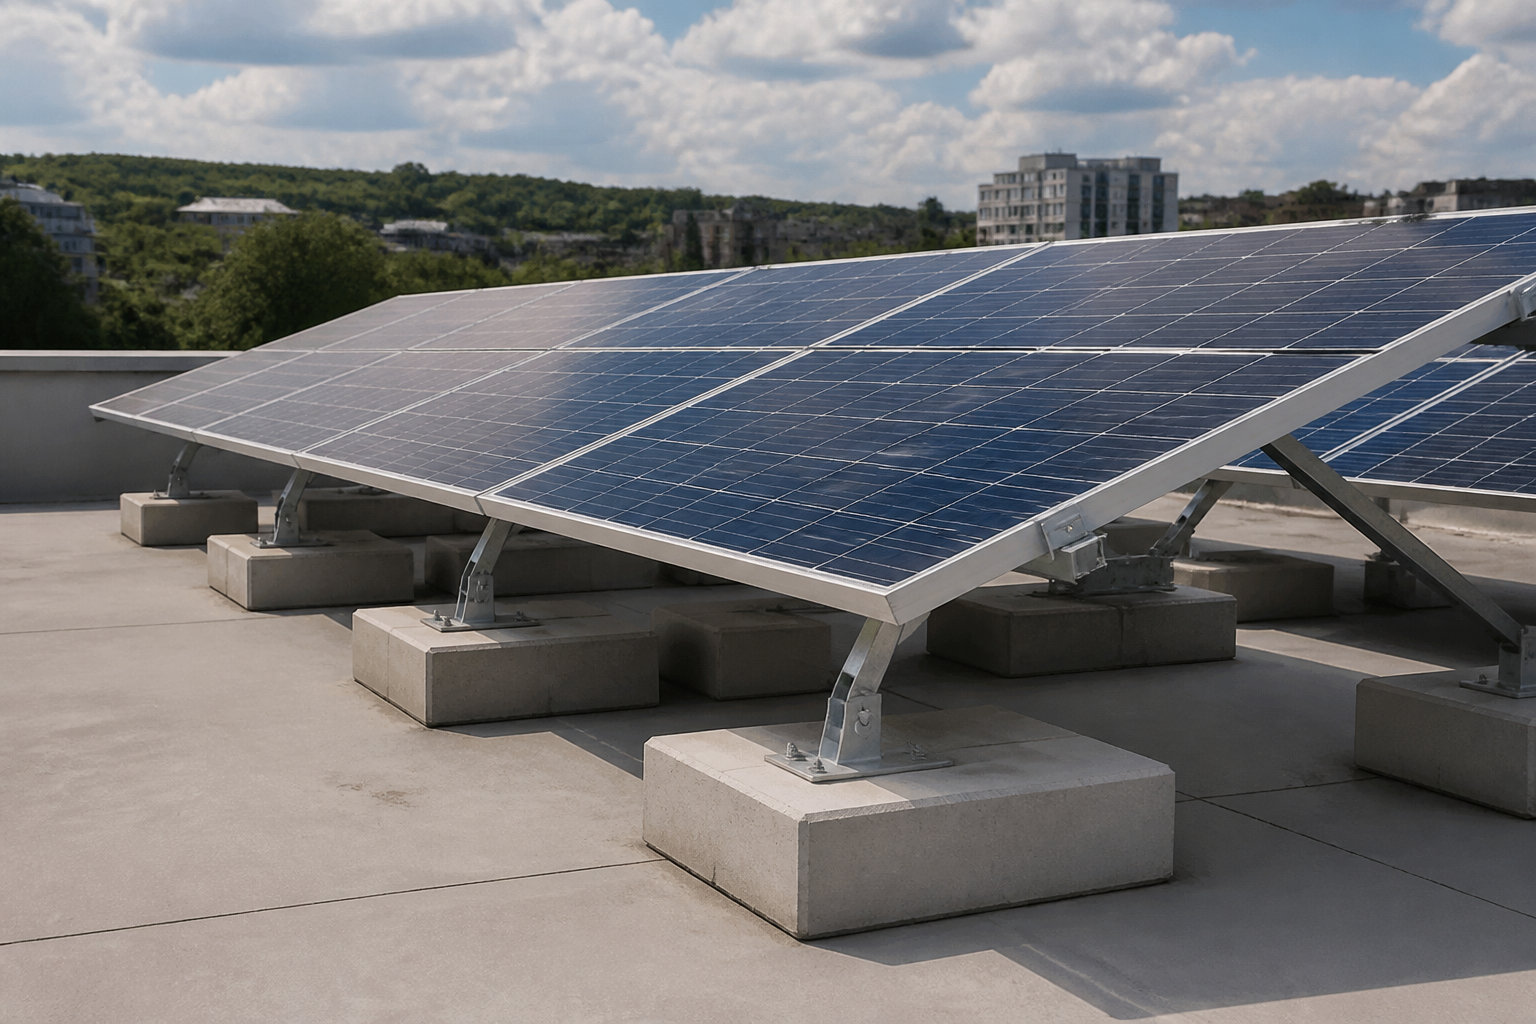
Ballast systems use concrete blocks or gravel trays to secure the solar racks. This method avoids all ground penetration entirely. It is the safest choice for yards with unknown underground pipes. Ensure the weight matches local wind speed ratings.
| Foundation Type | Best For | Digging Required | Stability Level |
|---|---|---|---|
| Concrete Piers | Permanent | Yes | High |
| Ground Spikes | Temporary | No | Medium |
| Ballast Trays | Temporary | No | Medium |
Proper wire management prevents tripping hazards. Always use outdoor-rated conduit and ensure the system is grounded correctly for safety.
Boosting Energy Output In Limited Spaces
Choosing the foundation secures the kit, but fine-tuning the orientation and layout is what actually determines how much money you save on your utility bill.
Calculating The Best Seasonal Tilt Angles
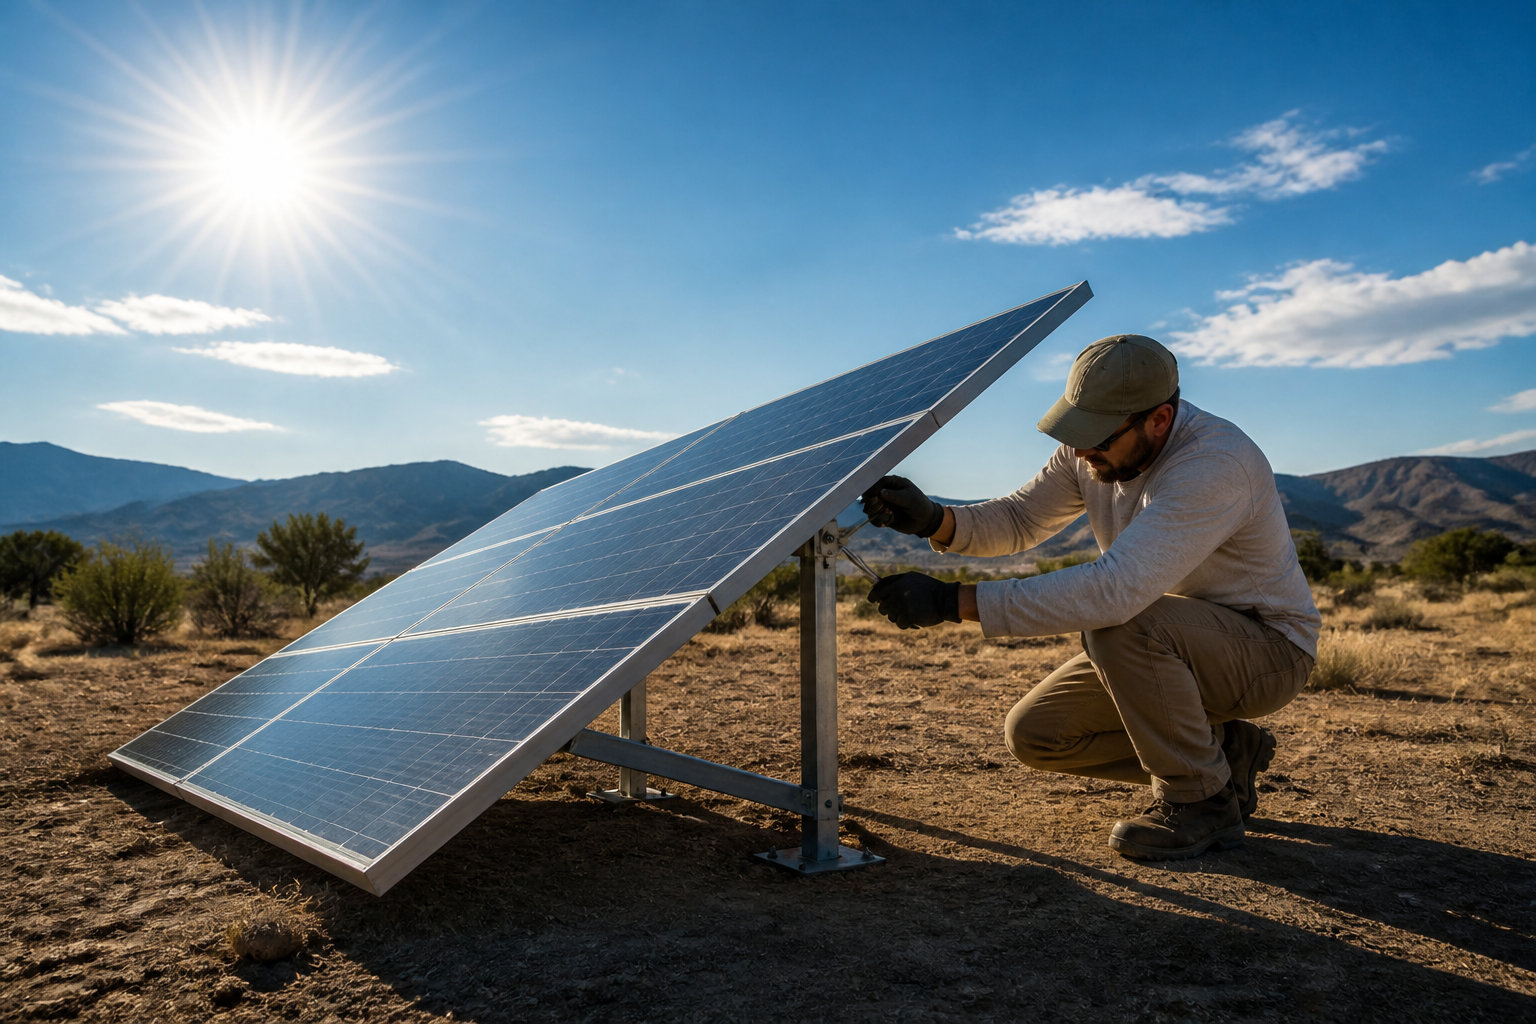
Use your local latitude to find the base angle. Subtract 15 degrees in summer for peak sun. Add 15 degrees in winter to catch the lower sun arc effectively.
Adjusting your solar tilt twice a year can increase annual energy production by up to 5% to 10% in small garden setups compared to fixed mounts.
Regular adjustment schedules maximize kWh production. This is especially helpful in small gardens where space limits the total number of panels you can install.
Vertical Versus Horizontal Racking Layouts
Portrait orientation works well for narrow yard strips. Landscape layouts are better for low-profile needs near fences. Choose the orientation that fits your existing landscaping borders without blocking views.
Vegetation management is a constant task. Keep weeds and grass trimmed low around the base of the panels. Overgrowth creates shadows that significantly reduce the voltage of the entire string.
Regularly trim vegetation and clean panels; seasonal tilt adjustments twice a year can boost energy production by 5-10%.
Finding ground mounted solar kits for small yards and gardens that fit your layout is easier when you understand how plug and play solar panels work for quick setup.
Maximize your energy independence by choosing adjustable racking and high-yield modules to overcome shading in tight spaces. Implementing these ground mounted solar kits for small yards ensures a sustainable, high-performance future for your garden. Start your setup today to secure reliable, eco-friendly power for decades to come.
FAQ
Can I install a ground-mounted solar kit in a very small yard?
Yes, absolutely! Modern ground-mounted kits are specifically designed for restricted spaces like narrow garden strips or small backyards. You can choose compact single-post designs that minimize the physical footprint or use ballasted racks that sit directly on the ground, requiring as little as 1.4 to 2 square meters per panel.
These systems are incredibly versatile, allowing you to turn an unused corner of your garden into a high-efficiency power station. Whether you are looking to power a garden office or simply reduce your utility bills, there is a space-saving solution tailored to your specific outdoor layout.
Do I need professional help to set up these solar kits?
One of the biggest advantages of these kits is that they are DIY-friendly. Most systems are designed for easy assembly, featuring plug-and-play components that can be connected directly to a protected home outlet. You won’t need specialized tools or advanced electrical knowledge to get started.
For the foundation, options like ground spikes or weighted ballast trays eliminate the need for heavy machinery or deep excavation. We recommend having a second person help with the physical mounting of the panels to ensure everything is level and secure, but the process is straightforward and rewarding.
How much space do I actually need for each solar panel?
Generally, you should plan for approximately 18 to 20 square feet (about 1.7 to 2 square meters) of ground space per standard 400W+ module. However, the exact footprint depends on the mounting system you choose; for instance, GSE Ground Systems are highly efficient, requiring only about 1.4 m² per panel.
Beyond the physical size of the rack, it is vital to include buffer zones around the perimeter. This ensures you have enough room for maintenance, like cleaning the glass or trimming grass, and prevents panels from casting shadows on one another if you are installing multiple rows.
What is the best way to handle shade from fences or trees?
Shade is the enemy of efficiency, so site assessment is crucial. Even a small shadow from a nearby fence or tree branch can significantly drop your energy output. We suggest mapping the sun’s path using a mobile app to identify “dead zones” where shadows linger during the winter months.
If your yard has partial shading, using monocrystalline panels and micro-inverters can help maintain performance. Additionally, keeping your garden vegetation trimmed low around the base of the panels is a simple but effective way to ensure every cell receives maximum sunlight.
Are ground-mounted solar panels more efficient than roof-mounted ones?
In many cases, yes, because you have more control over the positioning. Unlike fixed roofs, ground mounts allow you to set the perfect orientation (South) and adjust the tilt angle (typically between 15° and 45°) to match the season. This flexibility can increase your annual energy production by up to 10%.
Furthermore, ground-mounted systems stay cooler because air circulates freely behind the panels. Since solar cells lose efficiency as they heat up, this natural ventilation helps your kit maintain a higher energy yield during hot summer days compared to panels bolted directly onto a hot roof.
Is a ground-mounted solar system a profitable investment?
Definitely. With prices for DIY kits ranging between €0.8 and €1.5 per Watt-peak, these systems offer a very attractive return on investment. A typical 900 Wc installation can pay for itself in about 5 years on average through total self-consumption of the electricity you produce.
By consuming your own green energy in real-time, you shield yourself from rising utility costs. Plus, the administrative process is often simplified for small ground arrays, making it one of the fastest ways to start saving money while helping the environment.