A solar panel on a golf cart roof looks like an easy upgrade. But the panel, controller and wiring must all match your pack, and the roof must fit the panel.
This guide covers panel size, controller, wiring, mounting, cost in USD, and whether the range gain is worth the money.
What a golf cart solar setup needs and what it costs
A golf cart solar setup has four parts: a panel, a controller, DC cables with protection, and mounting hardware. The controller must match your pack’s voltage and chemistry, so a 36 V unit won’t run a 48 V pack.
A matched setup also needs compatible wiring and a charge controller suited to the battery chemistry.
A matched kit removes the guesswork. The Genasun GVB-8-WP-GC takes 36 V or 48 V lead-acid packs and compatible lithium (LiFePO₄) packs.
Both kits include the panel, controller and cables. Prices by battery type:
108 W kit: $629 with lead-acid, $649 with LiFePO₄ 12S or 16S.
164 W kit: $849 with lead-acid, $869 with LiFePO₄ 12S or 16S.
Installer’s estimate, not a market price: $1,000–$1,600 for 200 W installed, or $1,400–$2,000 with a roof frame and marine-grade cables.
Check your pack before you compare prices
Read your pack label first: voltage (36 V or 48 V) and chemistry (lead-acid or LiFePO₄). Only then compare kit prices, because each price depends on the battery type the kit is built for. For winter output, see how to keep panel efficiency in winter, which covers it as a separate question.
Which panel size fits your cart roof
Two-seat and four-seat roofs
A two-seat roof measures about 60 by 40 inches, while a four-seat roof can reach 112 inches long. The usable flat area decides fit, so measure that area before you look at panel sizes.
A standard 60 or 120 cell panel measures about 65 by 39 inches. That is longer than a typical two-seat roof, so it overruns the roof’s length. Measure the free roof area and find the supports before buying.
Here is how the three sizes compare. The 108 W SunBender measures 41.5 by 21.5 inches and weighs 3.08 lb. The 164 W model is 41.5 by 31.5 inches and weighs 4.4 lb.
The 150 W rigid MMC panel is 58 by 26 inches and weighs 20 lb, which is heavy for a cart roof.
Before you buy, check the roof supports, the clearance above the seats and the cable path to the controller. A larger panel may not fit a two-seat roof without an extended roof or purpose-built mounting.
Output classes from 100 W to 400 W
Output classes at a glance
100 to 150 W
This class mainly keeps the battery topped up or adds a little energy. It suits a cart that sits in the sun and only needs a trickle charge.
200 to 300 W
This class suits moderate use. It adds noticeable daytime range on top of plugging in, so it’s the one to consider if you drive the cart every day.
300 to 400 W
This class aims for the highest daytime input. Choose it only if the roof area you measured can hold these panels.
MPPT and PWM controllers: don’t mix them up for 36V and 48V packs
Match the controller to your pack’s voltage and chemistry, not the cart model. A standard 12 V PWM controller won’t work on a 36 V or 48 V pack.
For a lithium pack with a BMS, confirm the maker allows solar charging. An MPPT boost controller like the Genasun GVB-8 can raise panel voltage to charge a higher-voltage pack.
Run three checks on the panel:
Pack voltage: the SunBender kit charges a 12S LiFePO4 pack at 42.6 V and a 16S pack at 56.8 V.
Panel input: the GVB-8 accepts 0 to 60 V, starts charging from 5 V, and has a nominal input current of 8 A.
Open-circuit voltage: keep it under the GVB-8’s recommended maximum of 50 V, because cold weather pushes it higher.
Check the figures, not the label
What works
The MMC, for example, accepts 13 to 50 V from the panel and offers 48, 60 or 72 V charge settings.
What to avoid
Assume a 48 V setting means it suits any 48 V battery.
What works
Compare that setting with your pack’s chemistry, cell count and charging voltage.
What to avoid
Buy a controller because its label says 48 V.
Where solar falls short on a golf cart
A roof panel tops up the battery. It cannot replace the plug-in charger, so keep using the charger for full recharges.
Clouds, shade and a poor panel angle all cut output, and not by a fixed amount. Partial shade can cost more or less power depending on the panel and where the shadow falls.
Range gains from a roof panel are estimates, and they depend on sun, losses and how you use the cart.
Criteria
100 to 200 W panel
150 W panel
Range added per day
2 to 4 miles, in good sun
About 2.4 miles
Key assumption
Sun level and how the cart is used
450 Wh collected per day, 190 Wh used per mile
What changes the result
Shade, clouds, panel angle, cart use
Sun and cart use
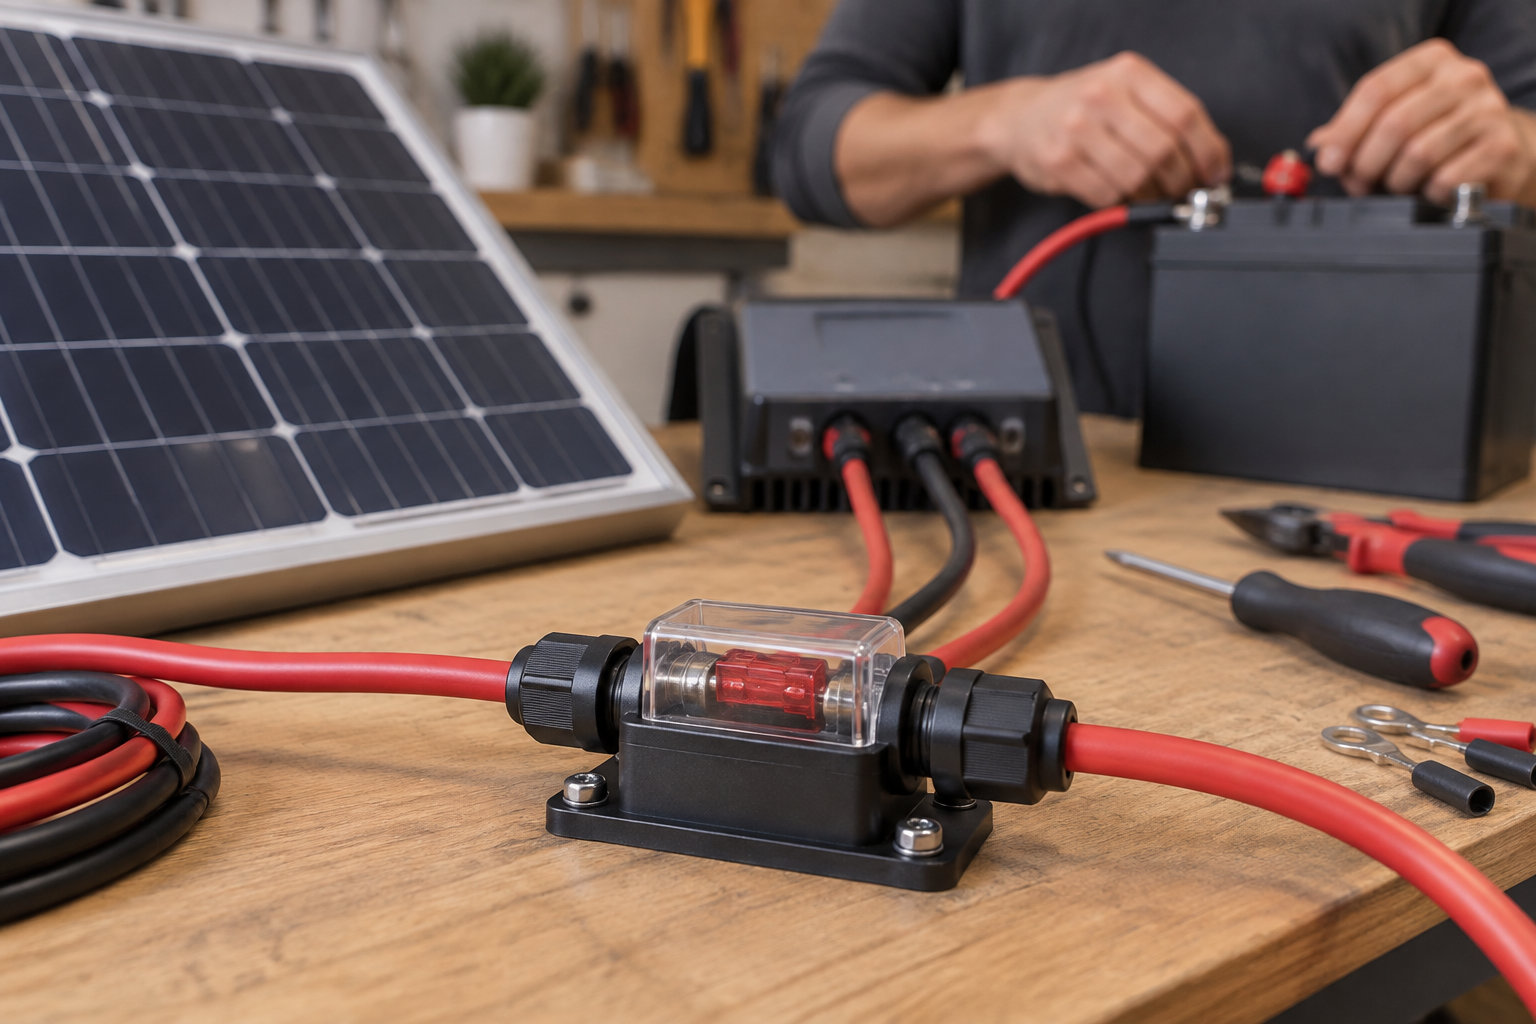
Don’t guess the fuse
Copy a fuse from a generic guide and it may not protect your wiring. Match it to your controller, pack voltage and wire gauge.
For a kit matched to your pack, see RV solar kits, sized and matched. Otherwise, size your expectations to a cart parked in sun: a trickle charge or some extra daytime range.
How to install a solar panel on a golf cart
Before you start, have the matched kit, its controller, the kit manuals, your measured roof and basic tools ready, and disconnect the pack before making any connection.
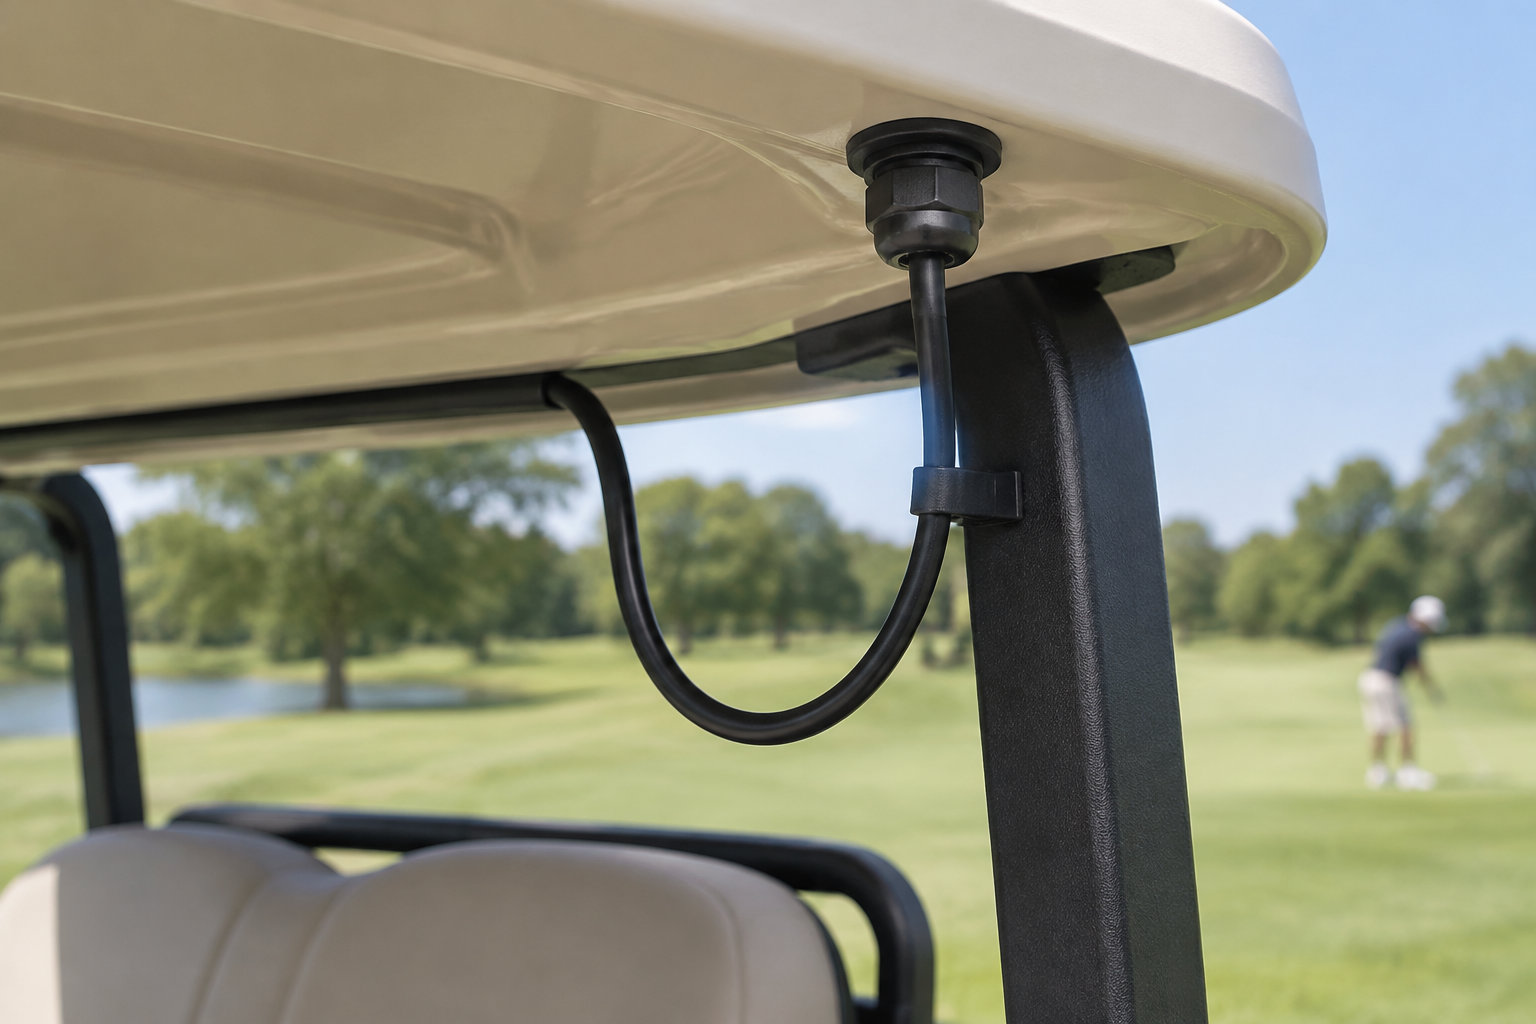
Route the cable with a drip loop so rainwater does not run along it toward the controller.
Warranty terms vary by cart and battery brand, so check them before you add a solar charging circuit.
Follow these steps:
Mark the mount spot so the panel lies flat.
Fix the panel by its six 8 mm grommets so it cannot shift.
Route the cable clear of edges and water so it cannot rub.
Connect PANEL+ and PANEL− first, checking polarity, so the controller reads sun.
Connect BATT+ and BATT− to the pack’s main terminals, not one battery.
Final checks
Mark the drip loop first
Lay the cable where it will run and pencil its lowest point. The loop must hang below the grommets, so water drips off it instead of reaching the controller.
Run the sun test
For cleaning, see how to clean solar panels while camping. In full sun, the controller shows panel input and charging status. No reading means recheck polarity.
The parts only work when they match. Check the controller against your pack’s voltage and chemistry, and make sure the panel fits your roof. Keep the plug-in charger, because the panel only tops up the battery.
Next, read the label on your pack for voltage and chemistry. Then measure the flat roof area, and only after that compare kit prices.
FAQ
Does a solar panel fully charge a golf cart battery pack?
No. A roof panel gives a top-up charge, not a full one. After heavy use, plug in the charger, because the panel can’t refill a pack.
On cloudy days it still adds power, but clouds cut its output, so expect a small boost.
Can a golf cart solar setup charge on cloudy days?
Yes, a golf cart solar setup still charges on cloudy days, but the panel makes less power than in full sun.
Clouds cut its output by an amount that changes with the weather, so count on a small top-up rather than a full recharge.
Can I add solar to a golf cart with lithium batteries?
Yes. Lithium packs can take solar if the controller is set for your pack’s voltage and LiFePO₄ chemistry and works with its BMS, the battery management system that protects the cells.
Check the label and the maker’s rules before you wire anything.
Do I still need a plug-in charger if I add solar?
Yes, you still need your plug-in charger. A roof panel gives a top-up, not a full charge, so after heavy use, plug in the charger. On cloudy days the panel still adds some power, but less.