Two greenhouses of the same size can need very different solar kits, because what runs inside decides how much power you need.
Pick the wrong kit and you either pay for power you never use or run short after dark. This article shows you how to size a kit from your devices, then choose its battery, controller and setup.
Size the kit from daily watt-hours, not floor area
Size your kit from energy use, not floor area. For each device, multiply its watts by its hours of use per day, then add the results. That total is your daily need in watt-hours (Wh).
Two greenhouses of the same size can need different kits, depending on what runs in them. For your own greenhouse, see the greenhouse solar kit guide.
With 1,000 Wh a day, 4 peak sun hours and 75% efficiency, 1,000 ÷ 4 ÷ 0.75 gives about 333 W of panels. That is a planning base, not a guarantee. Monthly output can drift about 30% from average, so enter your location, system size, tilt and direction (azimuth) in PVWatts and check the least sunny month.
How much heat the greenhouse really needs
Heating is sized from the heat the greenhouse loses. That loss depends on glass area, temperature gap and glazing.
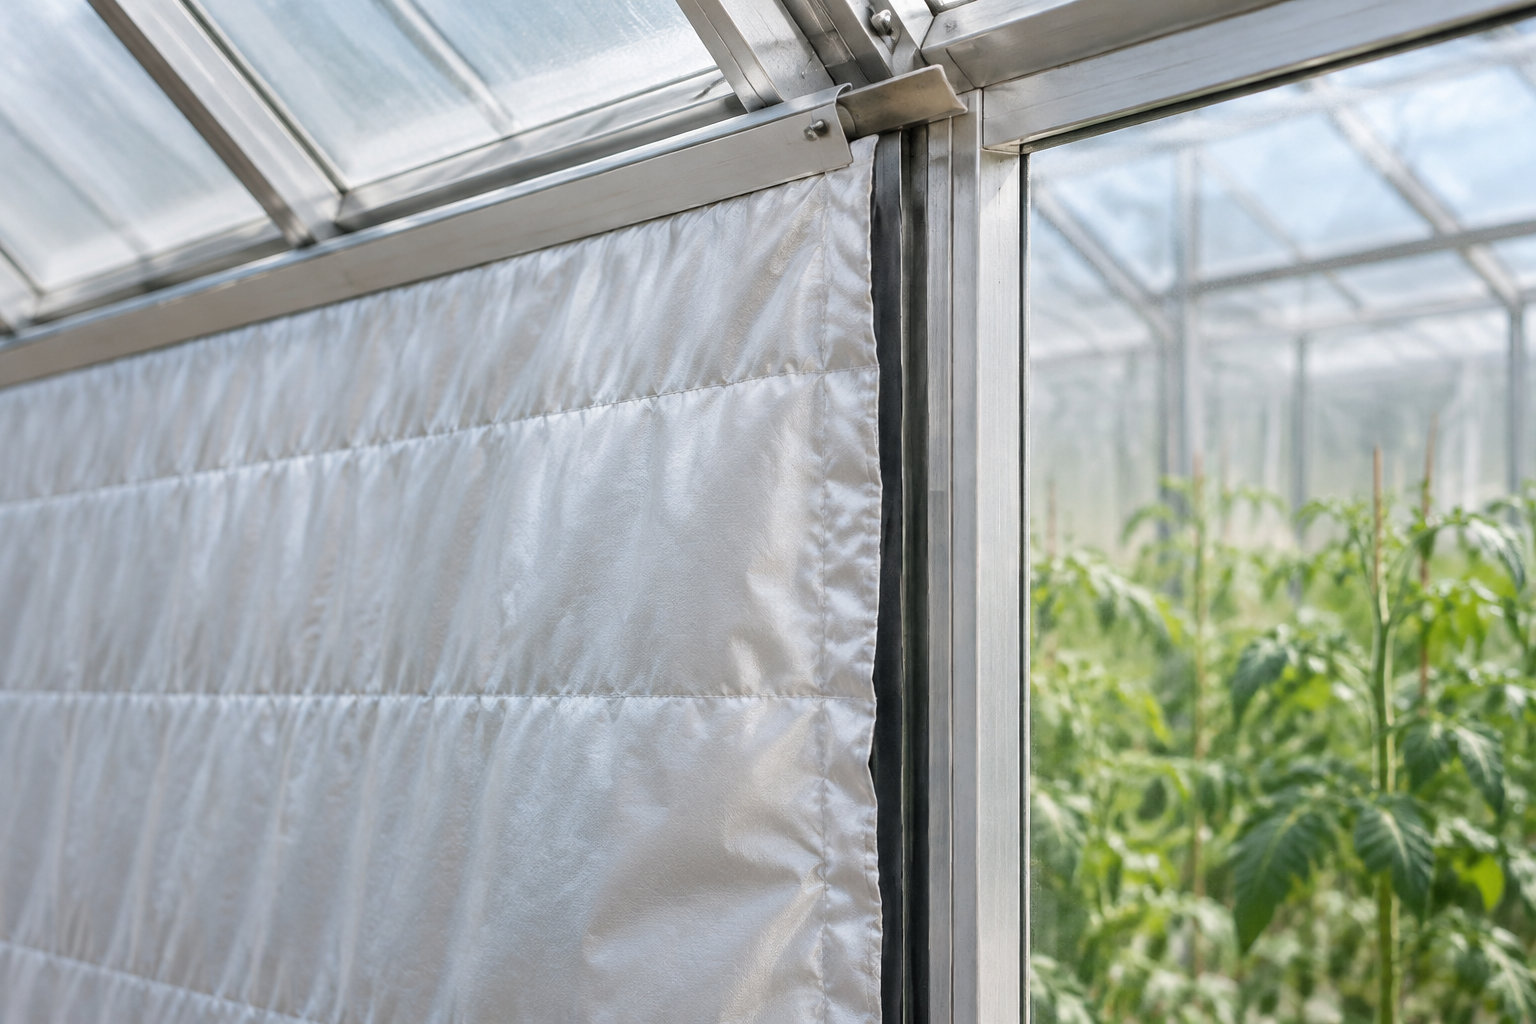
Insulation is the first lever. With double glazing and a thermal screen, a cover that slows heat loss, the U-value is 0.3 to 0.5 Btu per hour, per square foot, per °F.
Lower means less heat lost, so a smaller heater.
A 1,000 W heater running 10 hours uses 10,000 Wh in one night. A small kit can’t store that much, so the heater stops before dawn, when the cold is worst.
A south-facing glass wall that stores sun in soil or rock cuts that load. To check what a plug-in kit can power, see how plug-and-play solar kits work.
Matching panels, battery and controller
Panels: how many and how to round up
Divide the power you need by the power of one panel, then round up to the next whole number. Need 400 W with 100 W panels? That’s four panels.
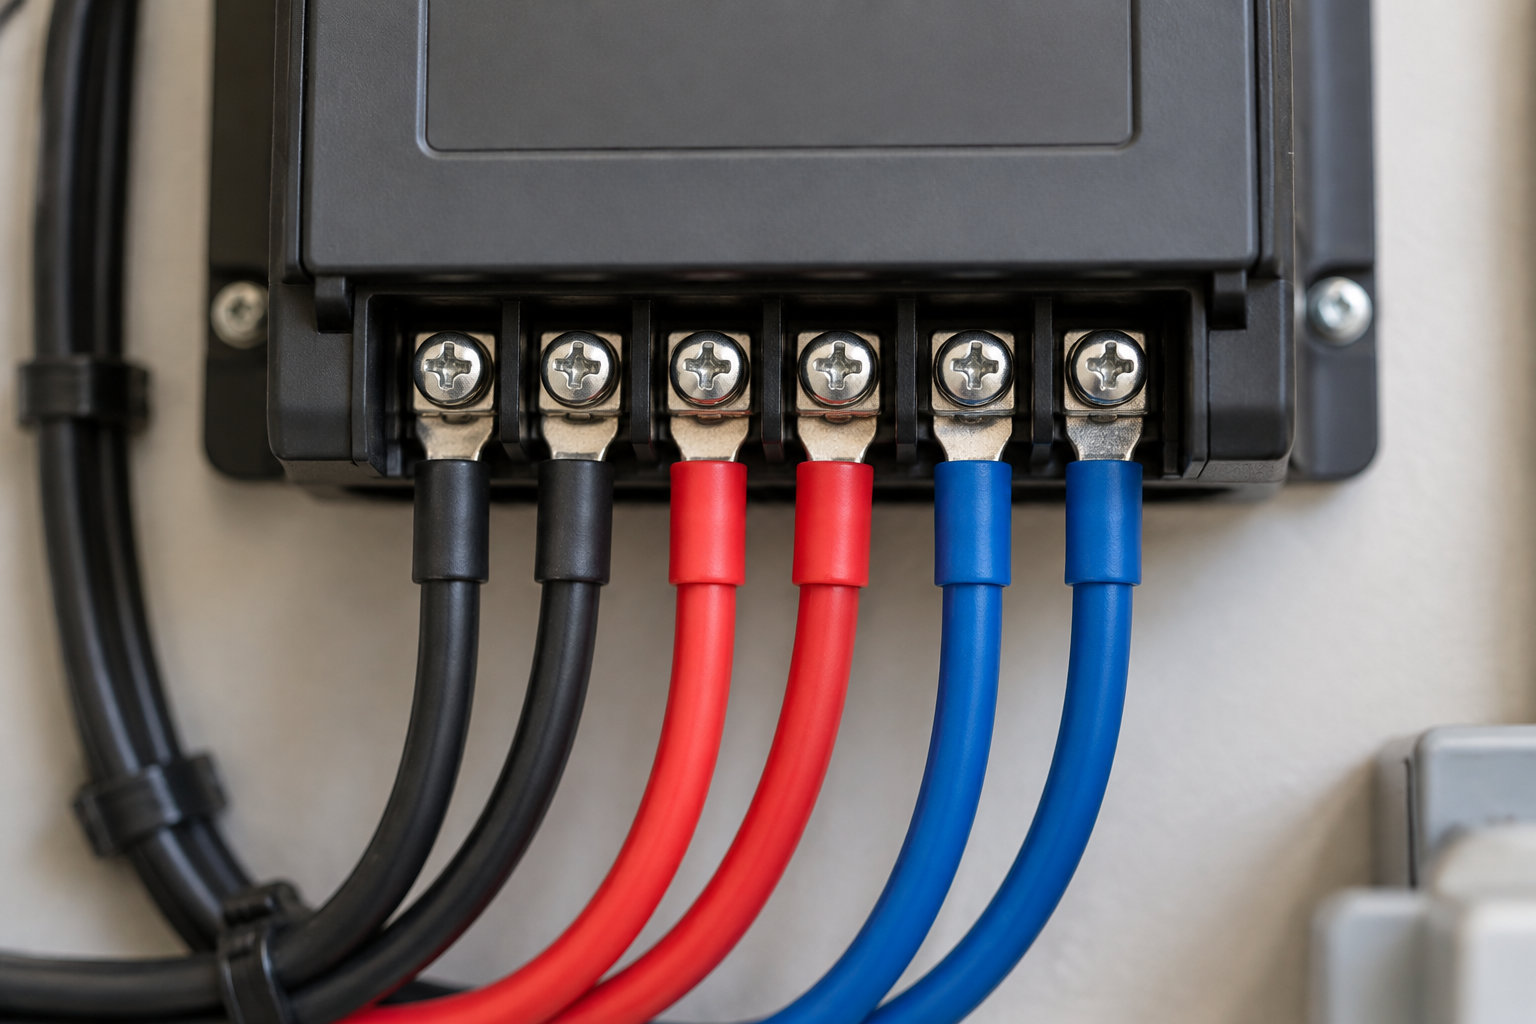
A 100 W panel rarely makes 100 W: sun, angle, shade and losses cut the output, so four is a minimum. For winter, see how to keep panel output up in cold months.
Battery: capacity, depth of discharge and days of autonomy
Size the battery in watt-hours (Wh) with this calculation:
- Daily consumption in Wh, multiplied by the days of autonomy, meaning the days without sun.
- Divided by the usable depth of discharge, the share you can drain safely. Check it in the battery specs, since it varies by model and chemistry.
- Example: 1,000 Wh a day, two days, 80 % usable: at least 2,500 Wh.
Controller: amps, voltage and PV input limits
Size the controller by dividing the panel wattage by the battery voltage, then multiplying by 1.25.
For a 400 W kit on a 12 V battery, that gives 400 ÷ 12 × 1.25 = 41.7 A. Choose a controller rated at 41.7 A or more, or it won’t carry the full output of your panels.
Controller check
Max PV input voltage
- Add up the panels’ open-circuit voltage (Voc, the voltage with no load) in a string
- Stay under the controller’s limit, including on cold mornings
- Limits vary by model: read them in the spec sheet
Battery chemistry
- Lead-acid and lithium need different charge settings
- Confirm the controller supports your battery type
Plug-in, off-grid or ground-mounted: which setup fits
A plug-in kit works only while the sun shines. It feeds your building’s wiring and covers part of your use at that moment, but it cannot power devices at night.
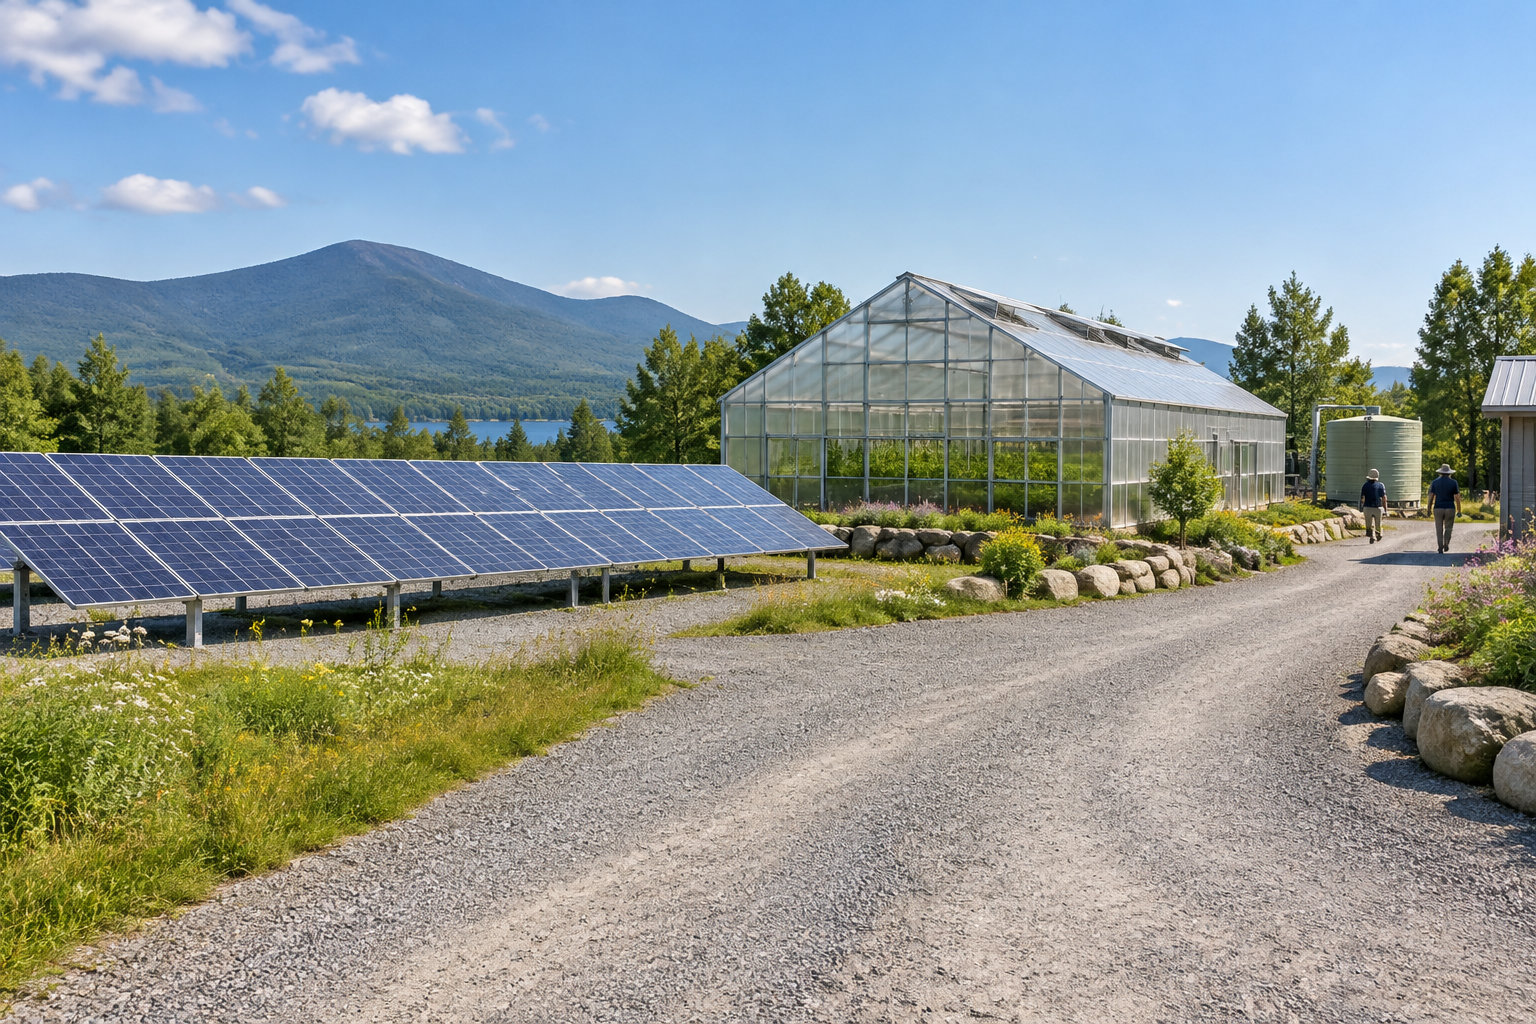
If your greenhouse is far from the grid, choose an off-grid setup: panels, battery and controller, sized from your devices and their hours of use. For a plug-in kit, see how to connect plug-and-play solar safely.
Three setups fit a greenhouse, and they differ on night power, placement and rules.
| Criteria | Plug-in | Off-grid | Ground-mounted |
|---|---|---|---|
| Night power | No, daylight only | Yes, from the battery | Depends on the electrics |
| Placement | On your building’s wiring | Far from the grid | On the ground, tilted to face the sun |
| Rules | Utility and local rules | Check local rules | City or county zoning |
What kits cost in USD and what the price leaves out
Compare the price with three things: battery capacity in Wh, inverter power and the accessories included. Two kits at the same price can differ on these points. Add the missing parts and the installation work to your budget.
Running devices at night? Start with off-grid solar power for beginners before you add up the total.
Three offers can look alike, yet their contents differ:
- 400 W kit: check the rated power, and whether a battery and an inverter come in the box.
- Ventilation kit: check whether it includes a controller, or only panels and a fan.
- Low-end kit: check that the panels, controller, battery and inverter match, since missing parts add to the total.
Permits, utility hookup and the federal tax credit
Permits depend on the type of setup and on your local rules. In Denver, a ground-mounted panel needs a zoning permit, and the electrical work needs an electrical permit too.
Call your building department before you install anything. For a grid-tied kit, also ask your utility about its connection rules. For plug-and-play kits, check the legal rules for plug-and-play solar in the USA first.
The federal residential clean energy credit does not cover expenses paid after December 31, 2025, so a kit paid for in 2026 will not reduce your federal tax. Before you pay, check your eligibility on Form 5695, Residential Energy Credits, and in the Instructions for Form 5695.
Check what the box contains before you buy
A kit with only panels and a controller does not always power your gear at night. Without a battery, the power stops when the sun goes down.
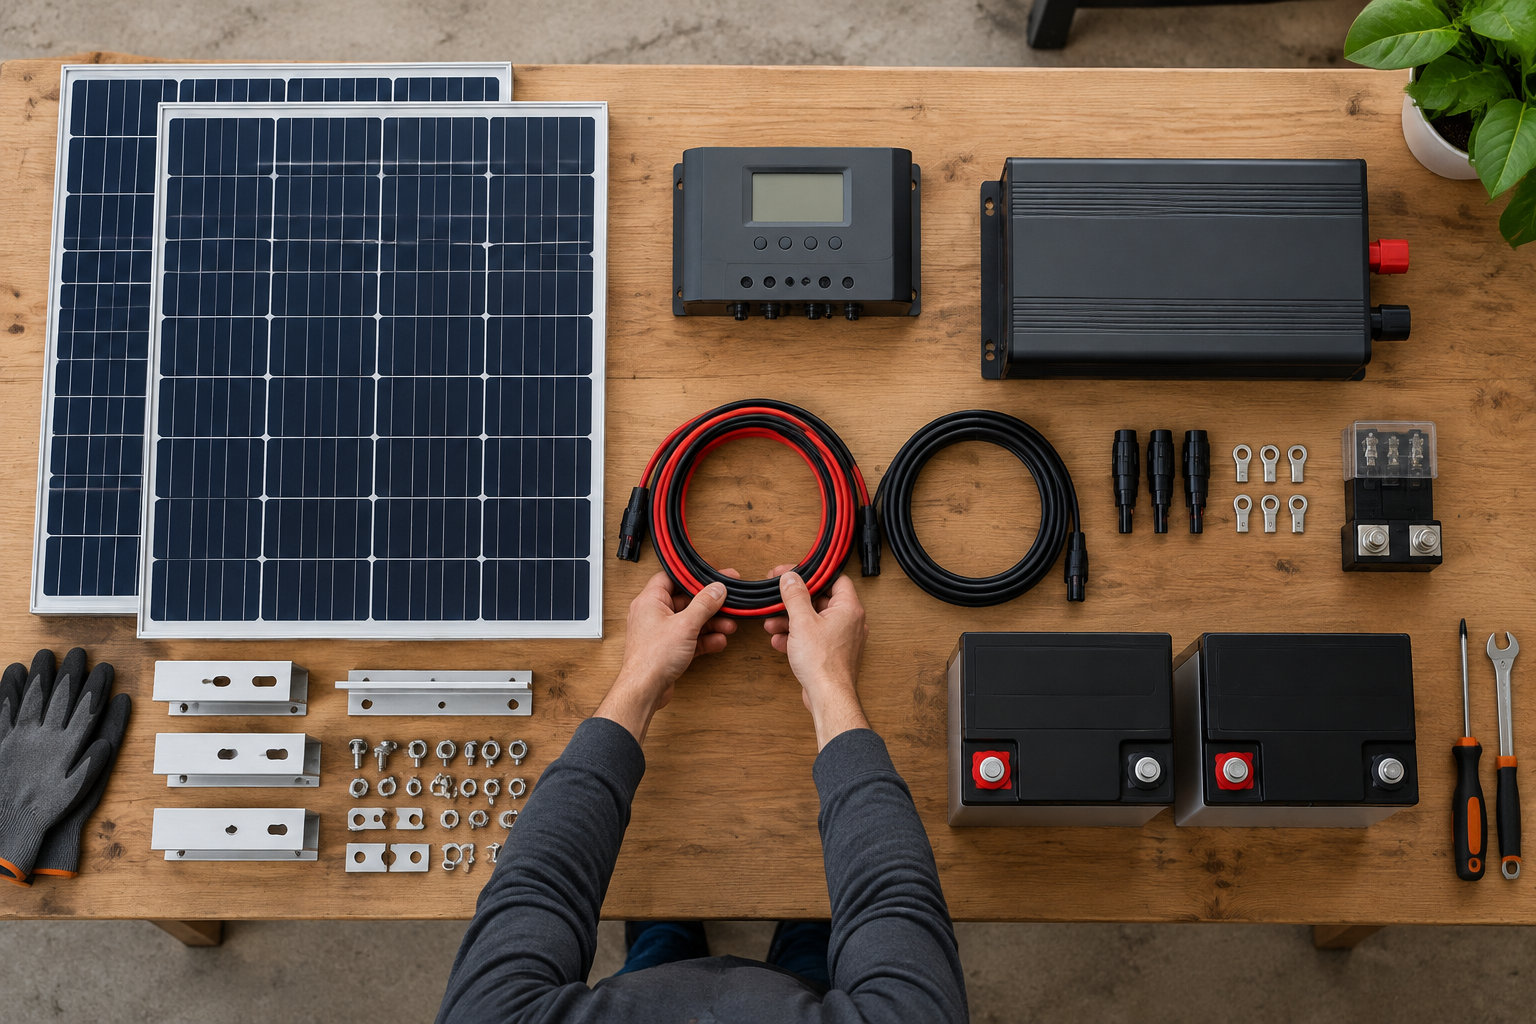
Check the box for the battery, inverter, cables, fuses and mounts before you buy. Each missing part is an extra cost on top of the kit price.
If you rent, see plug-and-play solar kits, then check every kit with this list:
- Parts: battery, inverter, cables, fuses and mounts must be included or paid extra.
- Inverter: its power must exceed the devices running at once.
- Controller: its settings must match the battery chemistry.
- Rated power and warranty: check them on each model’s specs.
Start with your devices. Their watts, times their hours of use per day, add up to the daily need that sizes everything else.
Then pick the setup that matches your night power, and check the battery, inverter and included parts before you pay.
Next step: list your greenhouse devices, then compare kits against that total.
Frequently asked questions
Can I put solar panels on a greenhouse?
Yes, you can put solar panels on a greenhouse. First, check that the roof can carry the weight of the panels.
Then check that their spot follows your local zoning and permit rules, because those rules decide where panels may go.
Does a 400W solar panel produce 400W?
No. A 400 W panel reaches 400 W only at peak sun, under ideal test conditions. Over the day, the sun’s angle, the panel’s direction, shade and system losses all cut its output.
So judge a panel by the energy it makes in a day, not by its label.
Will a 400W solar panel run a 12V fridge?
Wattage alone can’t tell you. Compare the fridge’s daily use in watt-hours (Wh) with what the panel makes in a day. Then size the battery and controller from that same figure, since the fridge also runs at night.