A starter kit can run a light or a phone, but it won’t run a whole tiny house.
So the question is which kit covers your needs and what it will cost you. This article takes you from your daily electricity use to the right kit, with US prices and the installation steps for a tiny house.
The short answer for most tiny houses
A starter kit won’t run a whole tiny house. Propane cooking and heating use about 2–5 kWh a day, and fully electric use reaches 6–8 kWh.
Add up your own total, then size the panels and a battery that holds at least one day of it. For a full system, see the complete off-grid kit guide for tiny houses.
Three kit levels
Starter
- 200 W, no battery
- About $230
Intermediate
- 2.34 kW: about $3,600
- 6 kW inverter: about $8,500
- Covers a full-time tiny house
Heavy loads
- 20 kW inverter: about $17,200
- Only for heavy electric loads
Measuring what your tiny house really uses
The average U.S. home uses about 29 kWh per day (kilowatt-hours, the unit on your bill). A tiny house uses far less, so start from your own numbers.
On wheels? Use the RV solar panel kit guide, then list:
- Multiply watts by daily hours: a 60 W fridge at 8 h uses 480 Wh.
- Count routers and chargers too, since they stay on.
- Divide the total by 1,000 for kWh per day.
An induction cooktop draws 1,200–1,800 W, so 30 minutes of cooking uses 600–900 Wh. Cooking with propane instead can cut your electric use by 0.5–1.5 kWh per day.
How much panel, battery and inverter you need
Panel capacity for your sun hours
Divide your daily use by your peak sun hours. At 4 kWh a day and 5 peak sun hours, you need about 1,000 W of panels, since 800 W is the bare minimum.
Winter changes the answer. Run PVWatts for your site and use the weakest month’s radiation, not the annual average, then size the array for that month.
Battery storage for cloudy days
For 4 kWh a day, plan on 6 to 8 kWh of storage for one or two cloudy days.
A 12 V, 100 Ah lithium iron phosphate battery holds 1.28 kWh, so you need several of them to reach that reserve.
With lead-acid, count only half the rated energy as usable, since deeper discharge shortens its life. See lithium versus lead-acid storage before choosing.
Inverter rating for peak loads
Add the running watts of everything that may run together. Then add the biggest motor’s start surge.
A well pump draws 1,000 W running but 2,000 to 3,000 W to start, so the inverter must handle that spike.
Inverter check
Inverter size
- Total running watts that run together
- Plus the largest motor’s start surge
Winter sun
- December: 1.6 peak sun-hours in Seattle, 3.8 in Kansas City
What the kits cost and what each one includes
Budget starter kits
The Renogy 200 W kit costs about $230 with two 100 W panels and a 30 A controller, but no battery. Use it for lights, phone and laptop charging only. For a ready-made system, see plug-and-play kit prices.
Mid-range off-grid kits
Both kits list a 100 Ah battery, but amp-hours alone don’t give the energy stored. Multiply by the battery voltage to get kWh.
| Criteria | ECO-WORTHY 2340 W | EG4 Shed & Garage |
|---|---|---|
| Panels | 2.34 kW total | 440–460 W each (count them for the total) |
| Inverter | 5,000 W | 6,000 W |
| Battery | 100 Ah | 100 Ah |
| Price | About $3,600 | About $8,500 |
A mid-range kit can run a tiny house full time. Plug-and-play kits belong to a different category. For those, see how plug-and-play solar kits work.
Large kits with heavy inverters
The Sun Gold SGR-20K30E costs about $17,200 with a 20,000 W inverter. Only heavy loads justify that size, so check your real loads first.
Before you compare prices
- Confirm the package includes mounting parts.
- Confirm it includes wiring, disconnects, grounding and surge protection.
- Add anything missing to your installation budget.
What a full tiny house installation adds up to
A complete tiny-house installation costs about $5,000 to $15,000, well above the kit price. Labor, mounting and wiring make up the gap.
Storage is the first cost to watch: size the battery to your backup days, since a bigger bank costs more. For winter output, see how to keep panel efficiency up in cold weather.
The Residential Clean Energy Credit covered qualifying home solar and battery property installed through December 31, 2025. It does not apply to property placed in service after that date, so a new purchase gets no federal credit. Budget the full price, or your total will be off.
Roof, ground or portable: where the panels go
Roof mounting
Roof mounting keeps panels off the ground, but first check the roof structure, the attachment points and the local wind rules.
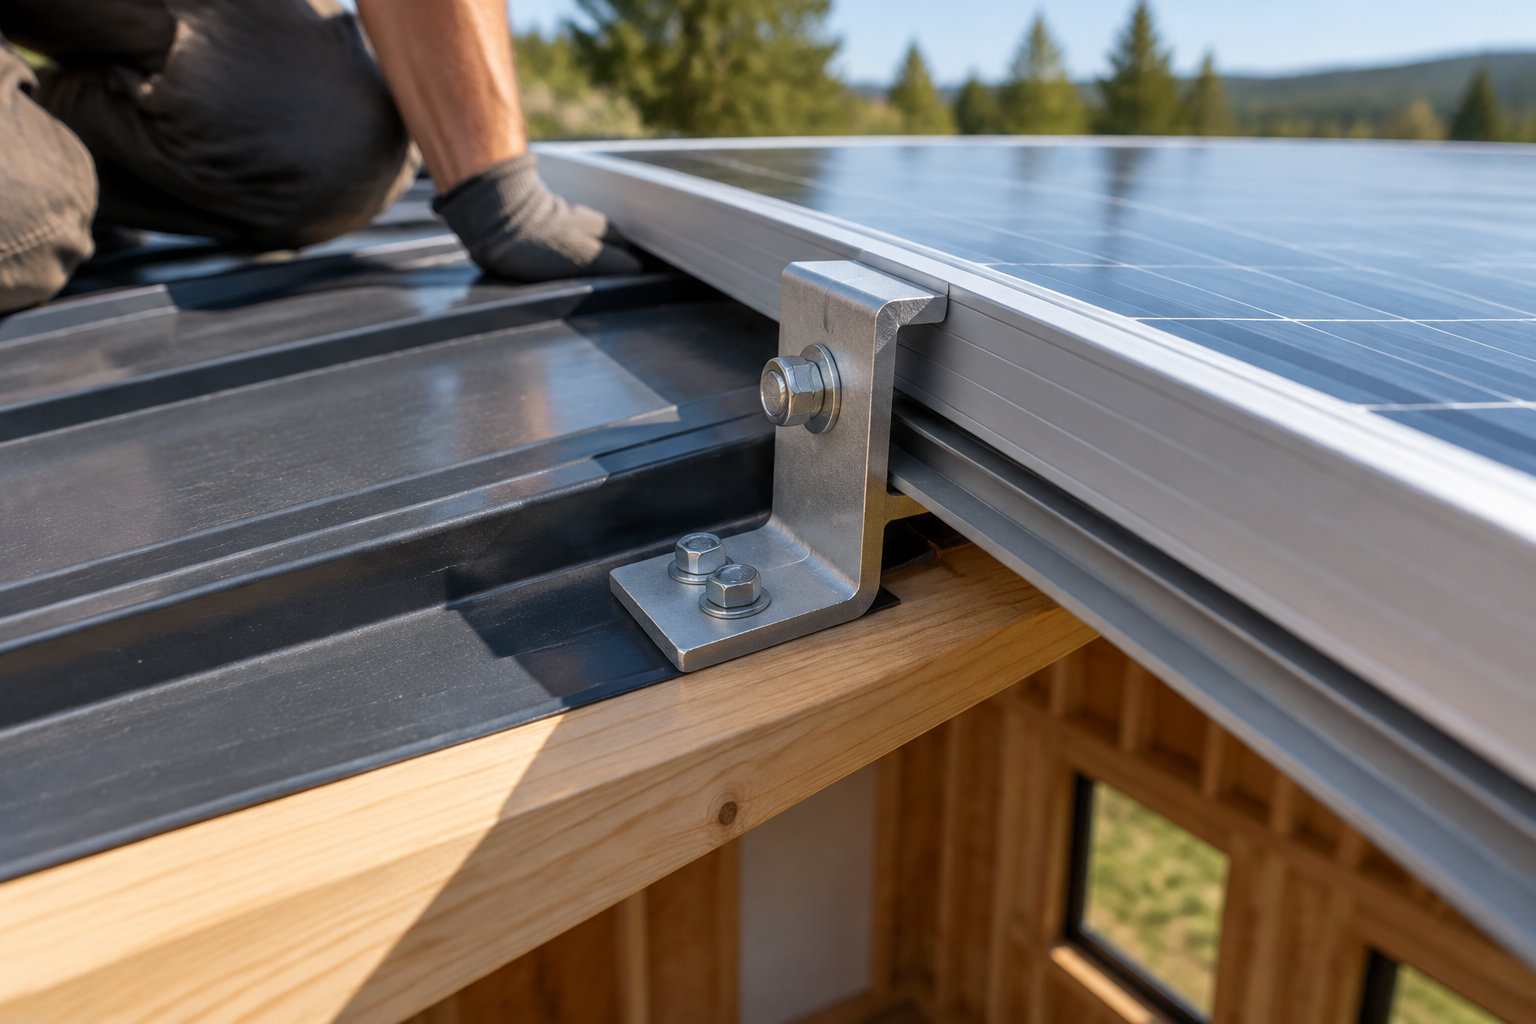
On a tiny house on wheels, road movement adds stress, so the brackets must handle it. For roof brackets built for that, see camper solar panel kit mounting options.
Ground mounting
Ground mounting is the better choice when:
- You want to tilt the panels toward the low winter sun, which is when your battery needs them most.
- You do not want to drill into the roof, so there are no new points to seal against leaks.
- You have usable ground beside the house, clear of shade from trees and from the house itself.
Portable power station with panels
A portable power station suits a temporary setup. Match it to your devices with these two numbers:
- Stored energy in Wh, which sets how long your devices can run.
- Maximum output in W, which must cover everything running at the same time.
- Small loads only, such as a lamp, a phone or a laptop.
Winter load
-
Lamp or phone
Flat panels on the ground are enough.
-
Space heater
Tilt panels toward low winter sun, and check continuous output.
-
Fridge or well pump
Check surge rating.
Permits, wiring and safety rules
Even an off-grid kit can need a permit. Ask your city or county building department which office issues them.
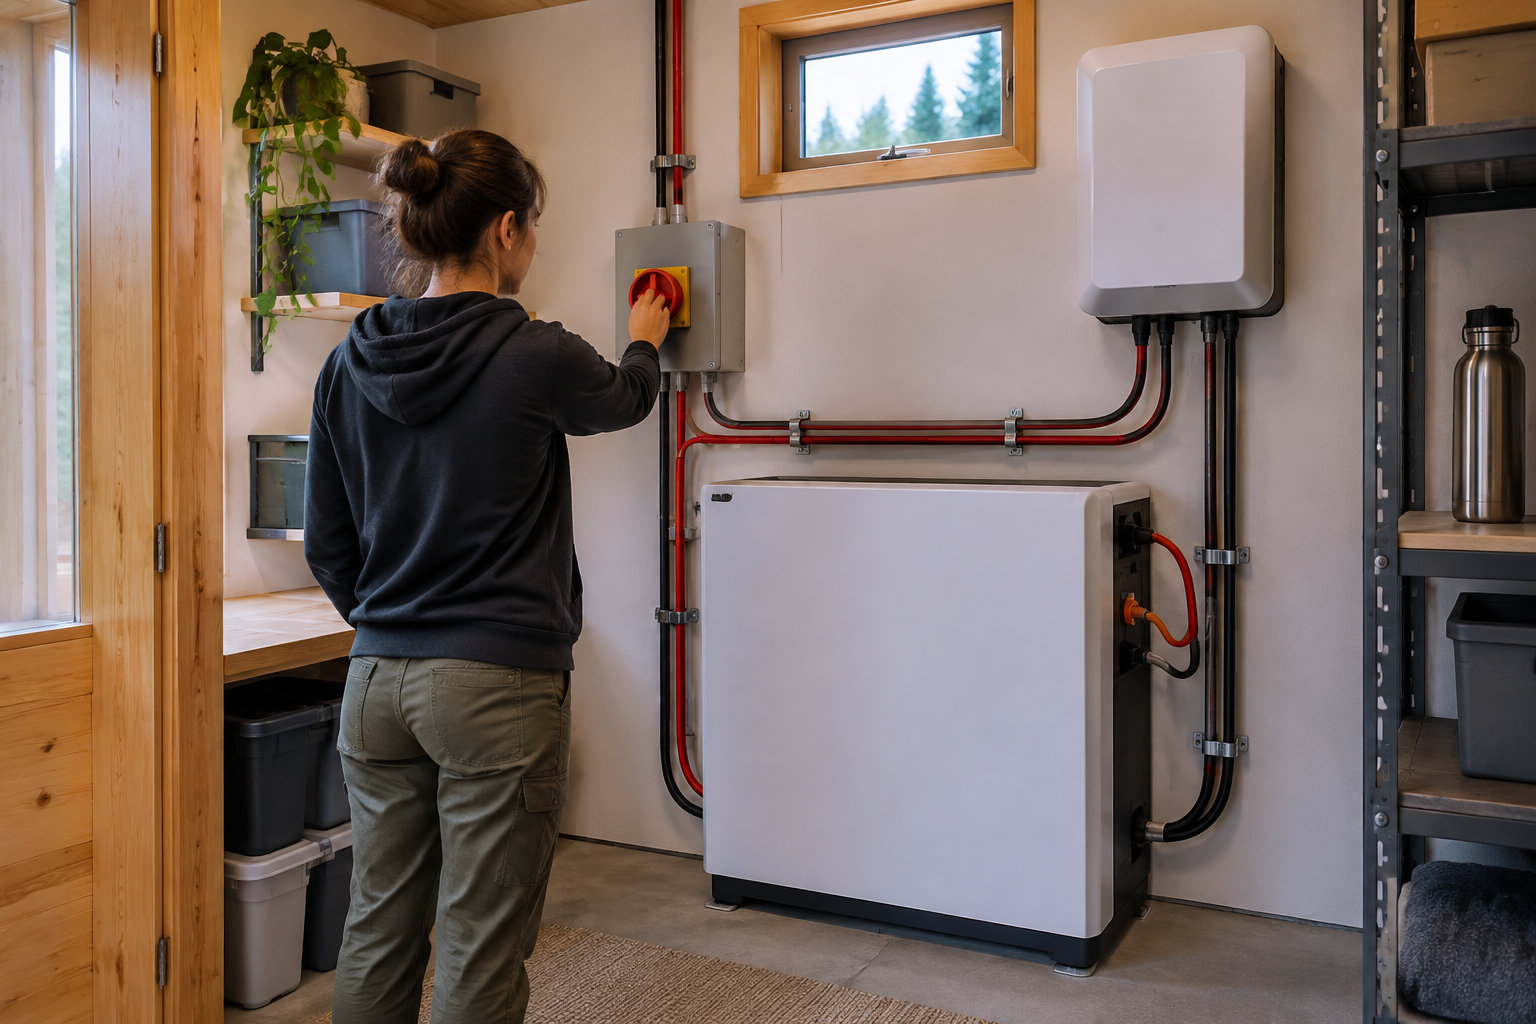
Check the electrical code edition your local authority adopted before you buy. Grid connection also needs your utility’s approval. For plug-and-play rules, see legal regulations for plug-and-play solar.
Safety first
What works
Have an electrician check disconnects and rapid shutdown.
What to avoid
Treat the kit as a finished system. Wiring still needs inspection.
What works
Ask an installer when you are unsure which parts you need.
What to avoid
Assume the manual covers local code requirements.
Size the system from your own daily use, not from a kit’s price or name. Add up your kWh per day, then check the panels and battery against the weakest winter month.
Your next step is to list each device with its watts and daily hours, and add them up. Compare that total with the kit’s specs before you buy anything.
Frequently Asked Questions
Can a solar kit run a refrigerator and a well pump in a tiny house?
Yes, but only if the panels, battery and inverter together cover the daily energy use of both.
Add the fridge’s and the pump’s daily kWh to your total. The inverter must also handle the pump’s start surge, which is 2,000 to 3,000 W.
Do I need a battery in a tiny house solar kit?
Yes, if you need power after sunset or on a cloudy day. A battery stores the solar power your panels make, so you can use it later.
The Renogy 200 W starter kit has no battery, so you must add one.
How long does it take to install a plug-in solar kit on a tiny house roof?
It depends on your roof and your kit, so there is no set time.
Follow the kit’s instructions, and set aside time to check the roof, the mounting method, the wiring and your local permit requirements. Switch on only when all four check out.
Will a tiny house solar kit still work in northern winters?
Yes, it still makes power, but December sunlight can be much lower in the north. Size the system on that weakest month, not the annual average.
In December, Seattle gets 1.6 peak sun-hours a day (hours of full-strength sun), while Kansas City gets 3.8.